
.jpg)
The Request...My Best Authentic Tres Leches Cake.
Living in Arizona has given me many wonderful experiences. I've been here just over thirty years. I moved here initially to go to college. I planned to leave this crazy-hot and dry place as soon as I finished school, but my adorable boyfriend (soon-to-be husband) had other plans. So I stayed. Darn that wry smile and the way he carried himself in blue jeans! I digress.
Arizona. One of my favorite experiences working in the kitchens and restaurants of Phoenix is meeting so many friends from Mexico. Many came to America to get a better life. I know my life has been better having known so many Hispanics. I love their devotion to family and zest for life.
A few weeks ago, one of my friends, Juan, asked me if I could make him a Tres Leches cake. Of course, I always bake for the people I love. Juan and his wife are amazing people; I've loved getting to know them in our small town. So the test was on. Juan is an expert because he grew up with it. Right?
If you haven't tried Tres Leches Cake, let me tell you. It can go one of three ways: Either you love it, you have had a bad one, or you haven't had mine yet (and sworn off any other Tres Leches on the planet but mine). Mine is a little different from some that I have tried, but I insisted that Juan try it.
What is it?
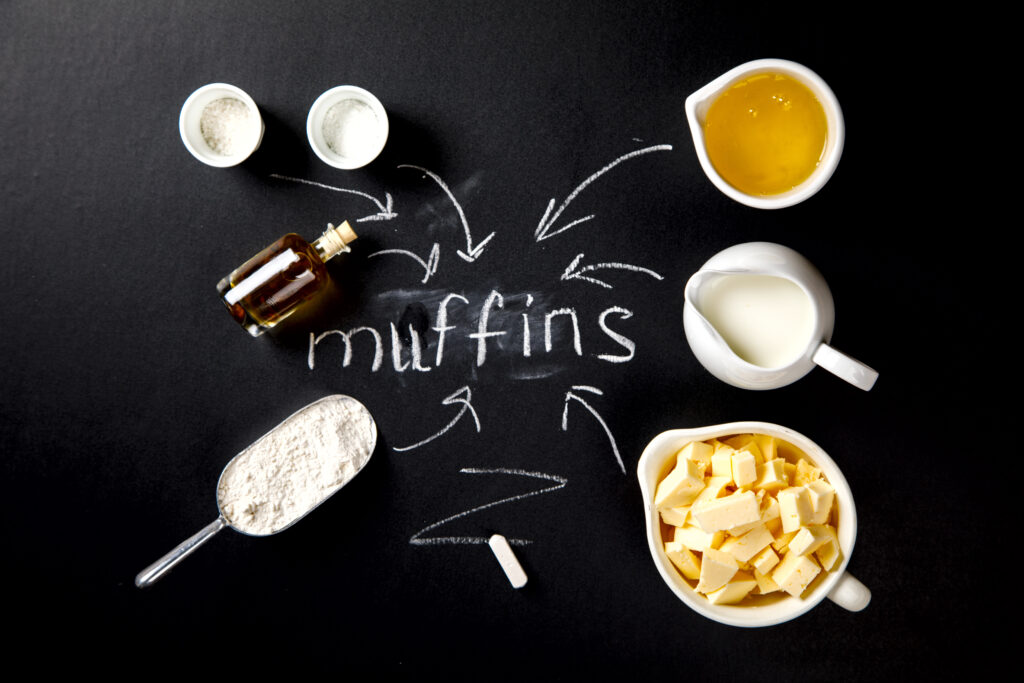
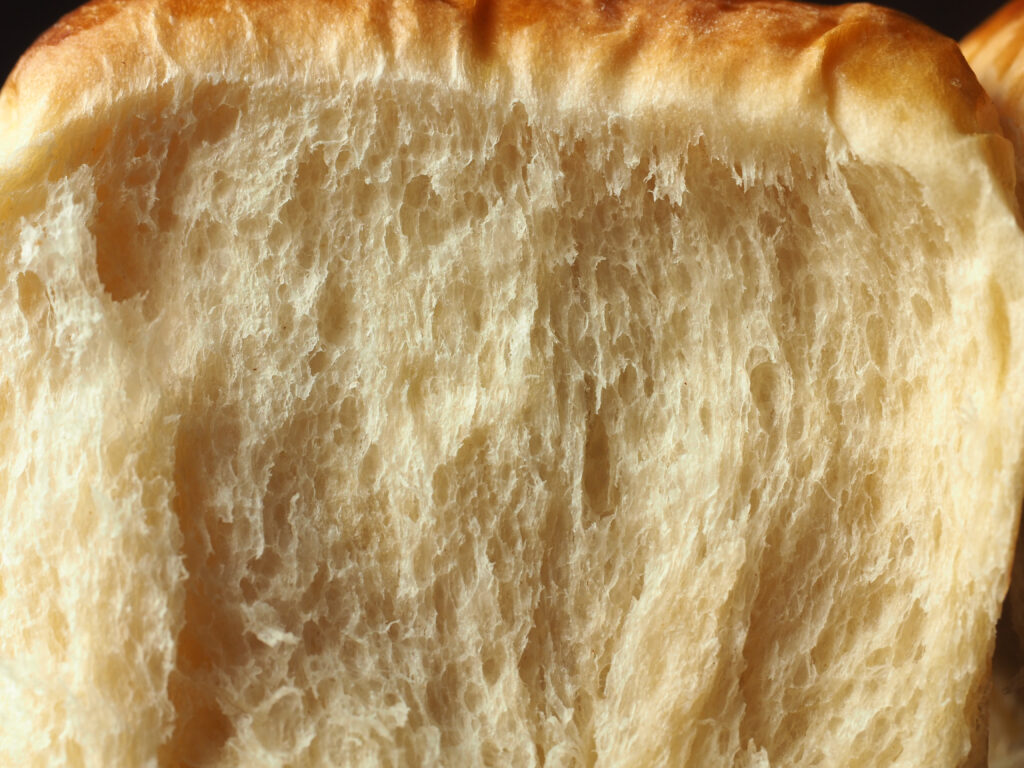
Traditionally, tres leches cake is a white or yellow sponge cake baked, then cooled, drenched in a sweet milk mixture, and covered with whipped cream. There are many variations, but the general consensus is that the milk mixture should be sweetened condensed milk, evaporated milk, and milk.
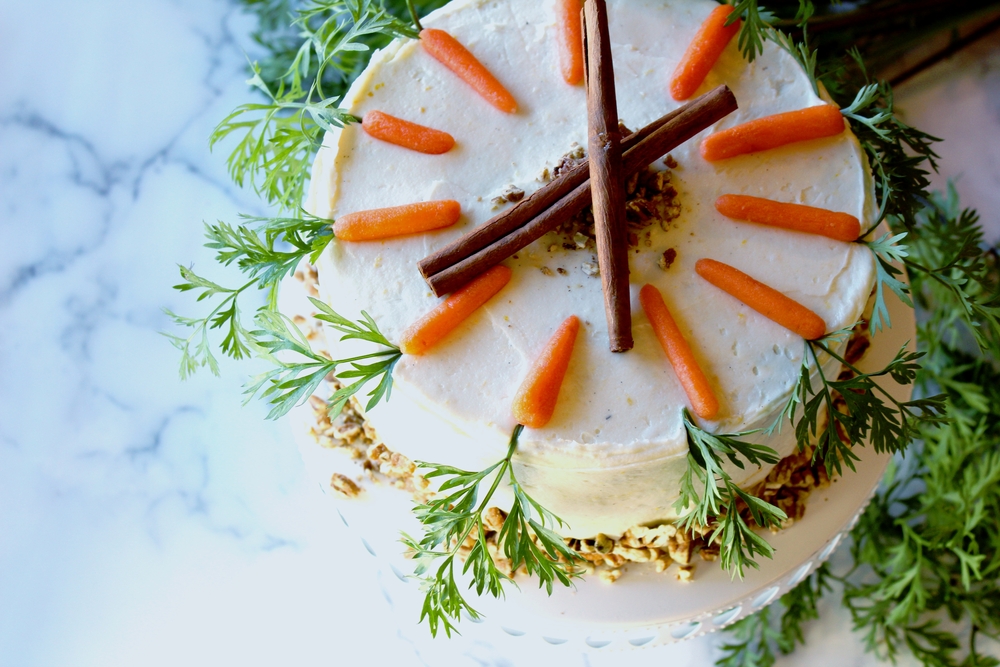
The cake is served cold, having had the milk mixture soak it for about twenty-four hours. I like to use just the right amount of milk mixture so that the cake can still hold together and be served in slices. If the milk mixture's viscosity is too thin, then the cake becomes a weirdly textured, soggy mess. Some use cinnamon. Some do not. I like a hint of it in mine, but not an overpowering amount.
The frosting is the key!
My secret is the whipped cream frosting. I use a small package of cream cheese instant pudding not only to add stability to the cream but also for a richer flavor. This gives the whipped cream a mousse-like texture that adds another layer of creaminess to the finished product. It's super hot here, and stabilizing the whipped cream ensures that it doesn't melt the second it comes out of the fridge.
It's a big batch!
This is for a party. For this
cake, you will need 2 9x13x2-inch metal baking dishes or 2 10x4-inch round
springform pans.
I like to make one cinnamon cake and one with fresh berries. That way, everyone can fight over the cakes and punch each other in the foreheads, deciding which cake is the best. At that point, my job is to sit back and bask in my cake glory. You can do the basking too!
.jpg)
My Best Authentic Tres Leches Cake
Cake:
2 cups King Arthur All Purpose Flour (240g)
1 Tbsp. baking powder (12g)
½ tsp. salt
10 large eggs, separated
2 cups granulated sugar,
divided (400 g)
2/3 cup whole milk (160
ml)
1 Tbsp. vanilla extract
(15ml)
Milk Mixture:
2-12-ounce cans of
evaporated milk (680g)
2 14-ounce cans of
sweetened condensed milk (793g)
½ cup whole milk (120ml)
1/8 tsp. salt (optional)
Whipped Topping:
1 quart (4 cups) heavy
whipping cream (950ml)
1 small package of
cheesecake instant pudding
1 tsp. vanilla extract
(2.5 ml)
ground cinnamon, for topping (optional)
Directions:
Preheat oven to 350℉. Grease 2 9X13X2 pans (or equivalent)
Prepare the Cake:
· In a medium bowl, combine flour,
baking powder, and salt.
· Separate the eggs into two other
mixing bowls.
· Add 1 ½ cups sugar to the bowl with
the egg yolks and mix on high speed until yolks are pale yellow. Add 2/3 cup of
milk and vanilla and stir to combine. Pour the egg yolk mixture over the flour
mixture and stir gently until combined (don't over-mix).
· Use electric beaters to beat the egg
whites at high speed. As they begin to whip into stiff peaks, gradually mix in
the remaining ½ cup of sugar. Fold the stiffly beaten egg whites into the
batter gently, scraping the bottom and sides of the bowl, until combined.
· Divide the batter between two greased
9x13x2 metal baking pans and smooth the batter into an even layer. Bake for 25
to 35 minutes, or until a toothpick inserted in the center of the cake comes
out clean. Remove from the oven and allow cake to cool completely.
Milk Mixture:
· Combine the evaporated milk,
sweetened condensed milk, and whole milk in a medium bowl. Once the cake has
cooled, use a fork to poke holes all over the top of the cake.
· Slowly pour the milk mixture over the
top of the cake, making sure to pour near the edges and all around. Refrigerate
the cake for at least 1 hour or overnight, to allow it to soak up the milk.
· In the meantime, whip the heavy cream, pudding mix, and vanilla until stiff peaks form. Smooth over the top of the cake. Sprinkle cinnamon on top. Serve with fresh sliced strawberries, if desired. Enjoy! Also.
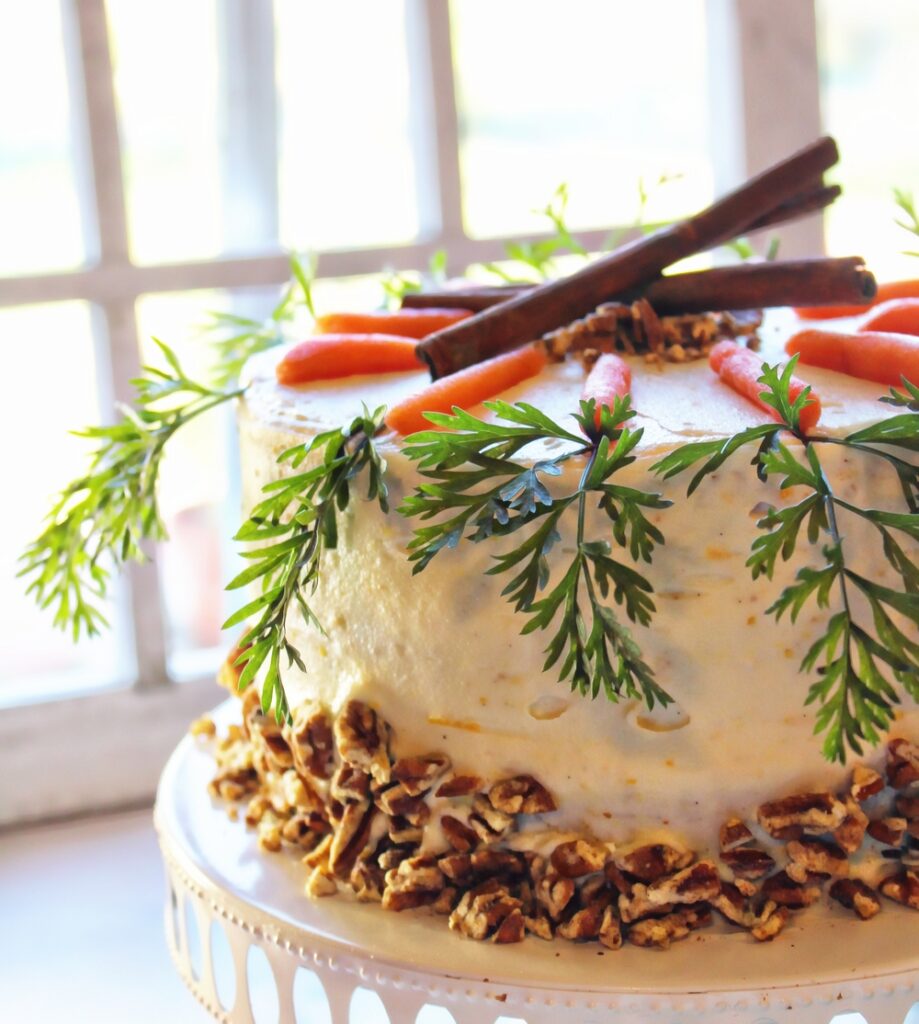
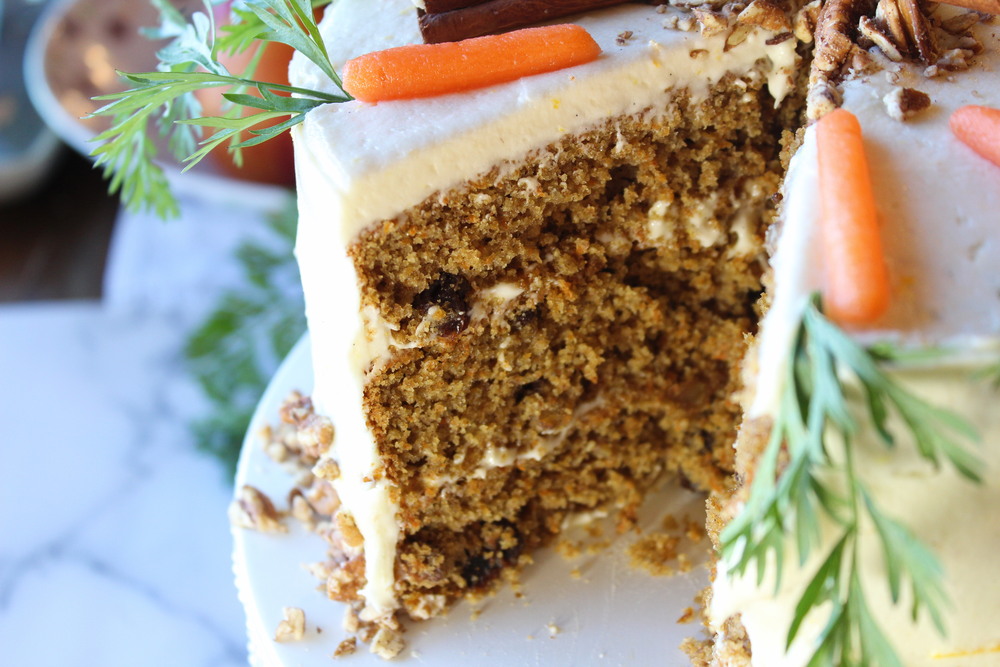
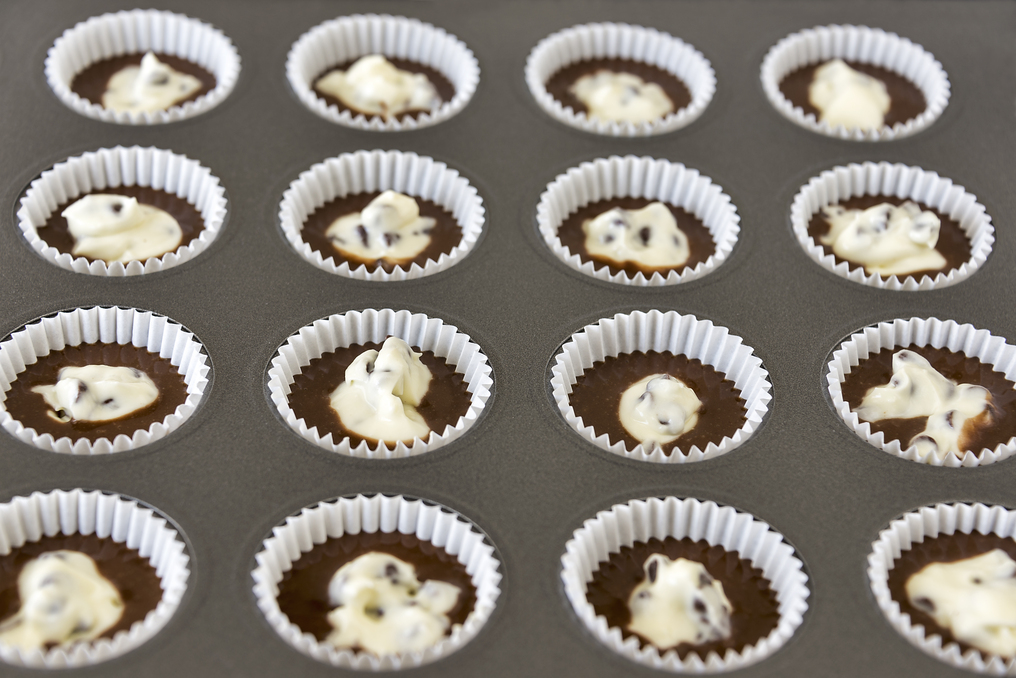
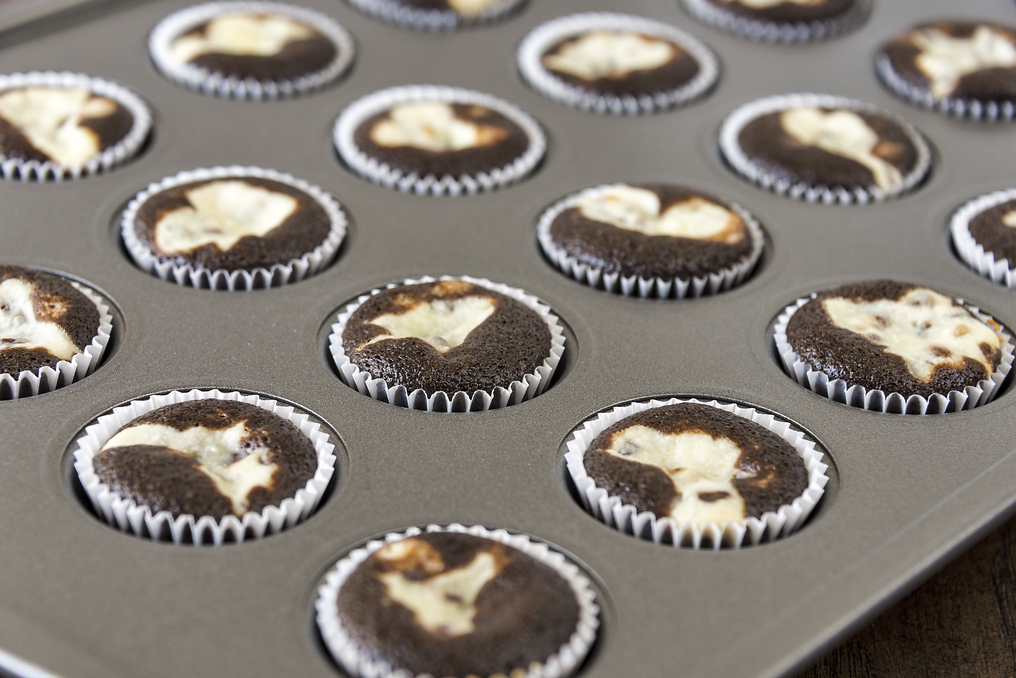
Here are some extra pictures so you can drool. You're welcome.
.jpg)
.jpg)
.jpg)
It's your turn.
There you go!
Always My Very Best
Chef Tess
.jpg)


.jpg)
.jpg)
.jpg)


.jpg)


.jpg)