

The Flip-Pal™ mobile scanner Design team.
Here's what I made:
This is the last week we'll be having the hop. Special thanks to the The Flip-Pal™ mobile scanner Design team leader, Kathy Peterson. Kathy Peterson is a Design Expert, Best Selling Author, TV corespondent on LIFETIME TV, Product Developer/Licensor and Master Gardener. It's an honor to be part of her team! For the blog hop, Kathy picked 6 designers across the country to help create some unusual craft projects of their choice using the Flip-Pal Mobile Scanner. So far, I have been not only excited to see what the other creative minds have devised...but also excited to have new friends. Can I just say how zany fun it has been to get to know these gals on Face Book these last few weeks?
Please don't forget to enter the drawing for a free scanner of your own Here. Yes! They're giving one scanner away a week!
This week I thought I'd end on a great gardening note.
 I love to garden. As the daughter of a master gardener, is it any wonder? I spent many a bare foot hours in my childhood next to my dad. He's a Christian in every sense of the word. He loves the Lord and his family. In fact he's been a gardener for my church since I was just a tiny kid. One of the few pictures I have of my dad at work was taken over 25 years ago in Arizona. He is a soft spoken, very gentle and loving person. I've never met anyone like him. I've been blessed to have him as a father and a friend since the day I was born. I'm sure it is his love that has seen me through some of the most difficult challenges I've ever faced...and his love that continues. So, as the daughter of a master gardener, it only seems right that we keep a little bit of my daddy in our family garden with us. After all, it was that amazing and tender man who let the toddler Stephanie hang onto his legs while he weeded the garden. He is the one who instilled in my heart a love for nature and seeing things come to my life with work and honest effort. He taught me to love the smell of dirt and the sweet taste of corn right out of the field. I loved sitting in the tomato patch and eating tomatoes right off the vine until the juice ran down my elbows. Those are memories money can't buy.
It was that same man who lovingly sent my son Face his first set of garden tools (that are still loved and used often). Imagine my joy when my dear friend Lisa shared some of her vintage garden pictures with me and I was able to use my Flip-Pal™ Mobile scanner to upload them to my computer! Dad was superimposed onto this vintage seed pack of cabbage seeds!
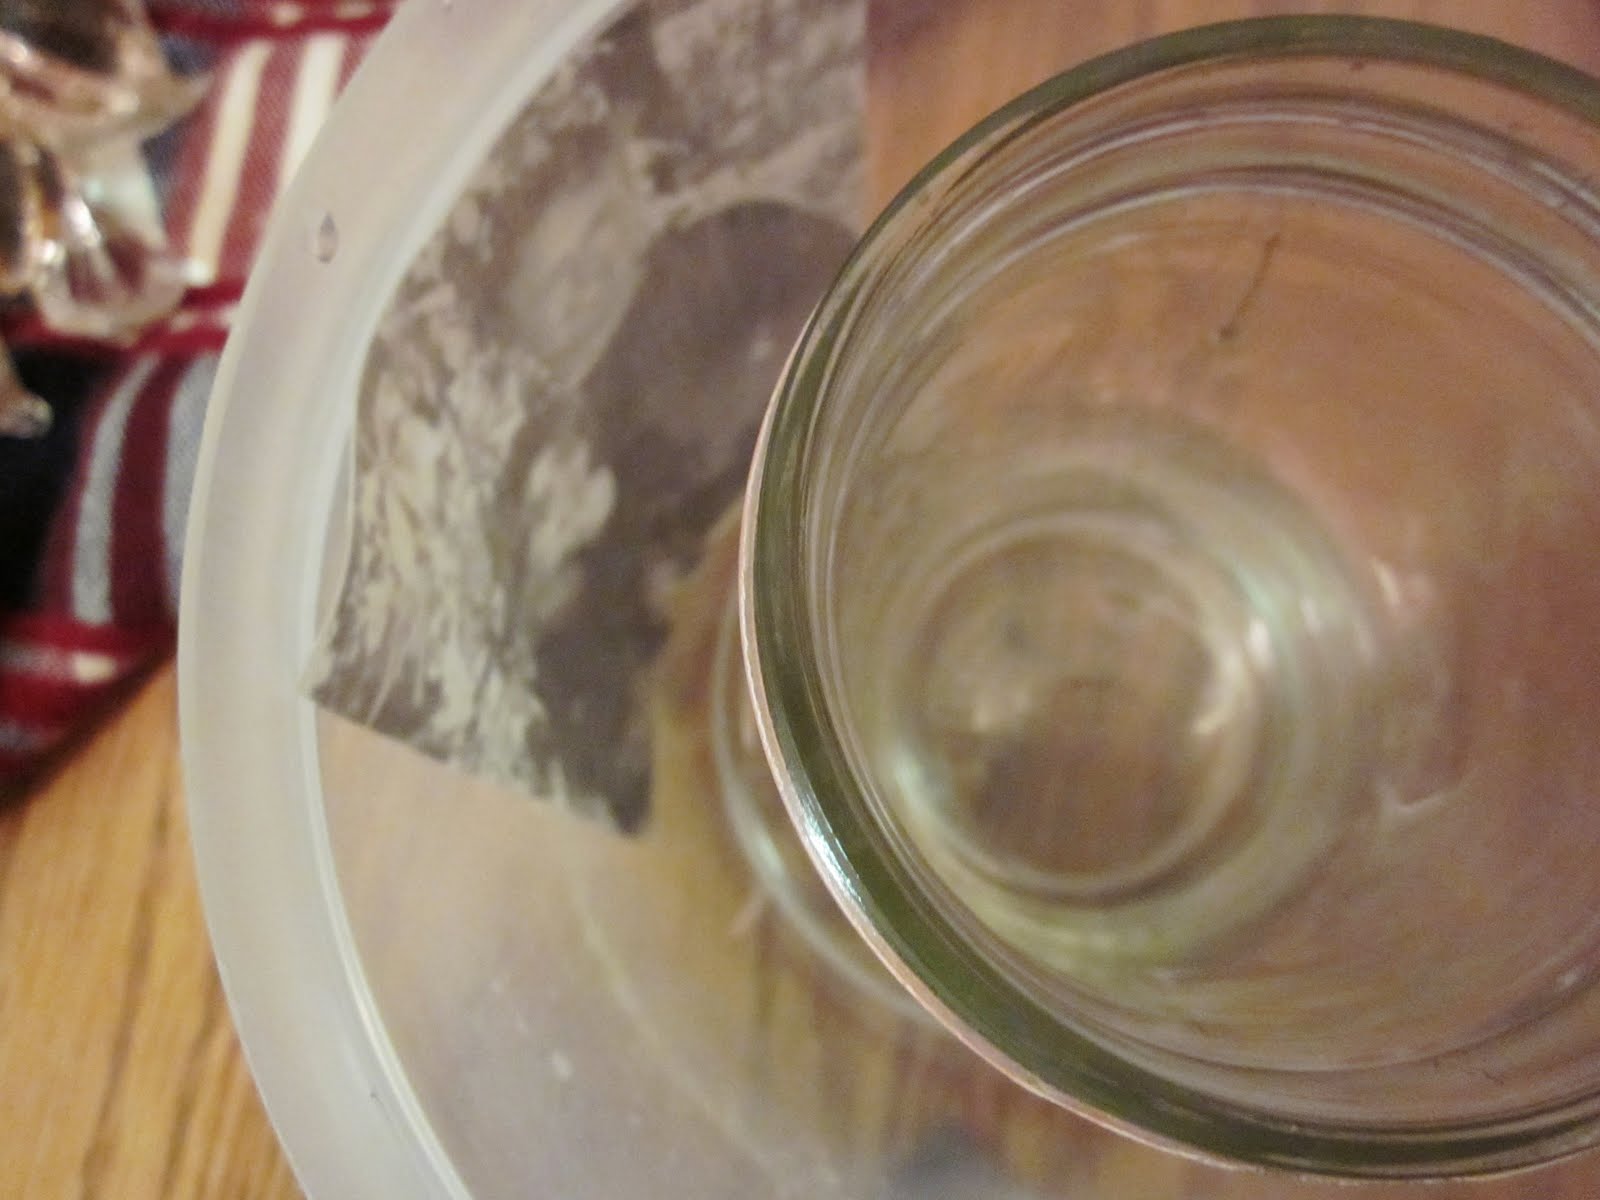
 Using a bit of this sealant, I sealed the photo into a plastic photo frame.
 Y'all have seen these frames right? They are in most stores, and usually have a magnet on the back to go on the fridge.
 I used the sealant to attach the photo frame to a large pop sickle stick and attached one silk pansy to the front. Okay...the pansy is an inside joke. You have to read the Cherry Cordial Cheesecake to really understand...or the great post on what we made for his 60th birthday: The Real Man's Dinner
 Now doesn't it just feel right having my daddy in the garden looking over my cabbage patch? Well, it does for me. Plus...look at my red cabbage! We've got a great crop this year!
 My son Face, who loves gardening almost as much as my father, suggested we also needed to have grandpa in a stepping stone. So we used one of the smaller picture frames and sealed dad's picture in it. Then used some of my son's treasured rocks from his own rock collection to add some details. This is my son's project. If you look really closely, you can see one of the love bubble rocks with Face's face right next to my dad. We made this from a "stepping stone kit". Craft stores are cool for that kind of thing. While the cement was still wet, we pressed pansies into the surface and removed them. This left some really nice imprints on the cement. Cool eh?
 So, now my dad, his pansies, and my son are side by side in my garden...
 They're right under the Swiss chard and dill. Somehow that feel really right.
 There you go. Our last week with the blog hop! I'm so dang sad it's over. In fact, I think I'll continue with the kitchen crafts every week! What do you think of that?! Thursdays will now be "Evil Think Tank Thursday". I'll propose the project theme for the week and be sharing a lot of ideas from myself and other bloggers here (so more to come on that for sure!). It's about time we had a special day for the ETT !
Now hop over to the other gals in the design team and see what else crafty-cool is being made today on the The Flip-Pal™ mobile scanner. Don't forget to enter the drawing for a free scanner of your own Here. Yes! They're giving one scanner away a week!
Kathy Peterson is a Design Expert, Best Selling Author, TV corespondent on LIFETIME TV, Product Developer/Licensor and Master Gardener.
Linda Peterson is a wonderful multi-talented designer of jewelry and mixed media projects!
Chef Stephanie Petersen baker, food display artist, and cooking instructor.
Christy Tomlinsonis a fabulous paper and mixed media artist and more!
Amy Andersonis a delightfully talented decoupage queen, knitter and loves to sew!
Melissa Langer is a fun and energetic pug artist. Her art is all about crocheting and painting pugs!
Pat Sloan is a very talented designer and quilting expert!


