Here's today's segment! It was so fun!

America's Baking Sweetheart
Showing posts with label Lucero Olive Oil. Show all posts
Showing posts with label Lucero Olive Oil. Show all posts
Friday, February 11, 2011


Friday, October 22, 2010
Black Quinoa Super Grain
 It has come to my attention that I haven't done a lot of side dishes here for Freezer Friday and I wanted to make sure that I wasn't leaving out one of my favorite parts of a meal...more of the meal. If that makes simple sense. It is one thing to have the freezer meal rice topper on rice, but another world to have it on a whole grain like quinoa or barley. I'm a huge fan of the Solar Cooked Fire and Rain Barley Pilaf as a base for soup or as a meal on it's own if we're talking grain. I have a long way to go adding a ton more on the subject of whole grain here on the blog. I hope you don't get sick of the new options. Variety is good. Even with grain, as it will nourish your body different ways and add another level of appreciation for good food. More than likely, my kids will at least be able to visit other families around the world someday and not freak out if they are served a meal they don't recognize. That's always good for foreign relations. So is this. Bolivia...I love you. I love your Black Organic Quinoa . Quinoa ( pronounced "keen-wah") is heaven. It has been cultivated in the Andes for more than 5000 years! Locally referred to as the "mother grain", it kept the Incan armies strong and robust. It's a protein powerhouse and considered one of the best sources of protein and amino acids by the United Nations. It's gluten free. Plus... look at it. It's just gorgeous and looks like Fall. Doesn't it? I fell in love the first grain that I ate. It is slightly nutty flavored and mild with amazing texture. Uncooked it looks like this...
 The main thing to remember with quinoa cookery is to always rinse the grain. Always. It isn't optional like rice rinsing is. Quinoa will be huge wads of bitter unhappy junk in your mouth if you don't rinse it. I'm just saying...you've been warned. Put the grain in a strainer that is fine enough that the grain won't wash out.

This is how you cook it:

It will look like it has sprouted when cooked. It isn't sprouted. Just cool.

Because herbs freeze beautifully, I add a few from the garden.
This batch ended up like a fusion of Provence France and the Andes mountains. If that's possible--I'm eating brie with it. I'm using herbs that are traditionally combined for a classic French meal. Dill, parsley, tarragon, rosemary, thyme, basil and oregano. This with a subtle hint of lavender petals and some fresh squeezed lemon juice. Salt and pepper to taste. A drizzle of fruity Lucero
 Personal taste will vary and your preference for herbs may be different. As a general rule, I use about 1/4 cup chopped herbs to 2 cups cooked grain.
 Put 2 cup portions in pint size freezer bags or containers and remove as much air as possible. Freeze laying flat for maximum freezer space.
Defrost in the fridge or in the microwave out of the bag. Heat 2-3 minutes microwave or add to your favorite soup or casserole in place of rice.

There you go. Explore a new grain this week.

It will look like it has sprouted when cooked. It isn't sprouted. Just cool.

Because herbs freeze beautifully, I add a few from the garden.
This batch ended up like a fusion of Provence France and the Andes mountains. If that's possible--I'm eating brie with it. I'm using herbs that are traditionally combined for a classic French meal. Dill, parsley, tarragon, rosemary, thyme, basil and oregano. This with a subtle hint of lavender petals and some fresh squeezed lemon juice. Salt and pepper to taste. A drizzle of fruity Lucero
Crushed Mandarin Orange Certified Extra Virgin Olive Oil .
 Personal taste will vary and your preference for herbs may be different. As a general rule, I use about 1/4 cup chopped herbs to 2 cups cooked grain.
 Put 2 cup portions in pint size freezer bags or containers and remove as much air as possible. Freeze laying flat for maximum freezer space.
Defrost in the fridge or in the microwave out of the bag. Heat 2-3 minutes microwave or add to your favorite soup or casserole in place of rice.

There you go. Explore a new grain this week.
Tuesday, October 5, 2010
Homemade Fig Bars (Tutorial 101)
 My childhood would not have been complete without my daddy's addiction for fig bars. I don't think I would look at him with the same cute smile if I didn't know he had a weakness for something as simple as a sleeve of figgy bars. There is in fact, nothing on earth that makes me miss him more than seeing a garden full of new seedlings...and a package of fig bars.

So, that being said, today I wanted to show a whole grain, whole food alternative to the premade bars. It will of course, start with some figs. These are dried figs that have soaked 2-3 hours in warm water. I also like to soak them in juice for a slightly different flavor. Pick a juice...any juice.

Once soaked they will start to look tomatoes...but brown with smaller seeds.
 Fig filling:
1 lb dried organic figs
1/2 cup honey or rice syrup
1/2 cup lemon juice
1 tsp ground ginger
2tsp vanilla
1/3 cup UltraGel or 1/3 cup corn starch (only use corn starch if you don't plan on home canning the filling)
water or juice (about 3 cups)
Soak the figs in the juice or water for 2-3 hours. Drain juice and discard. Mash fruit with a fork fine or use a meat grinder. I prefer the grinder method. This meat grinder had never been used on meat. Isn't that weird? Just a random fact I'm sure you wanted to know about.

 You will end up with this mass of mashed goodness.
 Combine all the filling ingredients in a large pan.
 Cook until thick over medium heat, about 10 minutes. This will make 3-4 cups of filling. I always make extra and home-can it for use later. Boiling water bath method, 10 minutes.
 One cup of filling will make a batch of fig bars. Take that filling and set it aside. You may need to add 1-2 Tablespoons more of the UltraGel to the filling, depending on how thick you want the stuff. I like mine pretty firm...so I add a little more. This works amazingly well for any other kind of jam as well if you want to turn it into a filling for cookies or bars.
My fig bar dough:
1/2 cup butter, softened or 1/2 cup Chocolate Infused Certified Extra Virgin Olive Oil
1/2 cup honey
1 egg
1 tsp vanilla
1/4 tsp salt
1/4 tsp baking soda
3 1/2 cup whole wheat pastry flour ( I used spelt flour today)
Directions:

Combine the honey, vanilla and soft butter or chocolate olive oil until smooth.
I think I could bathe in this junk. I mean...who wouldn't want to just have their ankles in this stuff?

Add the egg, baking soda and salt. Mix until combined. Add the flour.

Stir by hand about 2 minutes, until a soft but slightly firm dough is formed.
 Heavily flour your counter top or work surface. The dough will be rather soft and I don't want any stickin'.
Flour the top of the dough as well.
 With a rolling pin, roll dough out until it is about 1/4 inch thin and in the shape of a large rectangle.

Transfer your figgy filling into a pastry bag. That's a cake decorating bag for you who don't know. I have a lot of new students who have no idea what the real name for things could be.

Slice the dough all the way through, 2 1/2 inches wide, all the length of the rolled out dough.

Squeeze the filling out down the center of the dough strip.

The filling should be about 1/2 inch tall and 3/4 inch wide, the full length of the strip.

Very carefully fold the sides around the filling and lightly pinch the dough at the center seam.
 Depending on how well you floured your work surface, you may need to use some persuasion in getting the dough up off the board. I've found the use of a small sharp steak knife to be very effective at this. Also good at getting gum off my dashboard. Not that we have that issue.
 Once you have sealed all the strips of dough around the filling,

Take a thin metal spatula and cut the filled dough logs to fit just about the length of the spatula.

Gently ease the spatula under the bar to transfer it to a baking sheet. Oven should be pre-heated to 375 degrees.

Flip the bar so it's seam side down on an ungreased heavy baking sheet. Leave about an inch of space between bars. Keep the bars as long as possible when baking. Bake 10-12 minutes.
 When still hot, cut with a sharp knife into cookie size bars.
 Transfer to a cooling rack if desired.

When cooled, place in an air tight container or wrap tightly in individual snack baggies.

Add the egg, baking soda and salt. Mix until combined. Add the flour.

Stir by hand about 2 minutes, until a soft but slightly firm dough is formed.
 Heavily flour your counter top or work surface. The dough will be rather soft and I don't want any stickin'.
Flour the top of the dough as well.
 With a rolling pin, roll dough out until it is about 1/4 inch thin and in the shape of a large rectangle.

Transfer your figgy filling into a pastry bag. That's a cake decorating bag for you who don't know. I have a lot of new students who have no idea what the real name for things could be.

Slice the dough all the way through, 2 1/2 inches wide, all the length of the rolled out dough.

Squeeze the filling out down the center of the dough strip.

The filling should be about 1/2 inch tall and 3/4 inch wide, the full length of the strip.

Very carefully fold the sides around the filling and lightly pinch the dough at the center seam.
 Depending on how well you floured your work surface, you may need to use some persuasion in getting the dough up off the board. I've found the use of a small sharp steak knife to be very effective at this. Also good at getting gum off my dashboard. Not that we have that issue.
 Once you have sealed all the strips of dough around the filling,

Take a thin metal spatula and cut the filled dough logs to fit just about the length of the spatula.

Gently ease the spatula under the bar to transfer it to a baking sheet. Oven should be pre-heated to 375 degrees.

Flip the bar so it's seam side down on an ungreased heavy baking sheet. Leave about an inch of space between bars. Keep the bars as long as possible when baking. Bake 10-12 minutes.
 When still hot, cut with a sharp knife into cookie size bars.
 Transfer to a cooling rack if desired.

When cooled, place in an air tight container or wrap tightly in individual snack baggies.
There you go. Homemade fig bars.
Thursday, June 10, 2010
Orange Brandy Zucchini Bread
 You know, when I stared my little garden I had visions of big veggies and luscious herbs just bounding out of the ground. When the two zucchini plants started I was so giddy. They where so strong.

 Then, they started taking over. I lovingly refer to them as the "Rebel Alliance". I was out of the loop for a few minutes and suddenly everyone has delusions of grandeur. I have two plants the size of a small rhino filling the upper half of the garden. They are producing elite lovely squash.

Every now and then some of them get cocky. I'm happy to report that the rebel base has been discovered and the mutants dealt with.

The head squadron leader who flew the Millennium Falcon has been to the carbon freezing chamber and is now beautifully displayed in my kitchen hutch.
 Drizzled with orange brandy honey glaze.
 What pray tell, am I talking about? It's zucchini bread my friends. It's the perfect way to store extra zucchini. Make a few loaves and put them in your freezer. They hold really well for 4-6 months if you wrap them in foil and then place them in gallon size freezer bags. This recipe uses about half the sugar of most zucchini bread recipes. You can use Splenda or Xylitol in place of the sugar or granulated fructose if you are wanting a sugar free bread. I prefer the flavor of whole wheat cake flour (I mill my own :Flour making day...flour power.) , but you can use regular all purpose flour. I'm not checking your cupboards. I'm just sharing how I do it.

Directions: Once the butter and egg mixture is smooth, add the zucchini and cinnamon.
 I was out of eggs today. Did you know you can use unflavored gelatine in place of eggs in baking recipes? One packet equals 3 eggs if dissolved in 3/4 cup luke warm water for 5 minutes stirring well.
 Less calories than eggs, and no cholesterol.
 In a separate bowl, combine the dry ingredients well. Pour them into the wet ingredients.
 Mix the wet and the dry until combined, about 1 minute.
If you use cake flour it is easy to keep the right texture for the batter. All purpose flour, be careful not to over mix.

I use a stoneware loaf pan, but regular loaf pans work just fine. Remember on stoneware to add about 5 minutes to the baking time. Make sure to grease the pan well with nonstick cooking spray. The ones with flour added are especially nice for baking. Or you can line you pan with parchment paper.
 The sun was rather accommodating today, so I used the solar oven.

 Cool in the pan at least 5 minutes.
 Invert pan onto a serving tray or cooling rack if you don't plan to honey glaze it.
 Combine honey with brandy or brandy extract.

Drizzle over the warm loaf. Try not to drool.
 I sprinkle the glazed loaf with more cinnamon (okay it's really my Wise Woman of The East Spice Blend ) and serve it warm.
 The honey seeps into the bread in a most pleasing fashion.
 "Where are your rebel friends now?" Evil grin.

 Drizzled with orange brandy honey glaze.
 What pray tell, am I talking about? It's zucchini bread my friends. It's the perfect way to store extra zucchini. Make a few loaves and put them in your freezer. They hold really well for 4-6 months if you wrap them in foil and then place them in gallon size freezer bags. This recipe uses about half the sugar of most zucchini bread recipes. You can use Splenda or Xylitol in place of the sugar or granulated fructose if you are wanting a sugar free bread. I prefer the flavor of whole wheat cake flour (I mill my own :Flour making day...flour power.) , but you can use regular all purpose flour. I'm not checking your cupboards. I'm just sharing how I do it.

Tess Orange Brandy Zucchini bread
yeild 1 large 9 by 5 inch loaf or 3 small loaves
3/4 cup melted butter (or Lucero Crushed Mandarin Orange Certified Extra Virgin Olive Oil)
3/4 cup granulated fructose or sugar
1 tsp double strength vanilla Or 1/2 tsp vanilla bean paste
1/4 tsp Brandy oil
1tsp orange zest
3 eggs (or 3/4 cup water with 1 packet unflavored gelatine dissolved...about 5 minutes)
3/4 cup granulated fructose or sugar
1 tsp double strength vanilla Or 1/2 tsp vanilla bean paste
1/4 tsp Brandy oil
1tsp orange zest
3 eggs (or 3/4 cup water with 1 packet unflavored gelatine dissolved...about 5 minutes)
2 cups shredded fresh zucchini
2 cups whole wheat cake flour (all purpose works)
1 tsp baking soda
1 tsp baking soda
1 tsp baking powder
1 tsp cinnamon (I use Wise Woman of The East Spice Blend)
1/4 tsp salt
1 cup chopped toasted pecans or walnuts (optional)
1 tsp cinnamon (I use Wise Woman of The East Spice Blend)
1/4 tsp salt
1 cup chopped toasted pecans or walnuts (optional)
1/4 cup dark honey
1/2 tsp brandy flavor or 2T real brandy (if you prefer)
Directions:
Combine the melted butter, sugar, and eggs, vanilla, zest and flavored oil whisking well until the sugar seems dissolved. I use the flavored oil. It lends a nice complex flavor to the loaf.
 Once the butter and egg mixture is smooth, add the zucchini and cinnamon.
 I was out of eggs today. Did you know you can use unflavored gelatine in place of eggs in baking recipes? One packet equals 3 eggs if dissolved in 3/4 cup luke warm water for 5 minutes stirring well.
 Less calories than eggs, and no cholesterol.
 In a separate bowl, combine the dry ingredients well. Pour them into the wet ingredients.
 Mix the wet and the dry until combined, about 1 minute.
If you use cake flour it is easy to keep the right texture for the batter. All purpose flour, be careful not to over mix.

I use a stoneware loaf pan, but regular loaf pans work just fine. Remember on stoneware to add about 5 minutes to the baking time. Make sure to grease the pan well with nonstick cooking spray. The ones with flour added are especially nice for baking. Or you can line you pan with parchment paper.
 The sun was rather accommodating today, so I used the solar oven.

Bake at 350 degrees 9 by 5 loaf pan 67-75 minutes.

It will look dry on the top of the loaf. Check to see if it is done by inserting a toothpick into the bread. If you pull it out and it isn't covered in slime, but clean, it's done.

It will look dry on the top of the loaf. Check to see if it is done by inserting a toothpick into the bread. If you pull it out and it isn't covered in slime, but clean, it's done.
 Cool in the pan at least 5 minutes.
 Invert pan onto a serving tray or cooling rack if you don't plan to honey glaze it.
 Combine honey with brandy or brandy extract.

Drizzle over the warm loaf. Try not to drool.
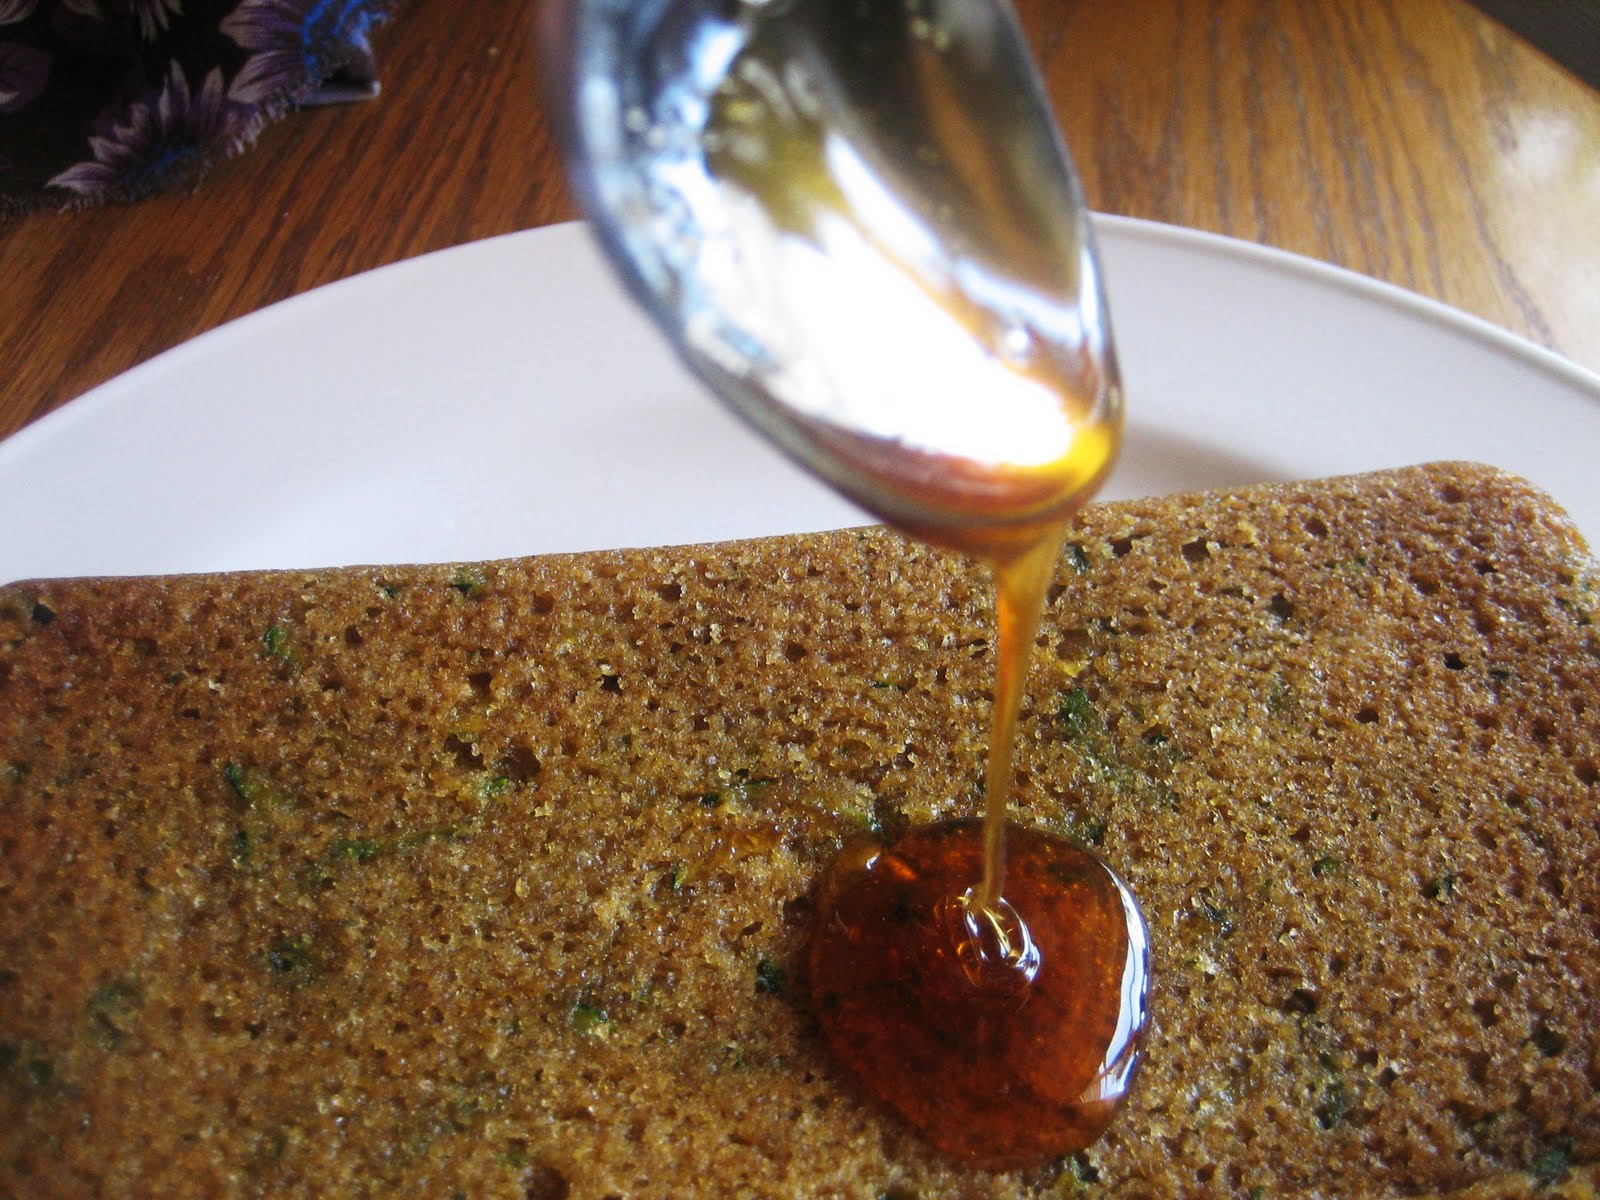 I sprinkle the glazed loaf with more cinnamon (okay it's really my Wise Woman of The East Spice Blend ) and serve it warm.
 The honey seeps into the bread in a most pleasing fashion.
 "Where are your rebel friends now?" Evil grin.

There you go.
Subscribe to:
Posts (Atom)