Showing posts with label flour. Show all posts

Thursday, May 1, 2025

The Ultimate Pastry Chef's Wheat Flour Science of Baking Guide


Although flour is an essential addition to many recipes and is the most popular baked goods, do you know how it works scientifically? Let my chef's guide give you all the insights you need!

Head millers spend years in college studying the properties of milling equipment and how to produce exquisite flour that meets exact specifications.  Bakers and pastry chefs devote the entirety of their careers to using it creatively and studying hands-on with experimentation. If they’re any good at their job, baking instructors also learn the science behind what makes each flour work in each application.  So, do you really know how flour works?
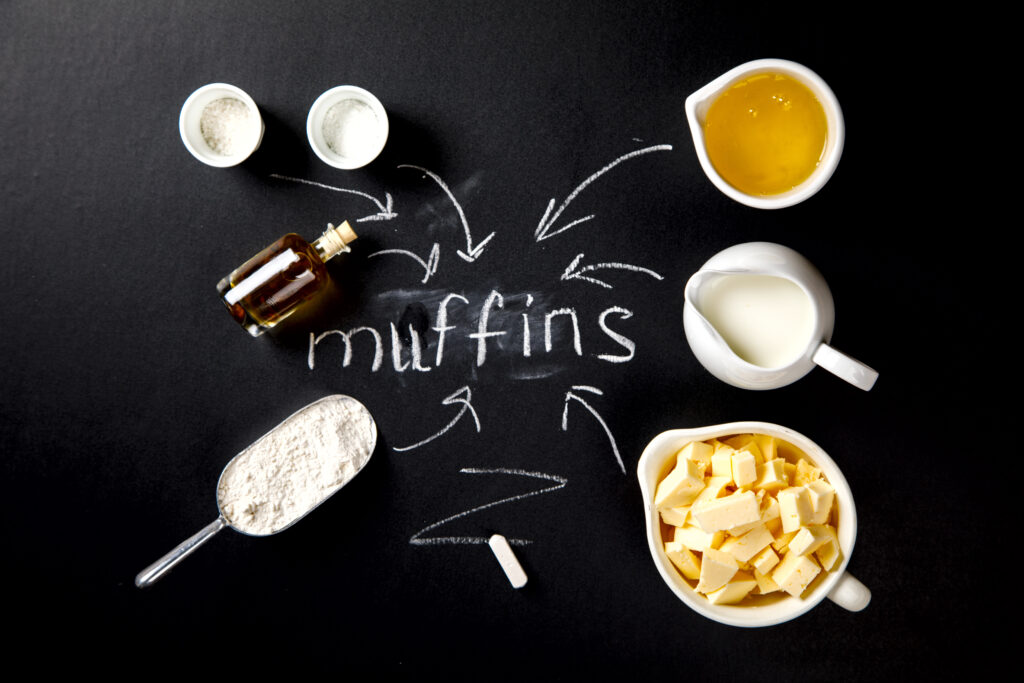
How often did you add flour to your cookies and cakes and overlook its true importance for the chemical and physical changes needed for the finished product to come out of the oven with an acceptable finished look and taste? You probably haven’t had to think about it until something went wrong. Why are the cookies as hard as a rock? Why is the cake extra thick and weird today? What happened to the bread? It looks like a two-headed monster!  We certainly prefer the question, “Who ate all the bread?” That’s a question suggesting that everything went perfectly in the baking process.

Understanding the science behind flour and its interactions during baking can provide valuable insights into our baking items. When we select a specific type of flour, it should be chosen for a recipe that will complement the properties of the flour and produce delicious results. This knowledge empowers us to achieve the best results with each flour, making us more knowledgeable and confident in our baking endeavors.
Gluten Is Not Evil.

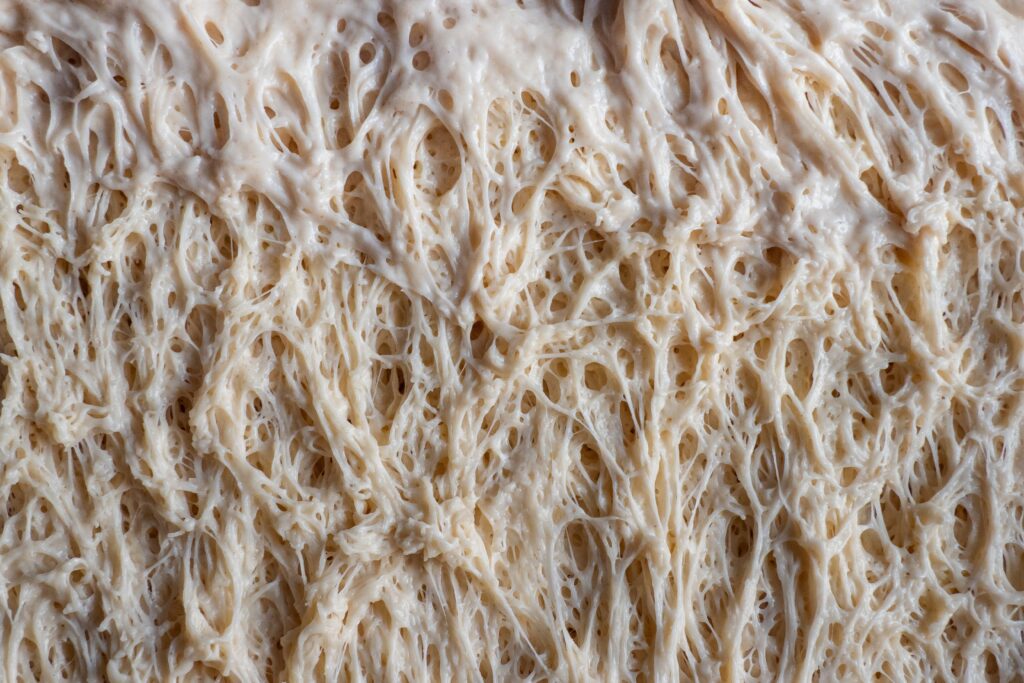
Gluten, often misunderstood, is a vital component of wheat flour, especially in baking.  Its role in baking is significant and multifaceted. First, it acts as a binding agent for doughs and batters. Secondly, in bread and batters, it traps the gases released by yeast or leavening agents during baking, preventing bread, cakes, and cookies from being too dense. Furthermore, gluten is ultimately responsible for the shape and texture of baked goods. Understanding and appreciating the role of gluten in baking can enlighten us and enhance our baking experiences.
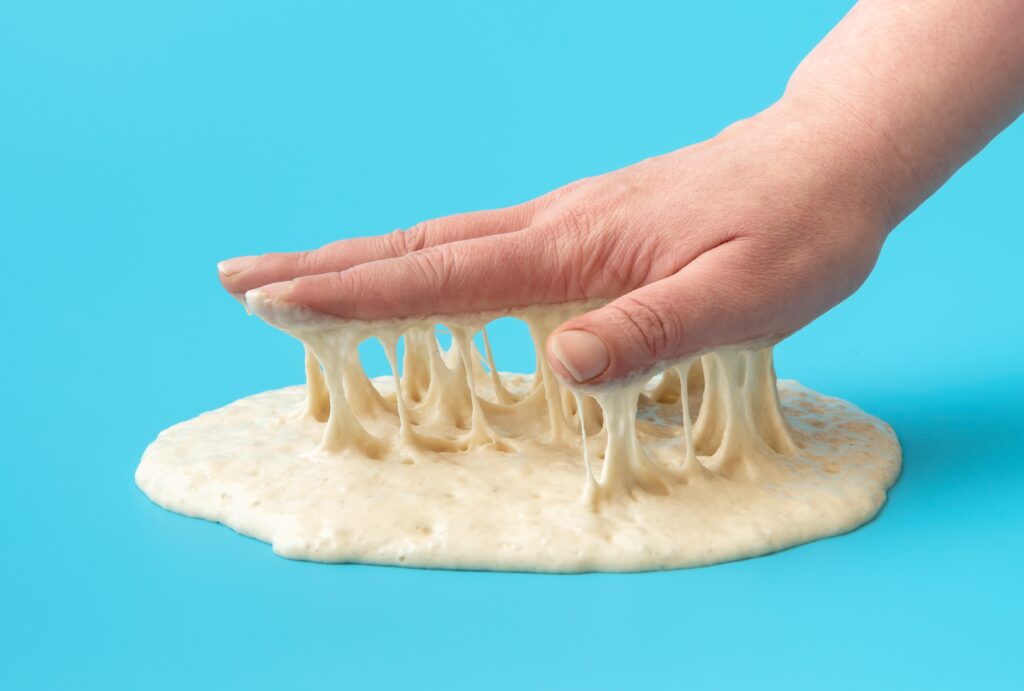
How exactly does this miracle protein work?

Gluten is made up of two proteins, glutenin and gliadin. When mixed with water, these two proteins combine to create strong, elastic gluten strands in the dough. These gluten strands become stronger and more developed the more you mix the dough, ultimately affecting the texture and type of dough formed. The more gluten proteins in flour, the quicker and stronger the elastic gluten strands will be created in the dough.
The Fat Role

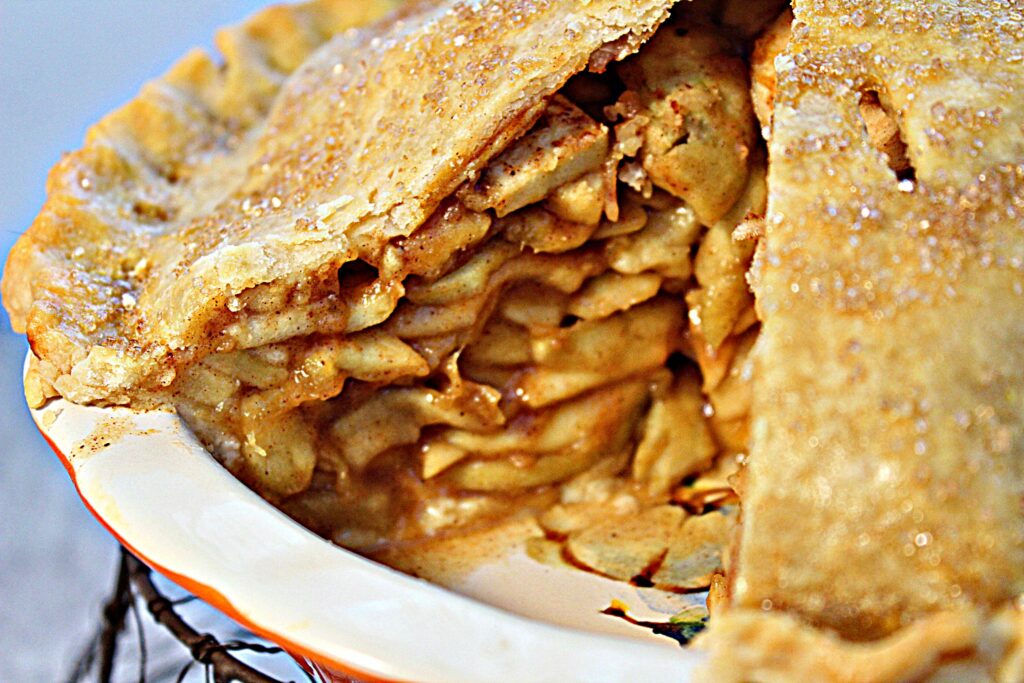
The role of fat in baking is crucial and often overlooked. The fat content in a dough or pastry significantly affects how quickly and tightly the gluten strands are formed. Fat prevents the proteins from connecting as rapidly as possible and can even prevent them from connecting altogether. This understanding can prepare us when choosing the right flour for our recipes. For instance, when a more tender finished product is desired, higher fat content is often seen in pastries, cookies, and cakes. It’s also not uncommon for a higher protein flour to be used in pastries with a lot of fat in the formulation, as bakers may want more structure and a longer shelf life. Fat in baking adds to the shelf life of baked goods, keeping them moist when exposed to air.
Which flour for which baked goods is most appropriate?

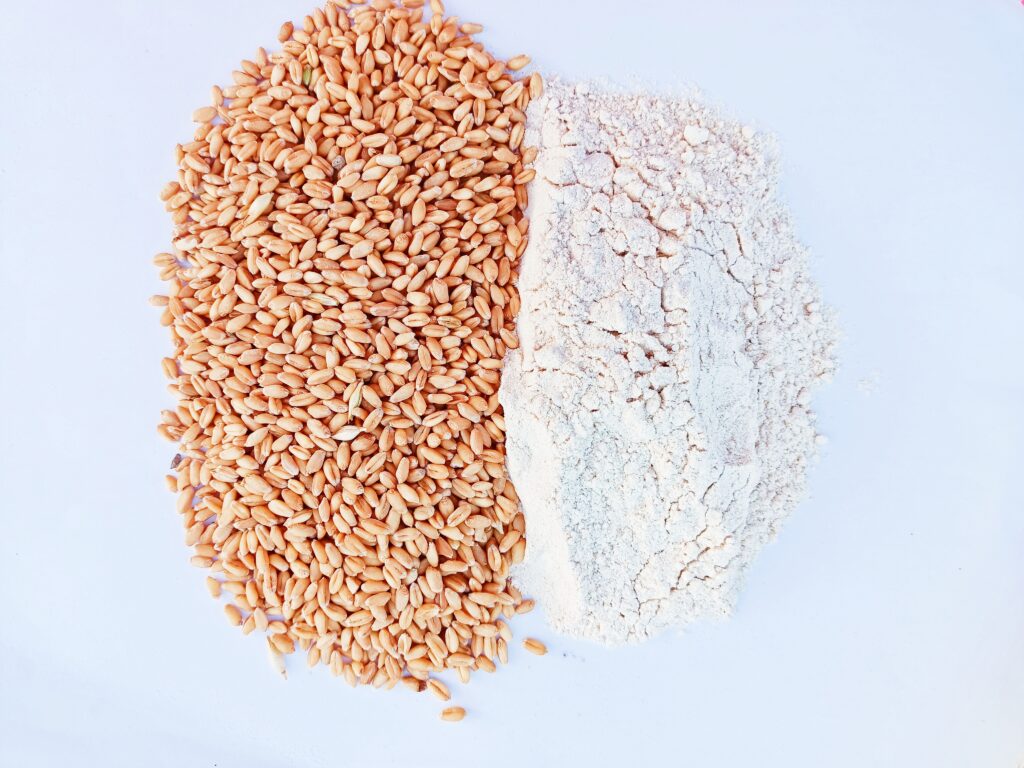
The protein percentage is the best indicator for choosing the flour for a specific baked good. Different types of dough and batters require different levels of gluten content. For instance, bread, pizzas, and pasta require a higher protein content. The higher amount of gluten makes the bread dough elastic and stretchy, contributing to open-air pockets and a tender loaf that won’t fall apart when sliced. It helps the pasta to have enough protein so that, when cooked, it has a desirable texture.

On the other hand, cakes, cookies, and other pastries require less gluten, making them lighter and fluffier. The gluten connections are less connected and elastic. Therefore, as expected, bread flour has a higher protein content than pastry or cake flour. Oddly enough, hard wheat varieties produce higher protein content flours for bread and pasta. Softer wheat varieties produce lower protein content for softer products. If someone mentions they prefer soft wheat, they are more than likely to create baked goods that are more delicate, like cakes and cookies.
Bread Flour

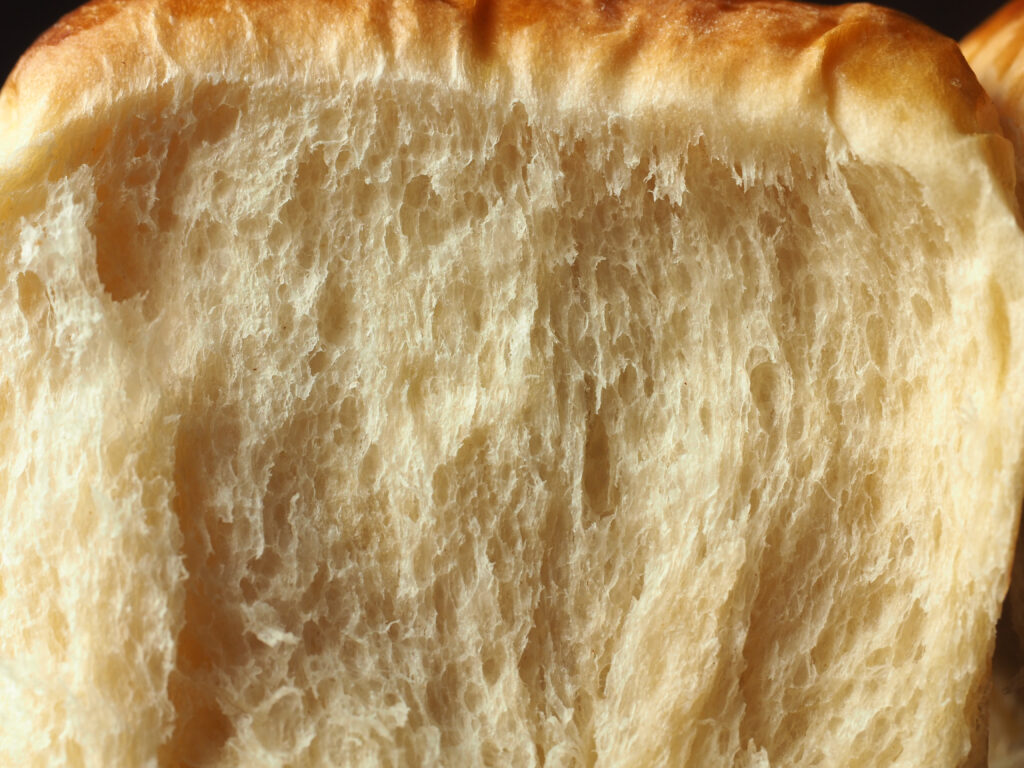
Bread flour, durum semolina, and hard whole-wheat flour have the most protein, about 12-15%. Bread flour is made from hard wheat and forms strong, durable gluten, making the elastic dough necessary for good bread. Whole-wheat flour provides a more wheat flavor and is slightly darker than white flour. It is produced by milling whole wheat berries instead of just parts. These flours are, therefore, ideal for yeast-raised dough and pizzas.

All-Purpose Flour

As its name suggests, all-purpose flour can be used for almost anything since it is generally a mix of hard and soft wheat. It falls in the middle regarding protein content, 9-12%, and thus can be used for most home-baked goods. It also comes in bleached and unbleached versions. The difference between these two is that bleached flour has been treated with an agent to whiten it. Its nutrients are restored, while unbleached flour remains untouched and keeps all its nutrients on its own. Regarding baking results, however, these two are equal and will work the same.
Pastry Flour

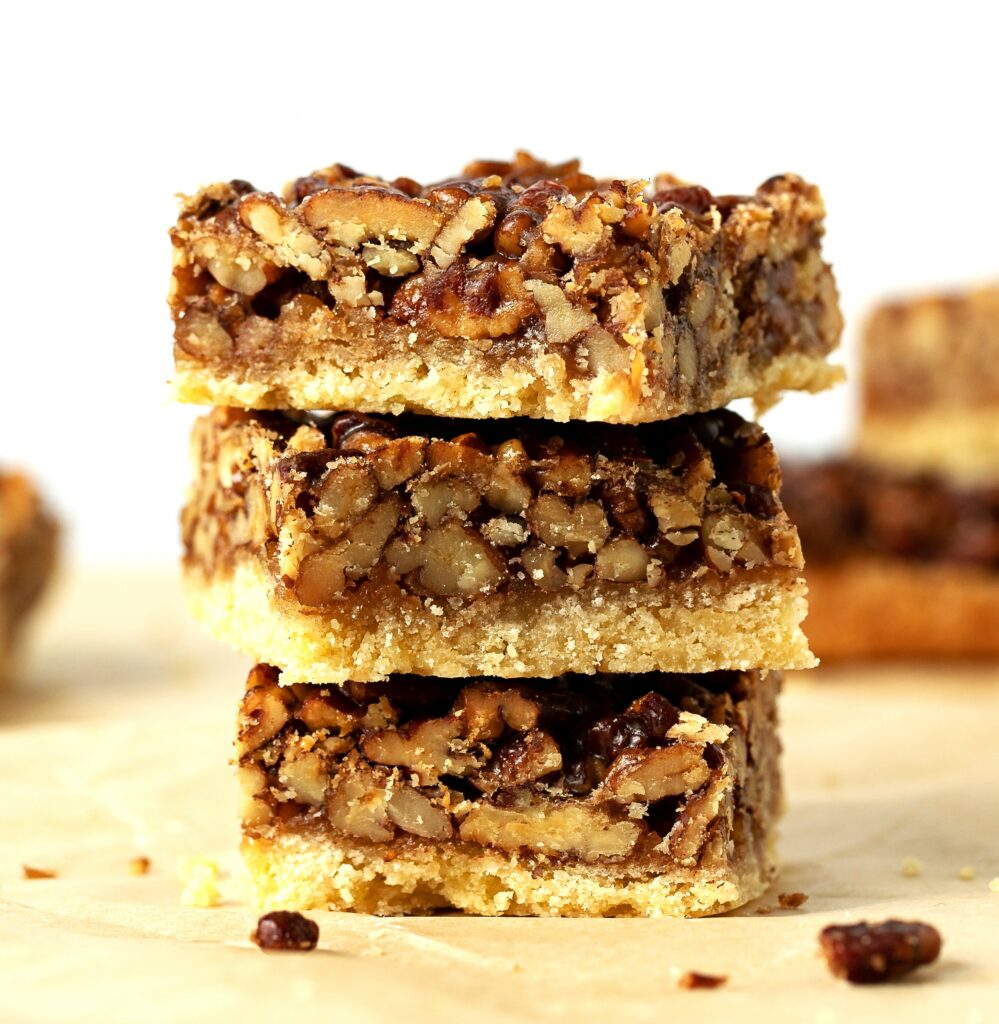
Pastry flour is made from soft wheat and contains 8-9% protein. This results in weaker gluten and a softer product, resulting in a crumbly, fluffy texture. Thus, it is mainly used for different types of pastries.
Cake Flour

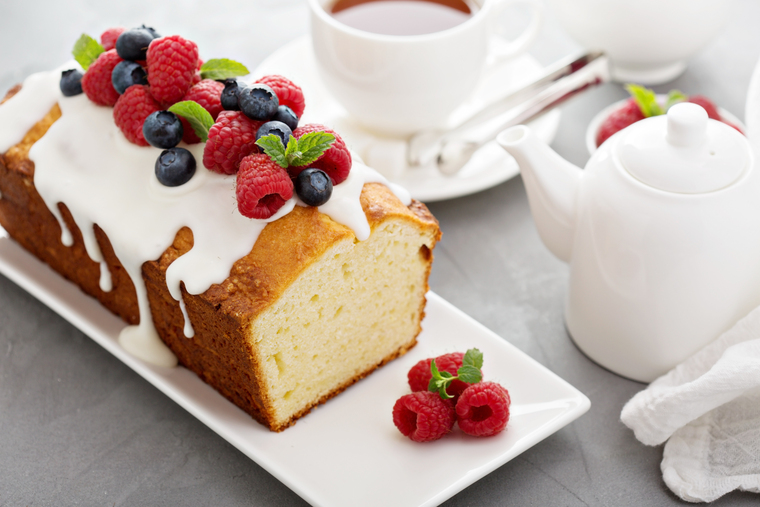
Cake flour is very similar to pastry flour. It is made from soft wheat and falls below pastry flour with a 7-8% protein content. The lower protein content ensures that cakes turn out fluffy and tender.
Type 55 Flour

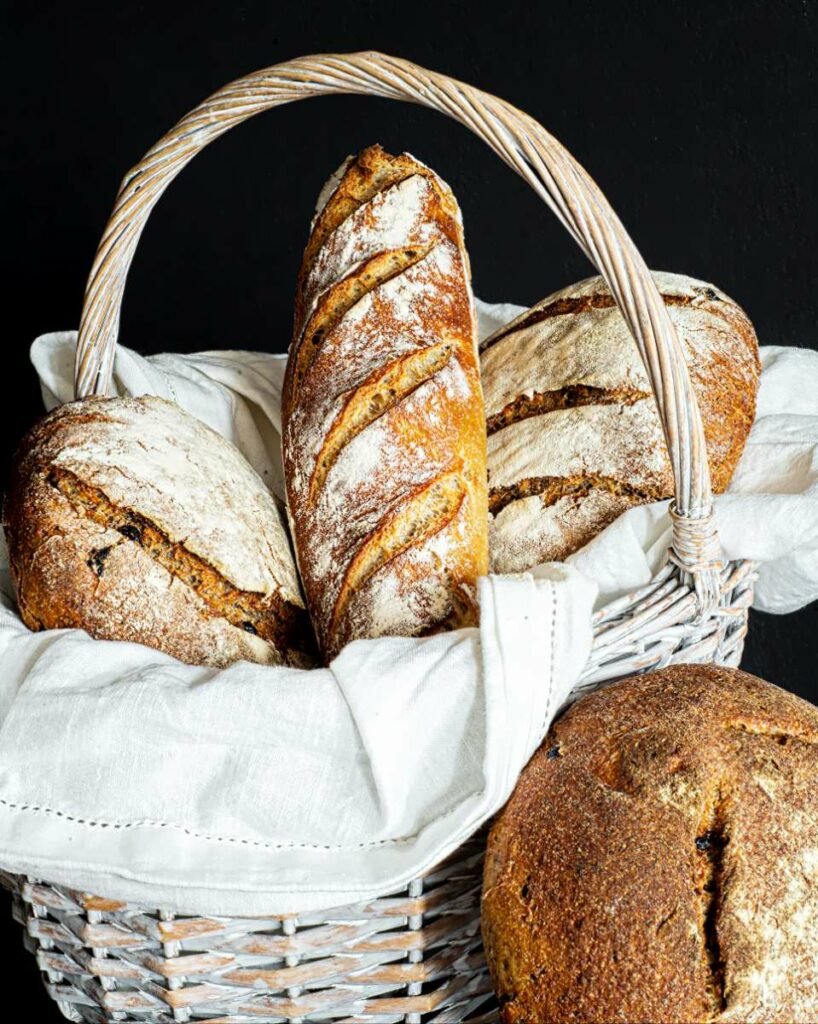
Typically described as low-protein bread flour with .50-55% ash, this flour is ideal for Artisan bread, laminated dough, Neapolitan pizza, cookies, scones, and quick bread.

Tortilla Flour

 The typical falling numbers* for this flour mean it can’t be used as well for bread, but is excellent for flatbreads, crackers, pizza, and tortillas.
High Gluten Flour

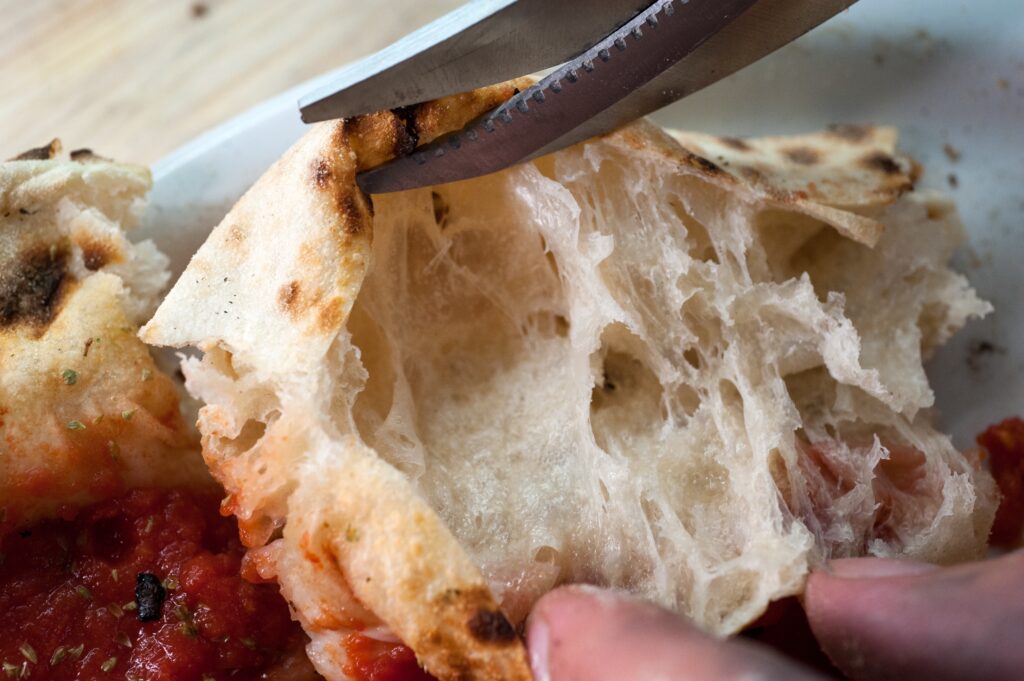
As the highest-gluten flour (13-14%), it’s key to helping you bake lusty, chewy artisan and whole-grain bread with a hearty, lofty texture. It’s suitable for breads that require long fermentation, like no-kneads, and great for dense, chewy breads like bagels, crusty rolls, artisan hearth breads, and pizza crusts — adding a toothsome quality and a bakery-worthy interior. Higher protein flour absorbs more liquid than other flours, so add about 1 tablespoon or more extra liquid for each 120g when subbing in a recipe.

Baker’s Patent Flour

Patent flour is milled from the innermost part of the wheat kernel’s endosperm, producing pure, high-quality white flour. It typically falls in the 12.2% to 12.8% protein range, making it suitable for breads and rolls that need structure and chewiness. Patent flour is usually made from hard spring wheat, contributing to its strong gluten development. It is ideal for yeast breads, European Artisan Breads, French breads, Ciabatta, Focaccia, rich sweet doughs, Cinnamon Rolls, and Doughnuts.
The Food Science Lab

*Understanding Falling Numbers in Flour

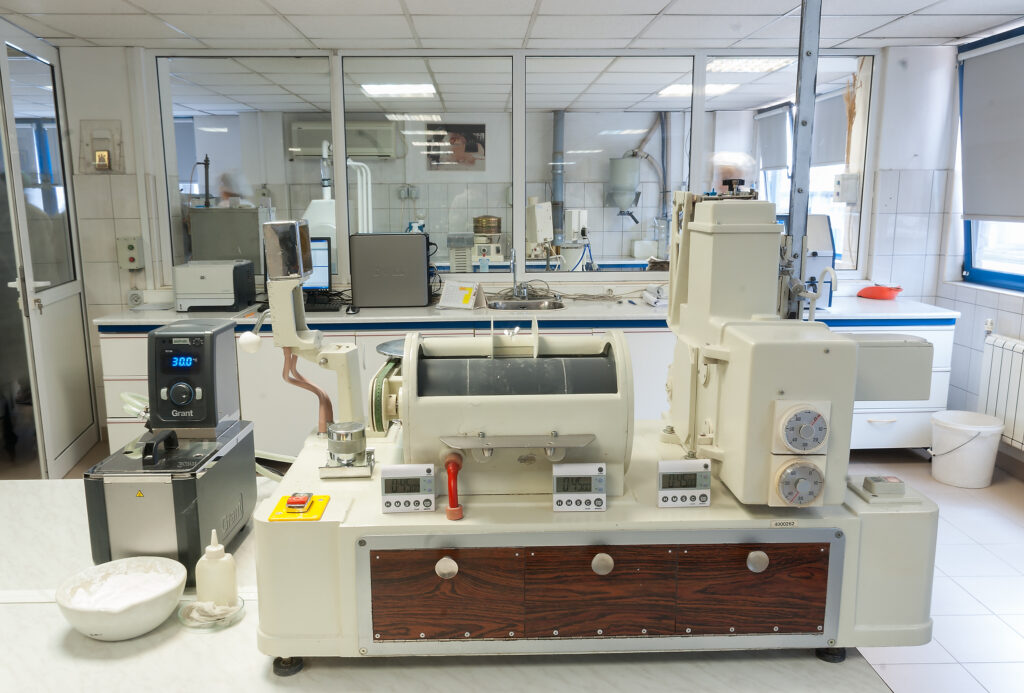
For baking bread, falling numbers ideally should be between 250 and 300 seconds, as this range indicates good flour quality and optimal enzyme activity. Falling Number measures the amount of pre-harvest sprouting that occurs in the grain while on the stalk in the field. It is a lab test in which a slurry of flour and water is placed in a test tube, and the time it takes for a plunger to fall through the slurry to the bottom of the test tube is measured.

Why is the Falling Number Significant?

The test assesses the level of alpha-amylase, an enzyme that breaks down starch in flour, negatively impacting bread quality.

What are Ideal Falling Numbers?

For optimal baking results, flour with falling numbers between 250 and 300 seconds is generally considered ideal, especially for bread baking.

Falling Number Too High?

A very high falling number (above 300 seconds) can indicate a lack of enzyme activity, which may require the addition of amylolytic enzymes or malted flour to the baking process.

Falling Number Too Low?

A low falling number (below 250 seconds) indicates high enzyme activity, often caused by sprout damage or high moisture content in the wheat kernels. Such flour might be unsuitable for milling and baking or require adjustments to the baking process.

Whatever you are baking, we hope this essential guide has been helpful and will give you insights into choosing the flour that best fits your desired results. Happy baking.

Always My Very Best,

Chef Tess


Monday, November 4, 2013

High Protein Ancient Grain KAMUT® and Seed Pancake Mix

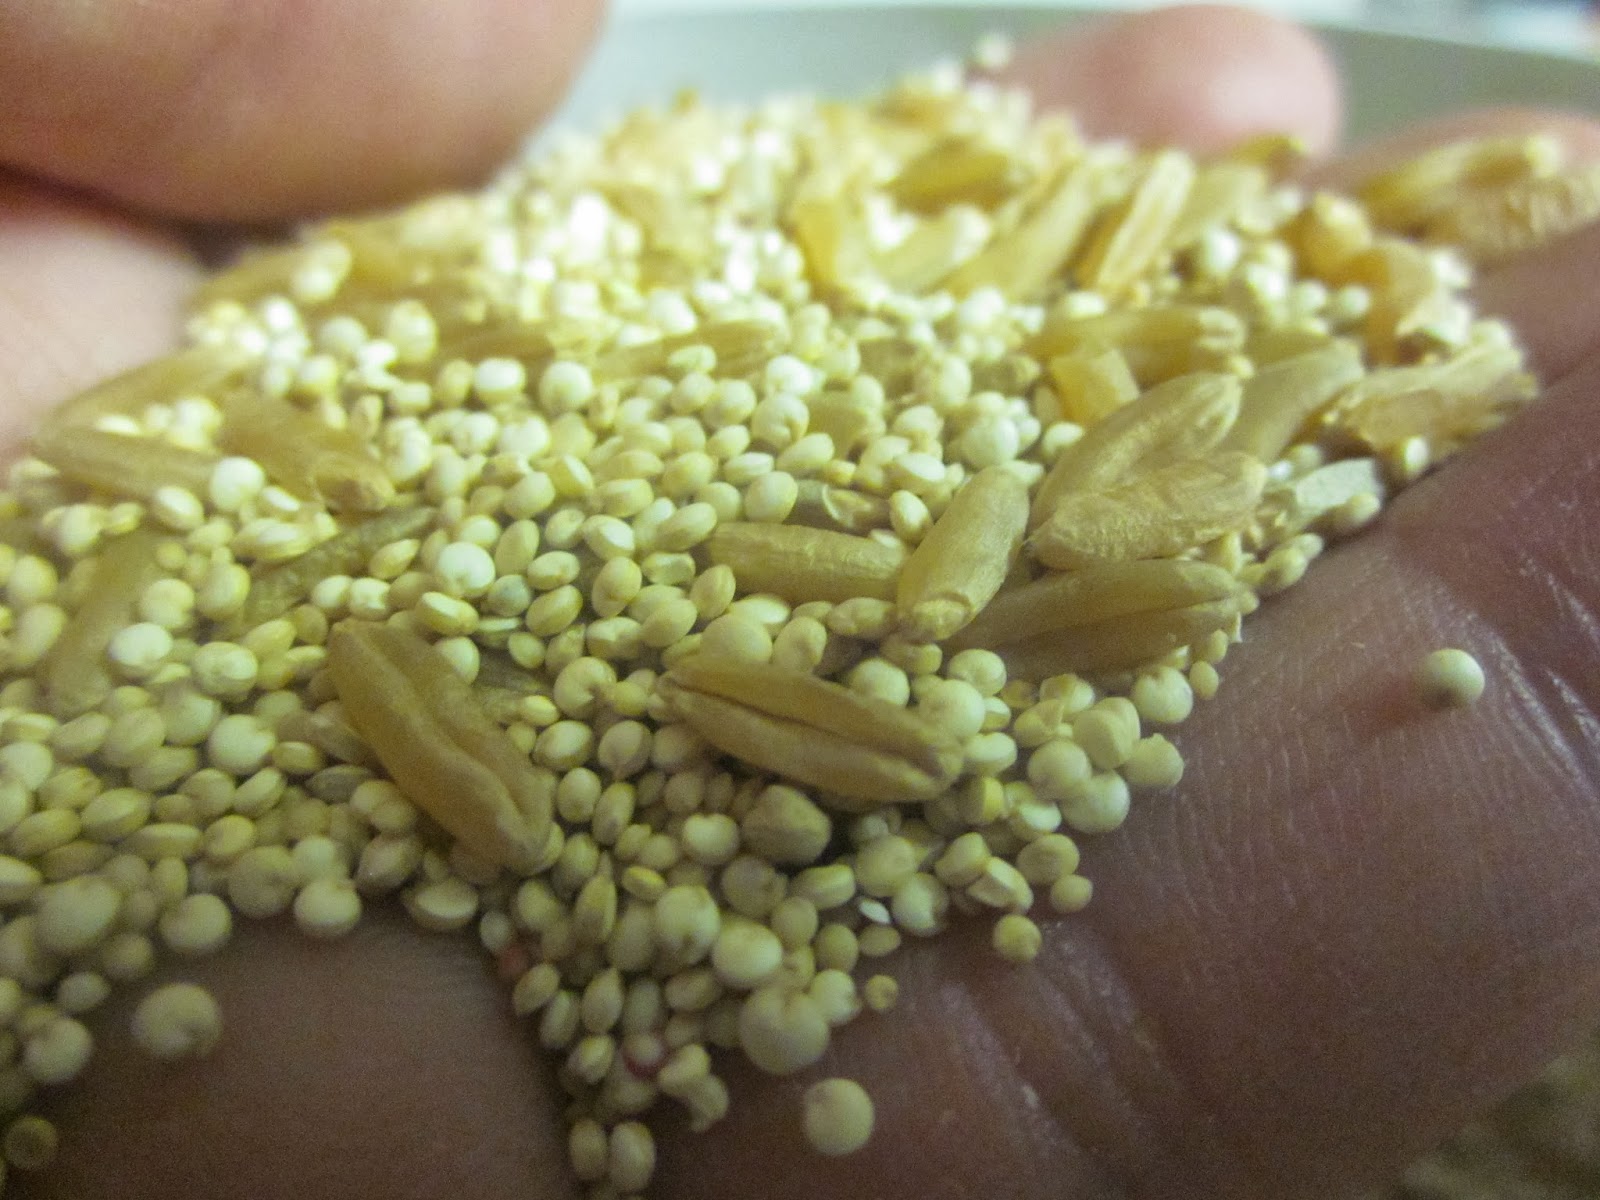
Today we finally perfected an all purpose combination of this flour with other ancient seeds and pseudo-grains that will give you excellent results in baking lighter items like cakes, cookies and muffins.  


Remember the KAMUT ® is Cool post where we discussed the epic-awesome power of this amazing grain. It is always organic, non-GMO, and the standard of excellence in ancient perfection.  I'm a fan. Can you tell?  KAMUT ® has an amazing Origin dating back to cultivation in ancient Egypt.


Those eating this ancient grain have greater ability to deal with oxidative stress on the body as well as lower levels of inflammation markers in their system. With all the hype that the anti-grain movement has been getting, I like to see  well educated response from grain growers, like the article Here. We should differentiate this grain from modern wheat.  

Dr. Bob Quinn, PhD said, 

"Not all wheat is created equal. 

Neither is all gluten created equal. "


KAMUT ®, though it contains gluten, contains a very primitive form of it that only contains 28 chromosomes (compared to modern hybrid wheat that contains 42). Because it is also high in ancient forms of gluten protein, it is excellent for pastas and breads, but it does tend to make life a little more difficult for light and fluffy things like pancakes.

The combination of the high protein ancient quinoa and amaranth will give your flour all the essential amino acids for a complete protein, with all the ability to form fluffy lighter baked items.


We use the NutriMill Electric Grain Mill  and I really do love the quality of the flour it produces.   Doing your own flour will not only provide clean fresh nutritious flour, but provide you with flour that has not been able to go rancid from sitting around. Your baked goods will taste amazing!


Chef Tess Ancient Grain Flour All Purpose Flour:

10 cups whole grain  KAMUT ® here

3 1/2 cup organic quinoa
1 cup organic amaranth

Fine mill to a flour. I use the finest setting on the nutrimill.


High Protein Ancient Grain KAMUT ®and Seed Pancake Mix

9 cups all purpose ancient grain flour (see recipe above)
1 cup egg crystals
1 cup non-gmo Soymilk Powder
1 cup Blanched Almond Flour
2T sea salt
1 cup Flax Seed
1 cup sesame seed
1T natural vanilla flavor powder (optional)
To prepare: Combine 1 part mix to 1 part water. Sit 5 minutes.
 Cook on medium hot in a non-stick pan 2-3 minutes per side.  Serve hot with your favorite sauce or syrup.


There you go darlings! Have fun with this amazing blend!

Always My Very Best,
Your Friend Chef Tess


Wednesday, January 28, 2009

Overnight Started Bread

It took a bout with pneumonia for me to realize I am High Maintenance when it comes to very few things. I'm not one of those gals who has to get my nails done, or primp just right to leave the house. Usually. I do have my moments, but on most days it's jeans and a nice shirt. I wear make up. I don't need top of the line fashion or hand bags to match every outfit. I don't have 40 pairs of shoes. Last I counted. When it come to bread however, I have issues. It's part of my psychic makeup. Probably stems from years of growing up with a "make your own bread" mother. Yes, I know. A lot of people blame their moms for mental issues. This just happens to be a good mental issue. We make bread. We do. Not to say that growing up I didn't ever see this bag:
Or ingest this junk on a regular basis:

My mom worked and we had some weeks where it just didn't happen. But...when I was old enough to bake the bread, I did. Mom was great about teaching me the basics and I can say that I am very glad to have that legacy. We bake the bread. So...when I was sick with pneumonia and my dear sweet Ace brought home the bag of bread, I didn't complain (much). However, now that I can stand up, I am making bread. Then flopping back in bed because I still have the persistent cough, but I can't stand not having my bread any more!

It just so happens that one of my all time favorite bread recipes is made in 2 stages. It's called Overnight Started Bread

You start with some ingredients the night before and get them fermenting. This gives the bread a lot of advantages over regular bread recipes. It has a longer shelf life (this stays moist and delicious 5-8 days). It also has a very deep well rounded flavor. Not like any of the quick rise breads that taste a little flat and mono-dimensional. Not this bread. It is amazing for flavor. If only for those two reasons, this would be my favorite bread. I do however, love the versatility in the time frame needed to make the bread. Just perfect for a zany crazy mom/chef who sometimes gets her schedule interrupted by LIFE. Love it for the flexibility. Also great for a chef who happens to have pneumonia and can only be in the kitchen a little bit at a time before running completely out of steam. Yea. Love it for that too.

This is a bread that has all the benefits of a bread that has fermented for a long period of time... moist, mild flavored, great keeping quality and texture. It also has the benefits of a quick rise bread. A sponge bread is one that a portion of the dough is started prior to the main dough. I have several hundred recipes with this method of dough preparation, but this is by far my favorite. Why use a sponge? Well for one thing it has time to start some enzyme action that you would never get in a quick rise bread, amylase and phytase-- to name two. Amylase is the enzyme that releases sugars from its storage form (starch). Phytase enzymes are responsible for the break down of phytic acid and allow easier absorption of minerals, and vitamins not normally easy to break down and digest in bread. Plus, the fermentation process conditions the natural protein in the wheat called gluten. This sponge like mesh is responsible for the trapping of gas that leavens bread. Cutting corners in this fermentation process or not allowing this process to take it's full round on the gluten will not allow the mesh to become as strong and elastic as it could be. Meaning? This method is awesome! I will walk you through it as best I can.

I got this recipe initially from the Laurel's Kitchen Bread Book. I mentioned it before in the posting: Sprouted wheat bread day 3 in a food processor . Great book. I did adapt this recipe a little to be dairy free. The book called for milk. I used potato instead. Other than that it's the same recipe. You will need:

1/4 tsp yeast
1 cup cold water
2 cups whole wheat bread flour
1/3 cup instant potato flakes
1/2 tsp salt

Combine all ingredients in an 8 cup mixing bowl (non metal works best)...about 5 minutes. Cover and leave in a cool room until you are ready to bake the bread, 12-18 hours. If you will be leaving it for more than 18 hours, it may be stored in the fridge part of the time, or stir after 8 hours. This will keep the yeast happy, moving it to greener pastures and evaporate any alcohol produced by the fermentation process that would otherwise hurt the yeast's ability to raise the bread.

After 12-18 hours it will be really puffy and smell like a good yeasty bread dough. Remember to keep it rather cool during this overnight period.


Get out your liquid measuring cup...the one that is clear with writing on the side. You will also need a measuring spoon. The ones made with writing on them for baking, not just the flowers or whatever on your silver spoons...

Get out your mixer.
To your kitchen aid (or mixer bowl) add 1 1/2 cups Luke warm water, 2 T honey and 2 tsp yeast.


Put that sponge you started 12-18 hours ago in the bowl.

Wash your hands. Now don't be scared. You will have to touch the dough. Actually you will have to really get in there and mix it up with your fingers. Break it down.

This may be my favorite part.


Woosh it around (very technical term I know) until it is smooth and batter-like. Yea. Batter-like is a word.


Now get out your whole wheat bread flour. I grind my own (Flour making day...flour power.), but you can buy it. As long as it is fresh.

Here's a peek into my flour bin. We're gettin' a little low...

Don't mock me, but I am going to show how to measure flour. Someone asked me and I don't want to assume too much of anyone reading my blog. If you are seeing this for the first time, I'm glad to help. The rest of you can just sit tight and humor me. I love everyone wherever they are in the learning process here. So here's how it's done:

Lightly scoop up the flour...don't bang it or try to pack it in there.


Get a butter knife.

Set it up on it's spine so the blade is pointed up:

Hold it flush to the top of the measuring cup and push off the extra flour so it is flat:

Like this. See?

Add 4 cups whole wheat bread flour and 1/4 cup oil (preferably expelled pressed or extra virgin) and 2 tsp salt. Mix on 2nd speed in the kitchen aid. The dough should take only 10 minutes of efficient kneading to attain supple perfection--600 strokes by hand (which I didn't do today). Form into a ball. This makes a balloon like structure that helps hold in the fermenting gasses and helps the texture of the bread. I rinse out the kitchen-aid bowl and put it back in there. Place it smooth side up.

Then I lightly spray the top of the dough with water. This helps it to stay moist, which ensures no lumps of crusty dough in my bread, just a nice even dough.

Keep that spray bottle around too. I use it a few times during bread making.


Get it pretty wet. Look how shiny. Oooo. I'm easily entertained.


Cover with plastic wrap and allow to raise at room temperature (75-80 degrees) about 1 and 1/2 hours. Sometimes it takes 2 hours if the room is cold. It helps to measure the temperature of the dough if you want to be sure. This can be done with a meat thermometer. This one was right at 85 degrees internal temperature so it took almost exactly 1 and a half hours. If it is cooler it will take longer.

It has raised about 2 inches from the top of the bowl. See the tiny belly button dot where I poked it with a meat thermometer?

When you just can't resist it anymore, go ahead and giggle and poke it with your finger.

If you don't have to use much effort, it gets those creases right around your finger, and it leaves a hole when you remove your finger, then it is ready to punch in the head.

So, punch it down already. Expel as much air as possible. This moves the yeast to greener pastures, releases trapped alcohol, and evens out the dough temperature. It's not just for the fun of punching something (though it is elating to punch something sometimes).


Reform into a ball and place back into the bowl. Spray with water again and cover with plastic. Allow to raise again. This time it should take about 1 hours. Less if your house is warm.

I had to show how the gluten strands are showing here. It's really something wild to see...


Like an alien in my kitchen...that we eat. Toasted. Mmm. Alien...

Okay, so cover the ET blob with plastic. In the meantime, lightly oil 2 standard size loaf pans. I also lightly coat them with a little cornmeal. I use 8inch by 4 inch almost without exception. This size makes great shaped loaves (see Sandwich Loaf Molding and baking for more details on this phenomenon).


Once the dough has risen to within 2 inches of the top of the bowl again, or passes the finger poke test (yea, I know, not again a technical term). The actual technical term is the "ripe test". Just poke it. It works...
Take the dough out of the bowl and place on a clean counter top that has been lightly misted with WATER.

Why did this picture just make me giggle with joy? I'm either really nuts or really love bread. Not sure which... Please look at this and find joy...

Mmm. Dough. Okay. Now get giddy crazy and divide the dough in half. It should look like this if you get on your knees and peek up over the edge of your countertop...

Now go here: Sandwich Loaf Molding and baking . It will lead you in all things right and good with makig this bread into a sandwich loaf. Go ahead now. Don't be scared. I will still hold your hand and walk with you.