
 Well my Darlings, it has come to my attention that marble rye is a very cool bread...and so is marble fudge ripple bread, marble ginger banana bread, and daggumit...pretty much any color contrasting dough mixed in a loaf. Why is that? Is it the vortex of flavor? (Is that a Star Trek episode?) Is it the fusion of color? I'm going with "it's just plain flavorishious-ness-ism". Yes, I'm sure that is a word...in Willy Wonka Land.
One of my long time readers and gosh darn cool Face book friends named Shannon asked me long ago to do a tutorial on marble rye. As I am also bound and determined to show how to do a light contrasting color painted loaf, I thought to myself, "self, why not combine the two?" So here it is...


 Are you ready to see how it's done?
I will not make a patootie joke right now. Nope. Not going to do it.
 For marble bread you will need:
1/2 recipe of any of One these dark doughs:
rye (if you use whole grain, be sure to use the full amount of yeast even for the half recipe if making it into a marble rye using the dinner roll recipe as your light color, you will add 1T caraway seeds to the roll dough when mixing.) After dough has been mixed, divide into two pieces.
Double Chocolate Baguettes for Evil Tara After dough has been mixed and formed into a ball, and risen for one hour until doubled, divide into two pieces.
Yeast Raised Orange Gingerbread After dough has been mixed and formed into a ball, and risen for one hour until doubled, divide into two pieces.
Double Chocolate Baguettes for Evil Tara After dough has been mixed and formed into a ball, and risen for one hour until doubled, divide into two pieces.
Yeast Raised Orange Gingerbread After dough has been mixed and formed into a ball, and risen for one hour until doubled, divide into two pieces.
1 full recipe of :
Perfect Freezer Friendly Dinner Rolls
1 1/4 cup water (no hotter than 110 degrees)
2 tsp yeast (1 packet) rapid rise
2T sugar (1T honey)
4 1/4 cups all purpose flour (whole wheat works too)
1 1/2 tsp salt
6T oil (original recipe called for 12T of melted butter)
1 egg
2 egg yolks
Combine everything in one large bowl or mixer. I like that. Knead 5 minutes by hand or 3 minutes in a mixer on medium setting. This is a less developed dough as far as gluten is concerned. Form into a ball and place in a bowl covered with plastic or a lid for 1 hour, or until doubled in size. Punch down dough and divide into 2 pieces.
When I do the doughs, I make them at the same time so they raise at the same rate. It works pretty well. You will have two pieces of light dough and two pieces of dark dough.
 Pat down the pieces of dough on a lightly floured surface until they are about the same length and width. Place one dough color on top of the opposite dough color. Press together firmly. Then fold into thirds, like so...
 Like a travel brochure...but fat and full of carbs.
 With the color inside, roll the dough into a tight loaf. If you have any questions whatsoever on this process, you should see this entry on :loaf molding.
 Pinch that bad boy loaf really tightly at the seam so the contrasting color is all sealed up in there.
 Lay on a parchment paper lined large baking sheet with seam side down. Lightly spray with water or get a little water on your hands and pat the loaf lightly with water.
 I did two different loaves, one with the dark on the outside and one with the light on the outside. Let the dough raise at room temperature (75-80 degrees) for 1 1/2 hours or so, until doubled. Preheat oven to 425 degrees.
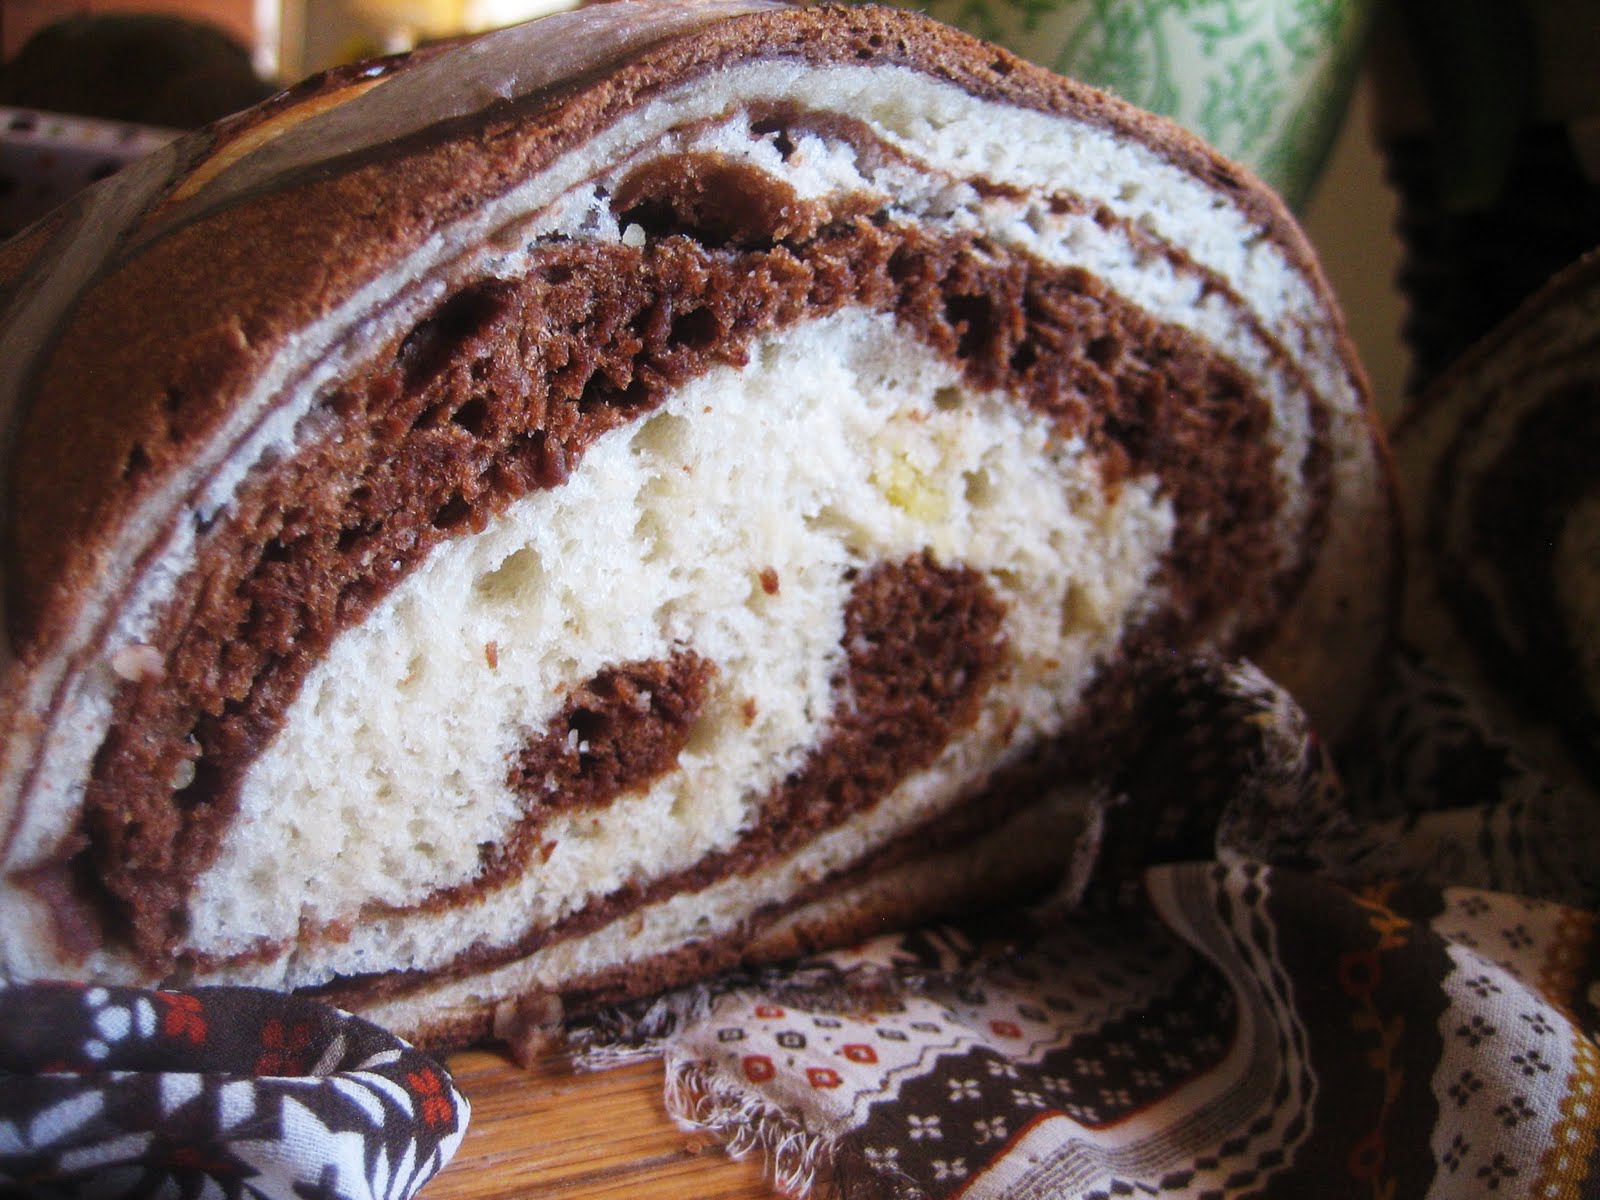
 Lightly slit the top of the loaf to reveal the marble inside.
Now, brace yourself. The dark outside looks really amazing.

Am I right? That feeling you're having right now, it's called respect.
 Bake 425 degrees 15 minutes, then reduce heat to 350 for 25-30 minutes. I check the internal temperature with a meat thermometer (165-170 degrees internal means the bread is baked).
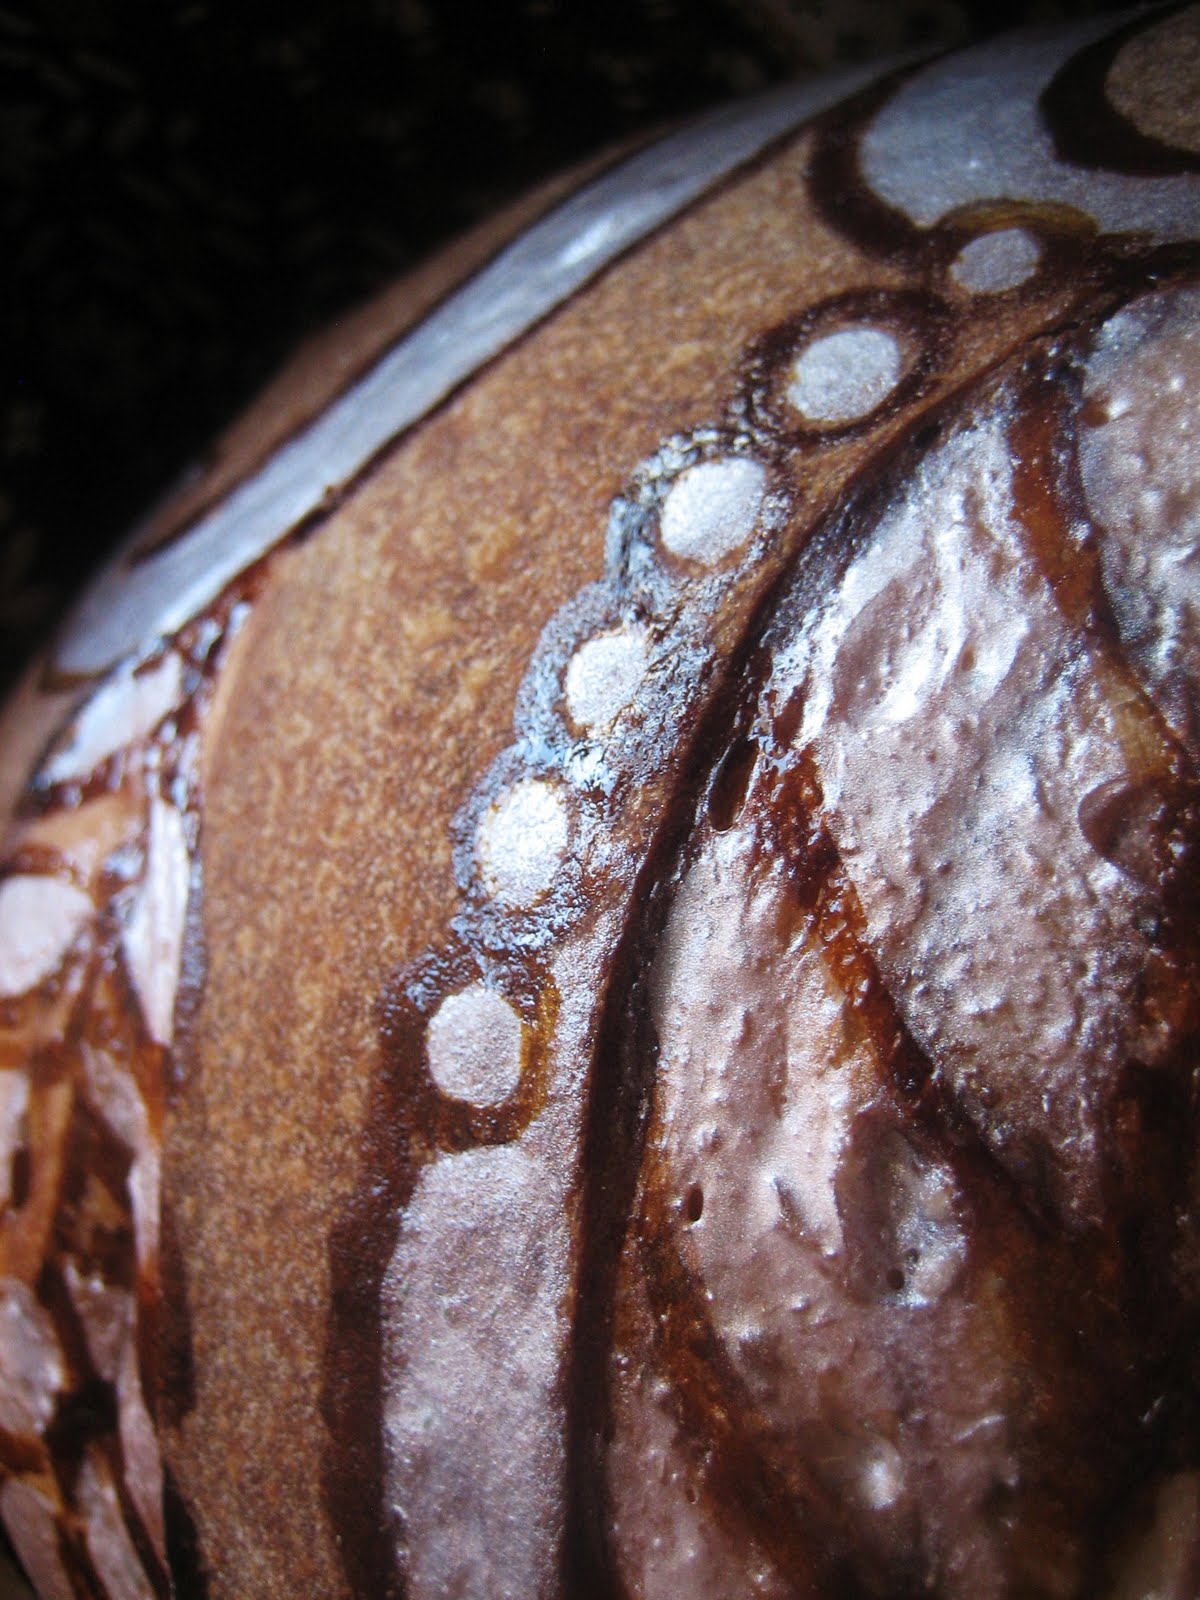
Remove from the oven and place warm bread on a cooling rack. Now, how do I get those light accents? It's very technical...
 So far this is my only shortcut. I've done white before with a flour, sugar and water paste, but I started using this pearl glaze on a whim once and I will never go back to the old way. It has a nice flavor and it's under 3$. While the bread is still hot, I make my initial design. If it isn't bright enough, I re-coat the design after about 5 minutes.
 Then I will go back and accent with the darker color. Did you miss that little secret?
Basic Bread Painting Technique was printed last year in Australian Baking Business magazine. I use the color on the hot bread and don't put it back in the oven to set on this one. I also don't use any egg if the bread will be eaten in such a case as this. I have never baked the pearl before so I don't know how it would react to the heat. I just know that I don't use the egg for this particular loaf.
 Keep bread unwrapped if you want to keep the colors true. Marble sweet bread makes excellent French Toast or sweet sandwiches.
 Keep bread unwrapped if you want to keep the colors true. Marble sweet bread makes excellent French Toast or sweet sandwiches.
There you go.
4 comments:
GORGEOUS!! Love the marble bread tutorial but the painting is just mind boggling. I'm so excited to get to try this. Thanks so much for sharing this technique!
A work of art.
originale !!!
Beautiful! Thank you!!
Post a Comment