While it may seem complex, this type of dough is surprisingly easy to make. It’s used to create a variety of pastries, including cream puffs, eclairs, cheese puffs (gougères), beignets, and Mexican churros. Once you get the hang of the specific technique, you’ll find it’s a fantastic and functional style of dough. It can be a little stiff to work with by hand, but with some practice, you’ll master it in no time.
This recipe for cheese puffs is our favorite. They are made with cheddar cheese and a bit of thyme. For a smoky touch, add crumbled bacon to the mix. A savory herbal addition is delicious. We use sage, basil, or dill. One could use a small amount of blue cheese instead of cheddar. They are also outstanding and more traditionally made with Gruyere or Emmenthaler.
Don’t be afraid to add your twist to the recipe. Experiment with different cheeses, herbs, and even add-ins like ground mustard or other savory ingredients. This is your chance to be creative and make these cheese puffs uniquely yours.
These cheese puffs are Excellent as dumplings in a cream soup. They can be used instead of traditional croutons. We prefer eating them with reckless abandon as the most addictive appetizer.
Cheddar Cheese and Herb Puffs
4 oz unsalted butter
1 cup (8oz.) water
1 cup (120g) Panhandle Milling all-purpose flour
4 large eggs, at room temperature
4 oz. grated sharp cheddar cheese or 2 oz. blue cheese
1 Tbsp. chopped fresh thyme, rosemary, or dill
Fresh ground black pepper
Directions
Add the water, butter, and salt to a medium-sized, deep saucepan or skillet and bring to a boil over high heat.
Reduce the heat to medium and add the flour all at once. Combine quickly and stir with vigor. As the flour cooks, the mixture will form a dough ball that will pull away from the sides of the pan. It helps to use a sturdy wooden spoon to stir. The dough will be thick. Continue to cook for 3 to 5 minutes.
Remove the pan from the heat and let it cool for at least ten minutes. Stirring will enable the dough to cool evenly. The dough should be warm, but not hot enough to cook eggs. We suggest allowing it to cool to under 140°F.
Add the eggs one at a time. Stir well after each addition until the eggs are fully incorporated into the dough. The dough should become somewhat creamy.
Stir in the grated cheese, thyme, and fresh cracked black pepper.
Heat the oven to 425°F. Spoon the dough into balls by rounded Tablespoon onto a parchment-lined baking sheet, allowing at least one inch between each ball.
Place the pan in the oven and bake for 12 minutes at 425°F.
Then, reduce the heat to 350°F and bake for 15-20 minutes. Turn off the oven and allow the puffs to stay in the oven for a few minutes more. Test the interior of one of the puffs. It should be dry and fluffy.
Serve the puffs filled with a small amount of cream cheese or chicken salad. Store leftover unfilled puffs in the freezer in an airtight container for up to four months.
Pickles are all the rage these days. I feel as though everyone is finally catching up to my lifelong obsession with dill pickles. This quick and easy no-knead bread comes together in minutes and is perfect for tuna salad sandwiches.
I serve this bread warm with cheese soup. It’s the perfect companion for fish dishes. It is divine when toasted and served with cream cheese and Swedish cured gravlax (salmon).
I use cottage cheese in the dough to add a rich texture and tenderness to the finished bread. Its subtle tang builds a fantastic flavor profile and complements the dill. You can use fresh dill instead of dried, which brings a bright and robust flavor. If fresh dill is used, use 1/4 cup instead of the dry dill. Adding the pickles is optional, but it lends an almost sourdough note to this quick and easy bread.
No-Knead Dill Pickle Garlic Bread
1 package (1/4 ounce) Red Star active dry yeast
3/4 cup warm water (110° to 115°)
1 cup 2% cottage cheese, small curd
½ cup finely chopped dill pickles
2 Tbsp. minced fresh garlic
2 Tbsp. dry dill
2 Tbsp. Extra Virgin Olive Oil
1 tsp. salt
2 Tbsp. sugar
1 large egg, room temperature, lightly beaten
3 cups (360g) Organic Bread Flour
Directions
In a large bowl, dissolve yeast in warm water. Add cottage cheese, pickles, dill, olive oil, salt, sugar, egg, and 1 cup flour; beat until smooth.
Stir in the remaining flour to form a soft dough. Do not knead. Cover and let rise in a warm place until doubled, for about 1 hour.
Punch down the dough. Turn onto a lightly floured surface; shape into a 6-inch circle.
Transfer to a greased 9-in. cast-iron skillet or round baking pan. Cover and let rise in a warm place until doubled, about 45 minutes.
Preheat the oven to 350°F. Bake until the crust is golden brown and the bread’s internal temperature is over 180°F, about 35-40 minutes. Remove from the pan to a wire rack to cool.
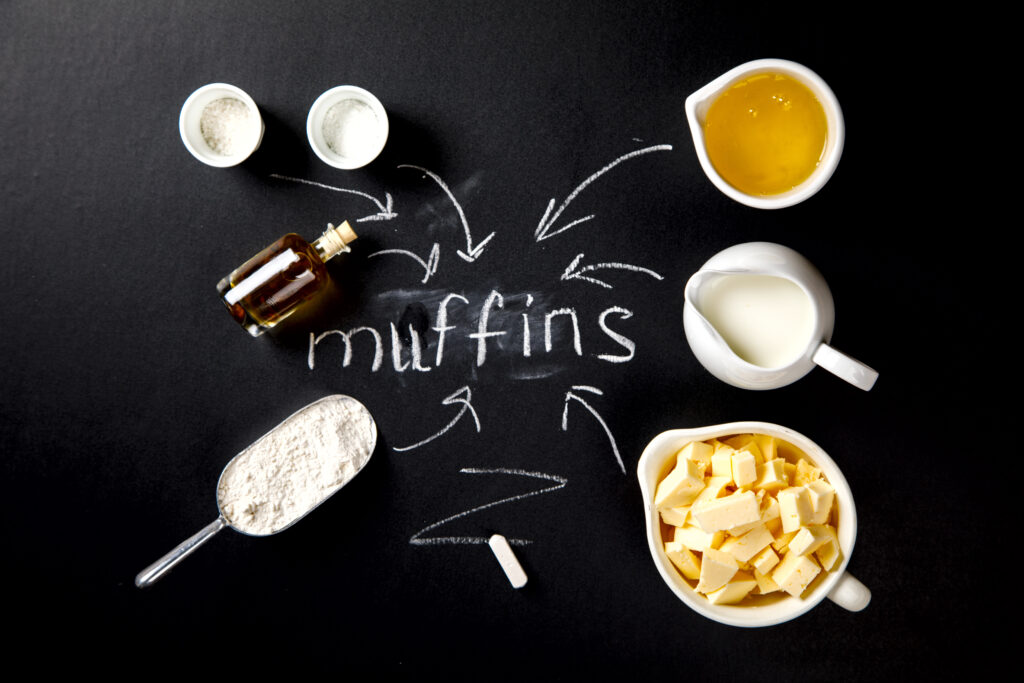
Although flour is an essential addition to many recipes and is the most popular baked goods, do you know how it works scientifically? Let my chef's guide give you all the insights you need!
Head millers spend years in college studying the properties of milling equipment and how to produce exquisite flour that meets exact specifications. Bakers and pastry chefs devote the entirety of their careers to using it creatively and studying hands-on with experimentation. If they’re any good at their job, baking instructors also learn the science behind what makes each flour work in each application. So, do you really know how flour works?
How often did you add flour to your cookies and cakes and overlook its true importance for the chemical and physical changes needed for the finished product to come out of the oven with an acceptable finished look and taste? You probably haven’t had to think about it until something went wrong. Why are the cookies as hard as a rock? Why is the cake extra thick and weird today? What happened to the bread? It looks like a two-headed monster! We certainly prefer the question, “Who ate all the bread?” That’s a question suggesting that everything went perfectly in the baking process.
Understanding the science behind flour and its interactions during baking can provide valuable insights into our baking items. When we select a specific type of flour, it should be chosen for a recipe that will complement the properties of the flour and produce delicious results. This knowledge empowers us to achieve the best results with each flour, making us more knowledgeable and confident in our baking endeavors.
Gluten Is Not Evil.
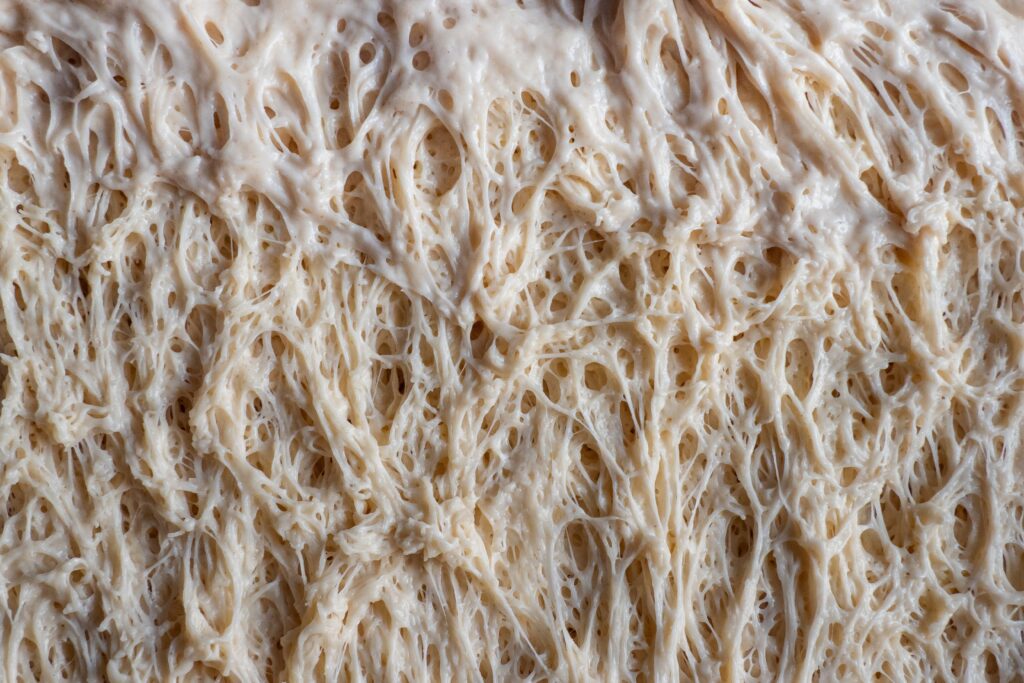
Gluten, often misunderstood, is a vital component of wheat flour, especially in baking. Its role in baking is significant and multifaceted. First, it acts as a binding agent for doughs and batters. Secondly, in bread and batters, it traps the gases released by yeast or leavening agents during baking, preventing bread, cakes, and cookies from being too dense. Furthermore, gluten is ultimately responsible for the shape and texture of baked goods. Understanding and appreciating the role of gluten in baking can enlighten us and enhance our baking experiences.
How exactly does this miracle protein work?
Gluten is made up of two proteins, glutenin and gliadin. When mixed with water, these two proteins combine to create strong, elastic gluten strands in the dough. These gluten strands become stronger and more developed the more you mix the dough, ultimately affecting the texture and type of dough formed. The more gluten proteins in flour, the quicker and stronger the elastic gluten strands will be created in the dough.
The Fat Role
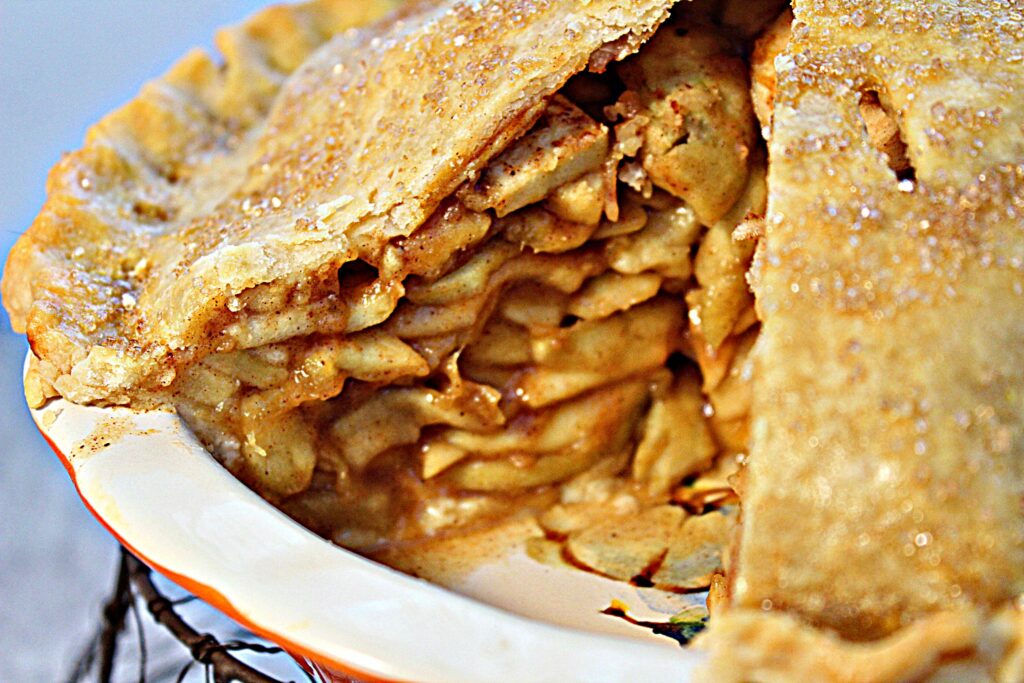
The role of fat in baking is crucial and often overlooked. The fat content in a dough or pastry significantly affects how quickly and tightly the gluten strands are formed. Fat prevents the proteins from connecting as rapidly as possible and can even prevent them from connecting altogether. This understanding can prepare us when choosing the right flour for our recipes. For instance, when a more tender finished product is desired, higher fat content is often seen in pastries, cookies, and cakes. It’s also not uncommon for a higher protein flour to be used in pastries with a lot of fat in the formulation, as bakers may want more structure and a longer shelf life. Fat in baking adds to the shelf life of baked goods, keeping them moist when exposed to air.
Which flour for which baked goods is most appropriate?
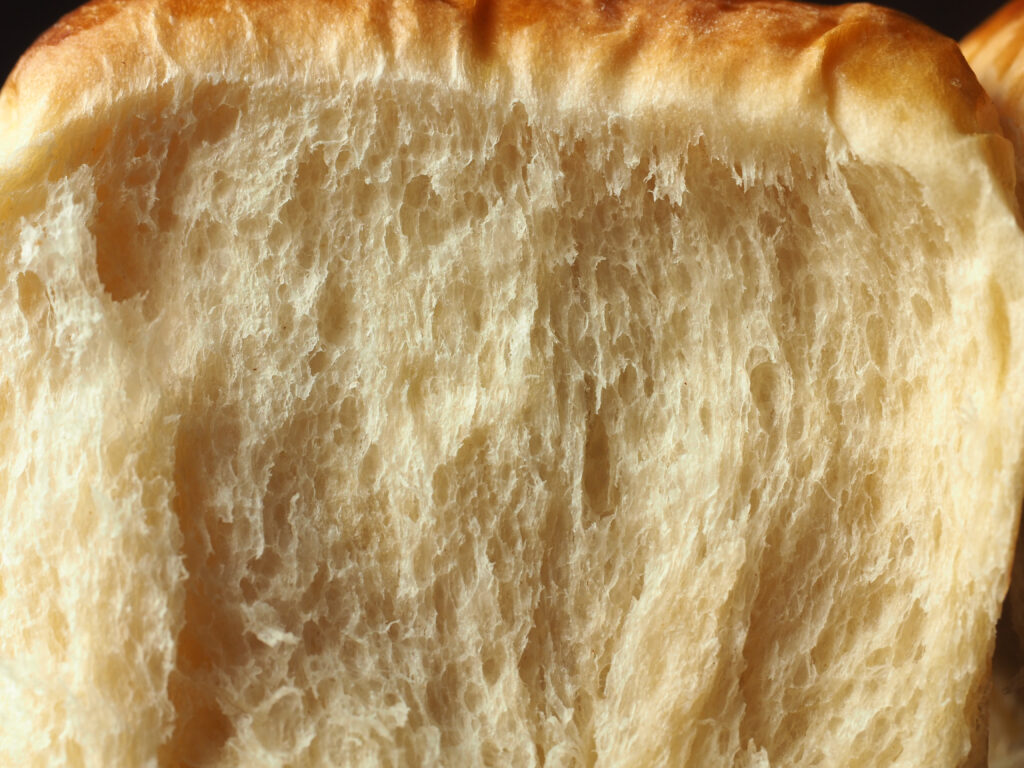
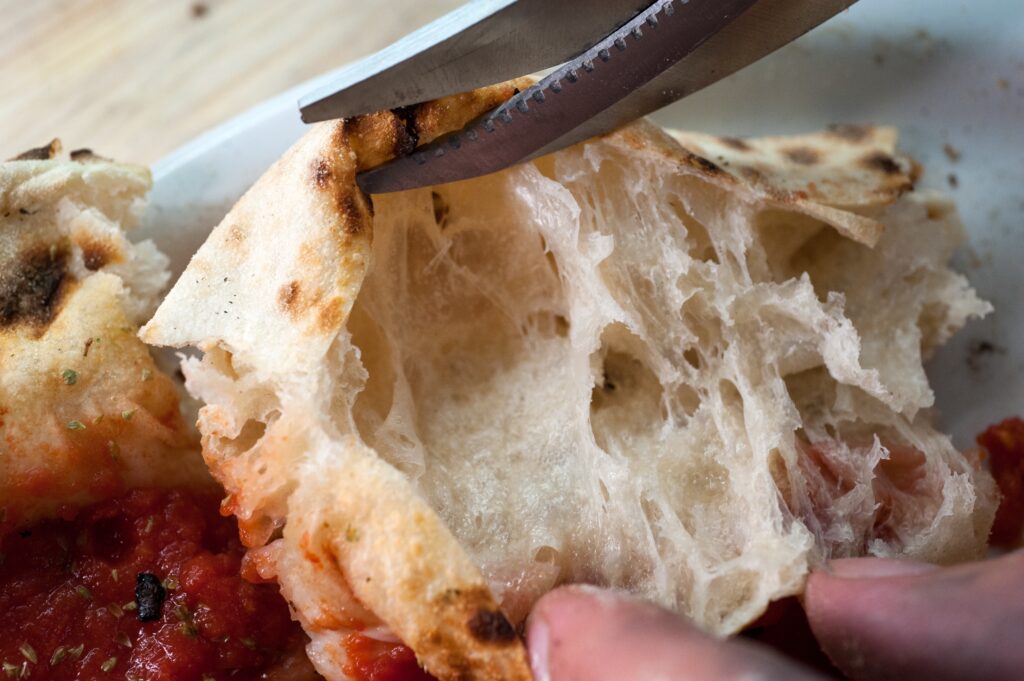
The protein percentage is the best indicator for choosing the flour for a specific baked good. Different types of dough and batters require different levels of gluten content. For instance, bread, pizzas, and pasta require a higher protein content. The higher amount of gluten makes the bread dough elastic and stretchy, contributing to open-air pockets and a tender loaf that won’t fall apart when sliced. It helps the pasta to have enough protein so that, when cooked, it has a desirable texture.
On the other hand, cakes, cookies, and other pastries require less gluten, making them lighter and fluffier. The gluten connections are less connected and elastic. Therefore, as expected, bread flour has a higher protein content than pastry or cake flour. Oddly enough, hard wheat varieties produce higher protein content flours for bread and pasta. Softer wheat varieties produce lower protein content for softer products. If someone mentions they prefer soft wheat, they are more than likely to create baked goods that are more delicate, like cakes and cookies.
Bread Flour
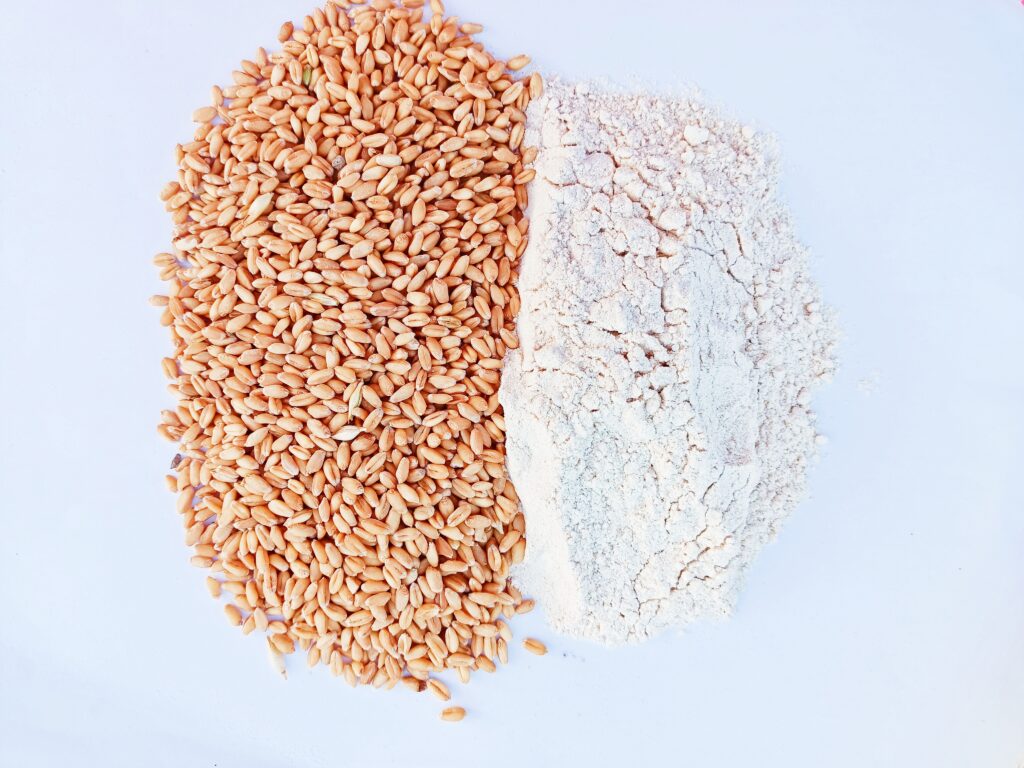
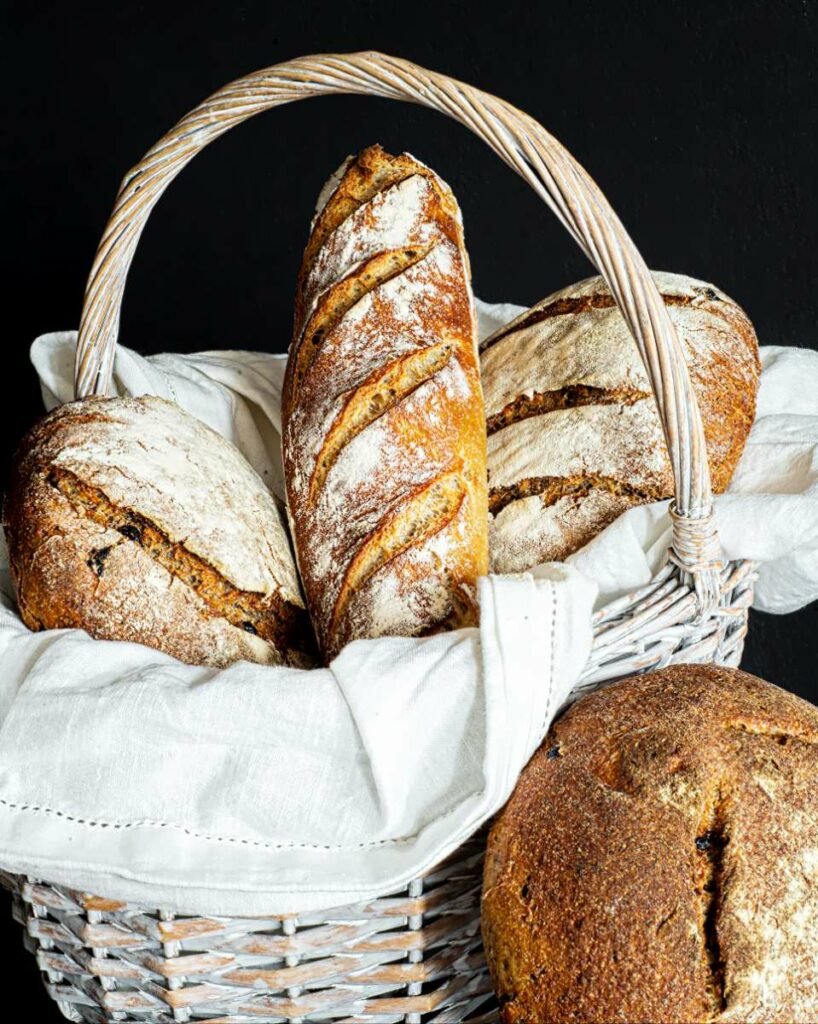
Bread flour, durum semolina, and hard whole-wheat flour have the most protein, about 12-15%. Bread flour is made from hard wheat and forms strong, durable gluten, making the elastic dough necessary for good bread. Whole-wheat flour provides a more wheat flavor and is slightly darker than white flour. It is produced by milling whole wheat berries instead of just parts. These flours are, therefore, ideal for yeast-raised dough and pizzas.
All-Purpose Flour
As its name suggests, all-purpose flour can be used for almost anything since it is generally a mix of hard and soft wheat. It falls in the middle regarding protein content, 9-12%, and thus can be used for most home-baked goods. It also comes in bleached and unbleached versions. The difference between these two is that bleached flour has been treated with an agent to whiten it. Its nutrients are restored, while unbleached flour remains untouched and keeps all its nutrients on its own. Regarding baking results, however, these two are equal and will work the same.
Pastry Flour
Pastry flour is made from soft wheat and contains 8-9% protein. This results in weaker gluten and a softer product, resulting in a crumbly, fluffy texture. Thus, it is mainly used for different types of pastries.
Cake Flour
Cake flour is very similar to pastry flour. It is made from soft wheat and falls below pastry flour with a 7-8% protein content. The lower protein content ensures that cakes turn out fluffy and tender.
Type 55 Flour
Typically described as low-protein bread flour with .50-55% ash, this flour is ideal for Artisan bread, laminated dough, Neapolitan pizza, cookies, scones, and quick bread.
Tortilla Flour
The typical falling numbers* for this flour mean it can’t be used as well for bread, but is excellent for flatbreads, crackers, pizza, and tortillas.
High Gluten Flour
As the highest-gluten flour (13-14%), it’s key to helping you bake lusty, chewy artisan and whole-grain bread with a hearty, lofty texture. It’s suitable for breads that require long fermentation, like no-kneads, and great for dense, chewy breads like bagels, crusty rolls, artisan hearth breads, and pizza crusts — adding a toothsome quality and a bakery-worthy interior. Higher protein flour absorbs more liquid than other flours, so add about 1 tablespoon or more extra liquid for each 120g when subbing in a recipe.
Baker’s Patent Flour
Patent flour is milled from the innermost part of the wheat kernel’s endosperm, producing pure, high-quality white flour. It typically falls in the 12.2% to 12.8% protein range, making it suitable for breads and rolls that need structure and chewiness. Patent flour is usually made from hard spring wheat, contributing to its strong gluten development. It is ideal for yeast breads, European Artisan Breads, French breads, Ciabatta, Focaccia, rich sweet doughs, Cinnamon Rolls, and Doughnuts.
The Food Science Lab
*Understanding Falling Numbers in Flour
For baking bread, falling numbers ideally should be between 250 and 300 seconds, as this range indicates good flour quality and optimal enzyme activity. Falling Number measures the amount of pre-harvest sprouting that occurs in the grain while on the stalk in the field. It is a lab test in which a slurry of flour and water is placed in a test tube, and the time it takes for a plunger to fall through the slurry to the bottom of the test tube is measured.
Why is the Falling Number Significant?
The test assesses the level of alpha-amylase, an enzyme that breaks down starch in flour, negatively impacting bread quality.
What are Ideal Falling Numbers?
For optimal baking results, flour with falling numbers between 250 and 300 seconds is generally considered ideal, especially for bread baking.
Falling Number Too High?
A very high falling number (above 300 seconds) can indicate a lack of enzyme activity, which may require the addition of amylolytic enzymes or malted flour to the baking process.
Falling Number Too Low?
A low falling number (below 250 seconds) indicates high enzyme activity, often caused by sprout damage or high moisture content in the wheat kernels. Such flour might be unsuitable for milling and baking or require adjustments to the baking process.
Whatever you are baking, we hope this essential guide has been helpful and will give you insights into choosing the flour that best fits your desired results. Happy baking.
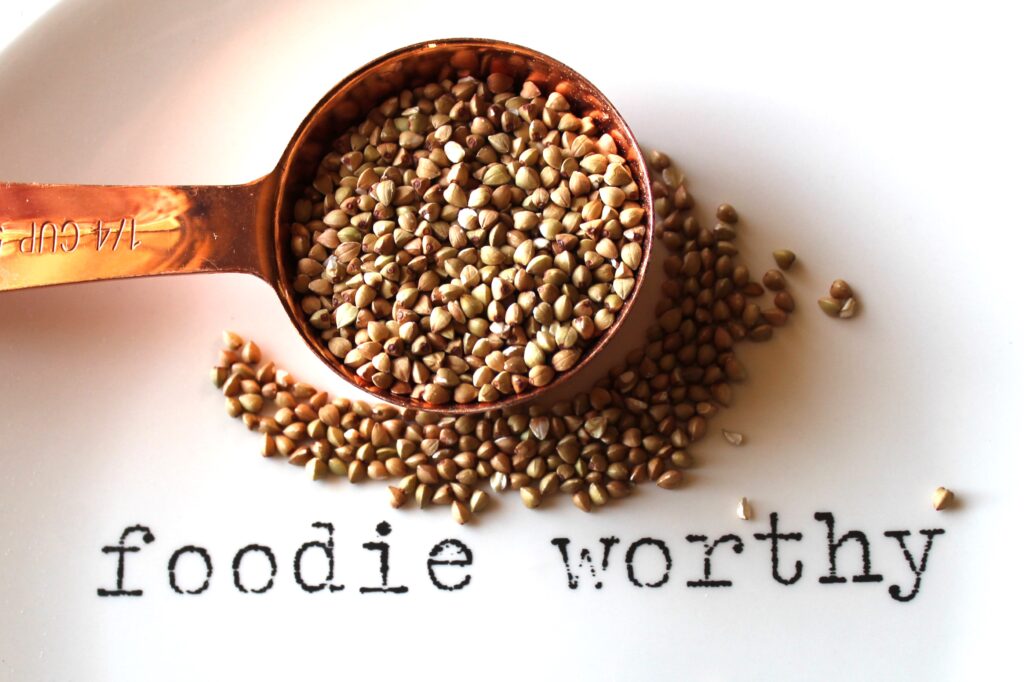
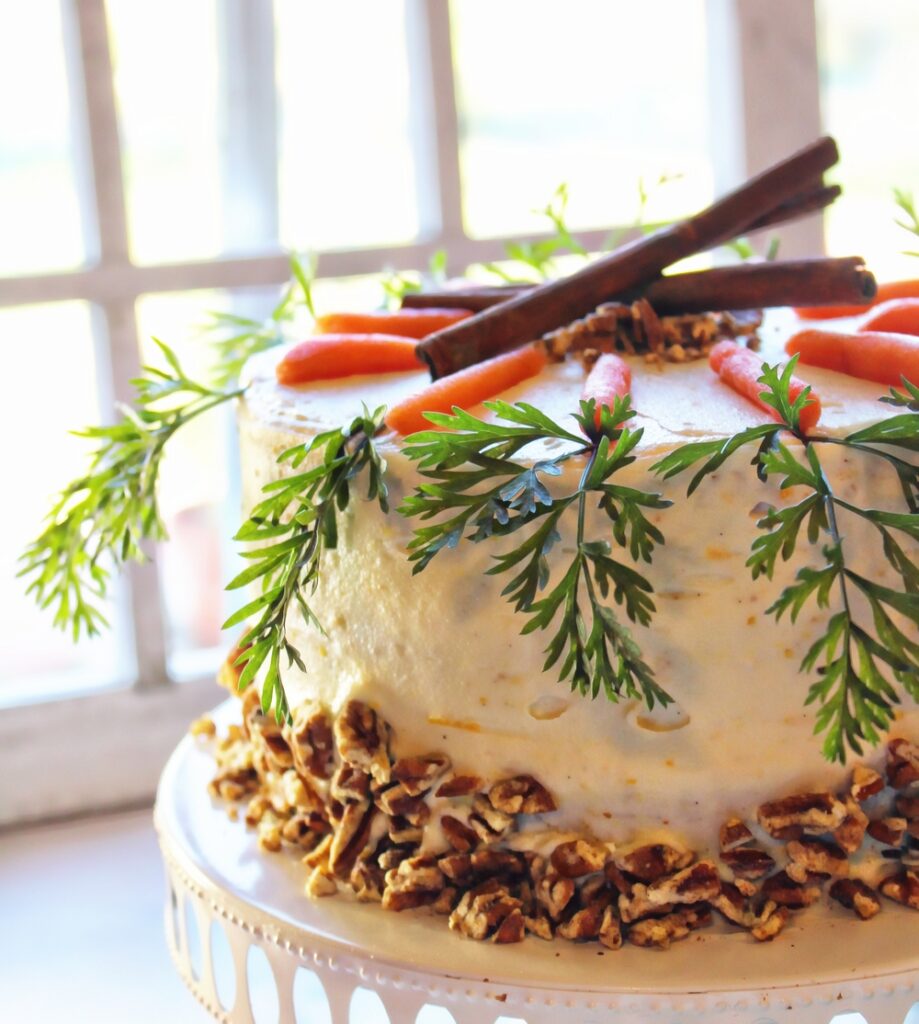
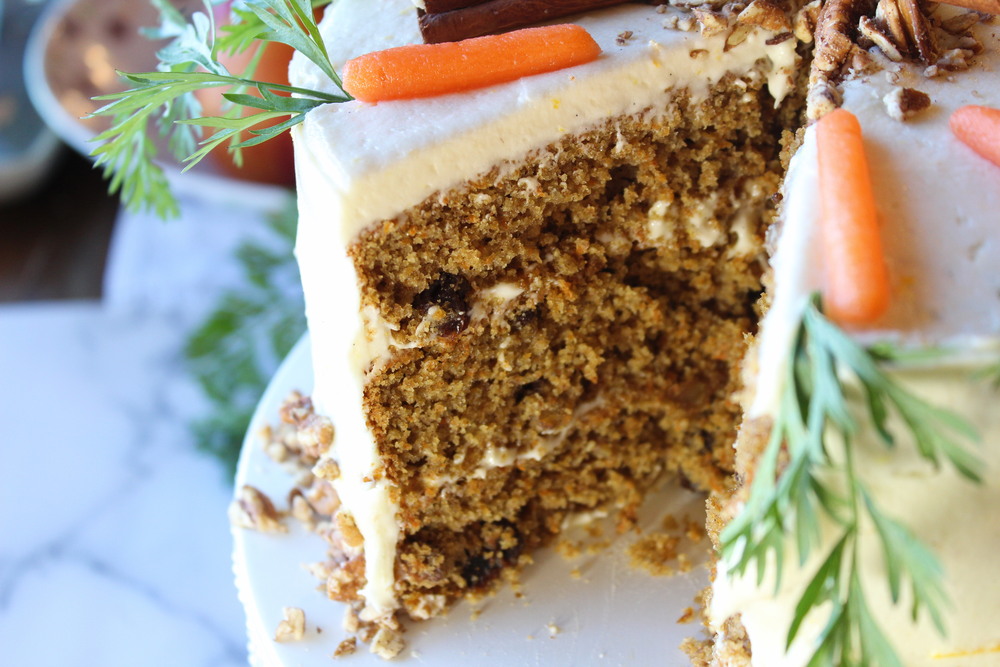
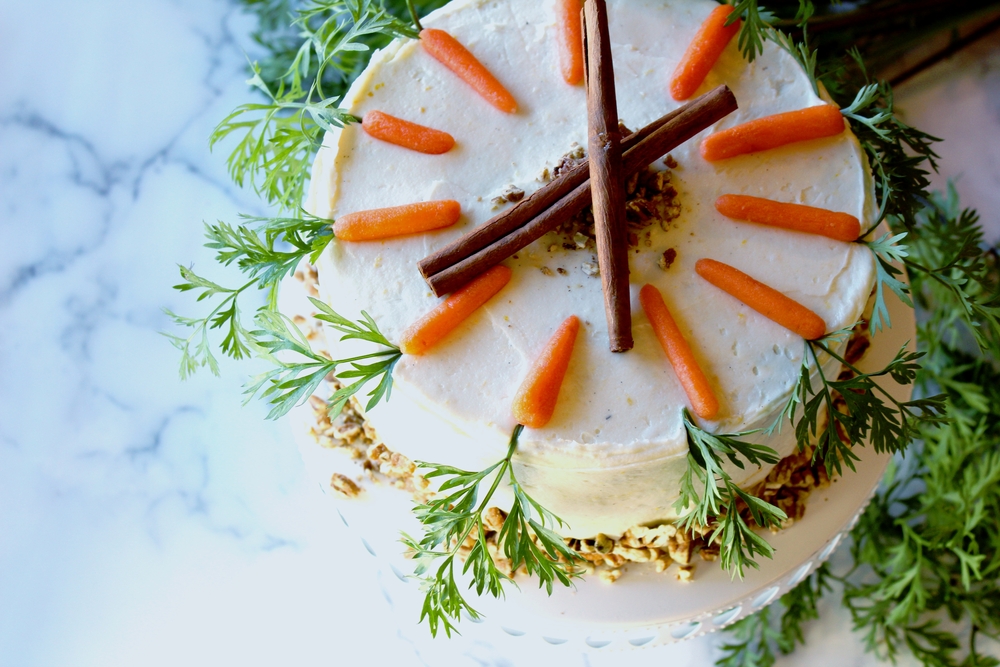
This Gluten-Free carrot cake features whole grains of buckwheat milled in the blender! The result is a rich nutty flavor profile and a tender crumb.
Carrot cake is one of my favorite desserts, and I developed this recipe for all my gluten-free friends who are looking for a hearty whole-grain version of the classic. A common misunderstanding when baking gluten-free is that buckwheat contains wheat. Buckwheat is not related to wheat; it is naturally gluten-free and a fantastic choice for those with celiac disease or who are trying to eat gluten-free.
What is the benefit of the whole grain buckwheat?
Buckwheat is an excellent source of fiber, protein, magnesium, potassium, and antioxidants.
Buckwheat’s high fiber content and antioxidants can help lower cholesterol levels and reduce the risk of heart disease.
Buckwheat is ideal for blood sugar control for people with diabetes. Its low glycemic index means it slowly releases sugar into the bloodstream, which can help regulate blood sugar levels and prevent spikes.
Buckwheat can improve digestive health when included in the diet. Its high fiber content promotes regular bowel movements and supports a healthy gut microbiome.
Buckwheat can assist with weight loss. Because it fills and slows digestion, it can help curb hunger and promote weight loss.
Buckwheat is rich in antioxidants, such as rutin, which may help protect cells from damage and reduce inflammation.
Buckwheat may also benefit bone health and immune function and reduce the risk of certain types of cancer.
Preheat the oven to 350° and prepare 3 8-inch round cake pans. Line with parchment circles and grease the sides with butter and flour.
In a blender, blend the groats until they are a fine flour.
Add the eggs and oil and blend until very smooth, about 3 minutes.
Add the sugar, vanilla, and orange zest and blend for 15 seconds. Pour into a large bowl and add the remaining ingredients.
Transfer the batter evenly between the 3 pans to the oven.
Bake for 40-50 minutes. Test the baked cakes with a knife inserted into the centers; it should come out clean. Transfer the pans to cooling racks, cool for 15 minutes, then turn out onto racks to cool to room temperature.
Directions for frosting:
In a mixer fitted with the paddle attachment, beat the cream cheese and butter until smooth and creamy. Gradually add the sugar and extracts.
Continue to beat until velvety smooth.
Frost the cooled cake. Garnish with coconut or toasted nuts.
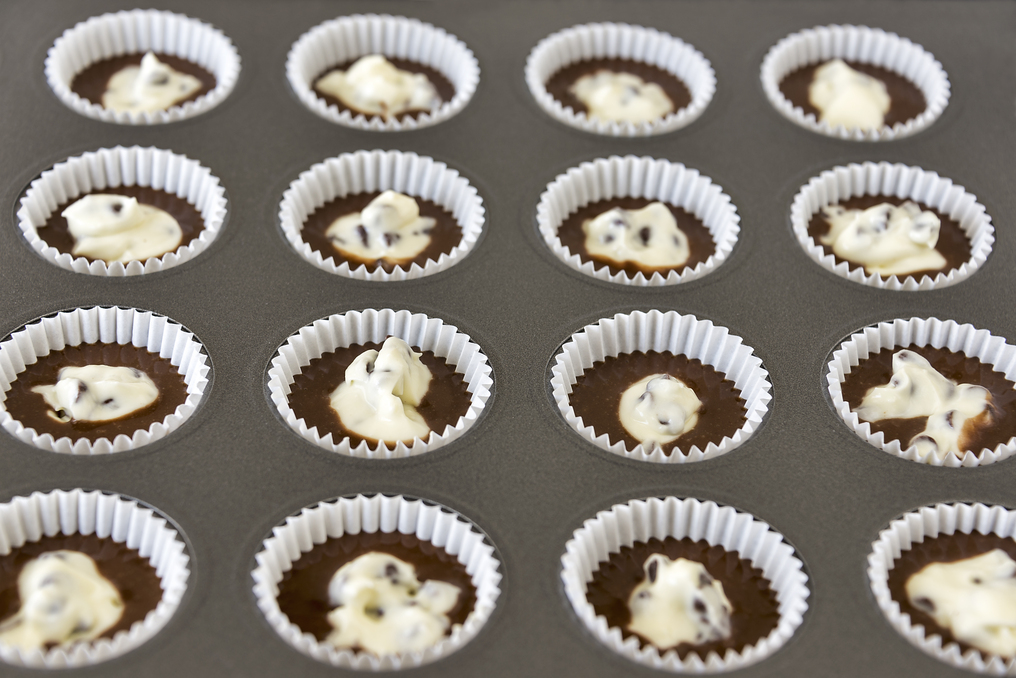
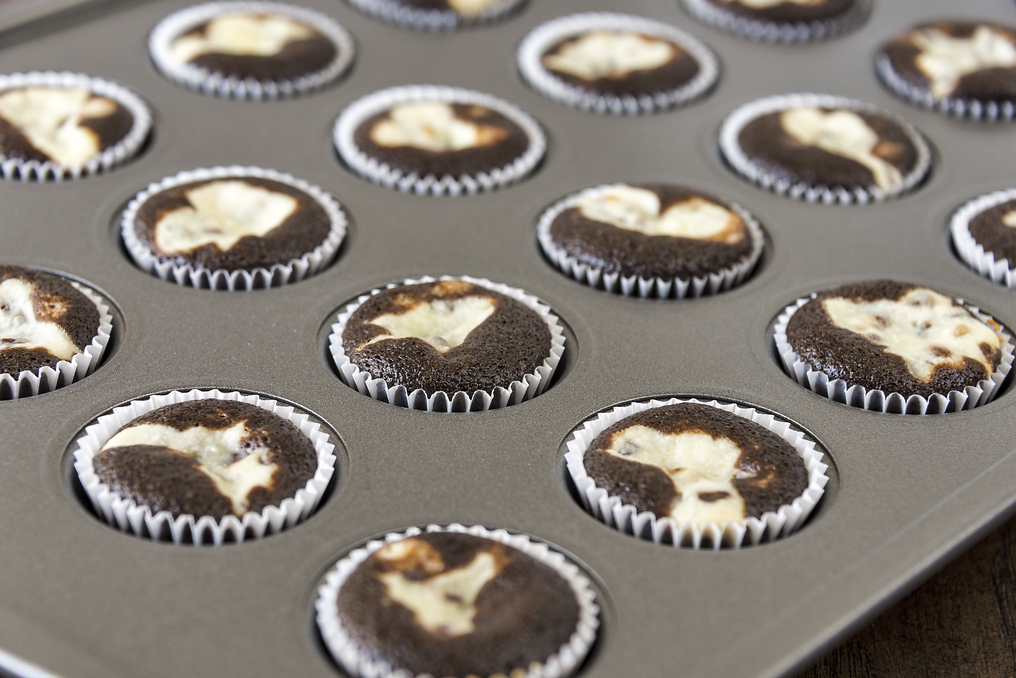
These luscious chocolate cupcakes are filled with a rich cream cheese chocolate chip filling.
What is a Black Bottom Cupcake? Heaven. I have fond memories of these cupcakes from my childhood.
These delicious velvety chocolate cupcakes have a cream cheese chocolate chip filling baked right into the batter. They come together in just a few minutes and can be served as a warm addition to brunch or a dessert. I like topping them with fresh fruit and whipped cream for a contrast in texture. Fresh berries can also be added to the cream cheese filling before baking.
The recipe is easy to assemble in just a few minutes. Enjoy!
Black Bottom Cupcakes
Filling:
1 package (8 ounces) cream cheese, softened
1/3 cup (67g) sugar
1 large egg (57g)
1 tsp. (5g) vanilla extract
1 cup semisweet chocolate chips
Cupcakes:
1 cup (200g) sugar
1 cup (255g) water
1/3 cup (75g) vegetable oil
1 large egg (57g)
1 Tbsp. (14g) white vinegar
1 tsp. (5g) vanilla extract
1-1/2 cups (180g) All-purpose Flour
1/4 cup (23g) baking cocoa
1 tsp. (6g) baking soda
1/2 tsp. (6g) salt
Directions
In a small bowl, beat the cream cheese, sugar, egg, and salt until smooth. Stir in chips; set aside.
For cupcakes, beat the sugar, water, oil, egg, vinegar, and vanilla until well blended in a large bowl. Combine the flour, cocoa, baking soda, and salt; gradually beat into the egg mixture until blended.
Fill 24 paper-lined muffin cups half full of chocolate batter. Drop a heaping tablespoonful of cheese mixture in the center of each cupcake. Sprinkle with sugar and chopped almonds, if desired.
Bake at 350°F for 18-20 minutes or until a toothpick inserted in the cake portion comes out clean. Cool in pans for 10 minutes before removing to racks to cool completely. Refrigerate leftovers.
This homemade pound cake comes together in a few minutes and tastes superior to any grocery store frozen product. It is by and far one of the simplest cakes to make. Yet, it is my most craved dessert! Why? Because it's that simple taste of home.
Here are a few things to know about ingredients and procedures to ensure your cake turns out awesome.
It is made with nine simple ingredients:
Unsalted Butter: Higher quality butter is the key to a tender pound cake.
Granulated Sugar: Sugar will keep your pound cake sweet and contributes to a moist crumb. We prefer to use granulated sugar. A lower-sugar pound cake can be made using half sugar and half granulated stevia or erythritol.
Eggs: Most height and structure come from beating the eggs into the batter. They are seamlessly incorporated into the batter by ensuring the eggs are at room temperature.
Vanilla Bean Paste: This vanilla extract incorporates the inner specs of the vanilla bean and bourbon into the extract. The flavor is pronounced and very clean.
Sour Cream: Sour cream adds a slight tanginess to the loaf, perfectly complementing the sweetness. One can substitute low-fat plain yogurt for the sour cream if desired.
Milk: The milk will lighten the pound cake so it’s not too dense.
All-Purpose Flour: Panhandle Milling All-purpose flour will give your pound cake a soft, tender crumb. We prefer to weigh this ingredient to ensure it is appropriately measured.
Baking Powder: We use a half teaspoon of baking powder in the cake. It will give your cake the perfect rise without creating too many air bubbles.
Salt: We use salt to offset the sweetness and enhance the flavor of this pound.
Steps are important
Familiarizing yourself with the steps for making the cake is helpful. Pound cake is a very simple recipe, but we’ll break it down step by step to take out any guesswork for you! You can make this pound cake with a hand mixer or stand mixer or by hand with a whisk if you’re up for an arm workout!
Step 1: Cream the butter and sugar together until light and fluffy.
Step 2: Add the eggs and vanilla and beat until pale and fluffy, about 4 minutes.
Step 3: Scrape down the bowl and add half of the dry ingredients to the mixture. Fold together until just mixed.
Step 4: Mix the sour cream and milk until just combined.
Step 5: Add the rest of the dry ingredients and fold until combined and no flour streaks remain. It’s important not to overmix the pound cake batter once you’ve added the flour. Once the flour has been added, gluten bonds will start forming, and if you mix the batter too much, your cake will become tough and dense!
Step 6: Bake until golden brown and a knife inserted into the center comes out mostly clean!
Simple Best Homemade Pound Cake
1 cup (227g) unsalted butter, at room temperature
1 1/3 cups (267g) granulated sugar
4 large eggs, at room temperature
1 ½ tsp. Vanilla bean paste
2 cups (250g) All-purpose flour
1/2 tsp baking powder
1/2 tsp. salt
1/4 cup (58g) sour cream or plain yogurt
1/4 cup (59ml) milk
Directions:
Preheat the oven to 350°F and generously butter a standard-size loaf pan on all sides.
Combine the softened butter and granulated sugar in a stand mixer with the whisk attachment. Beat on medium speed until light and fluffy, about 2 minutes.
Scrape down the sides of the bowl and add the eggs one at a time, beating well between each addition. Add the vanilla and almond extract and mix well.
In a separate mixing bowl, combine the flour, baking powder, and salt and stir to combine.
Add about half of the flour mixture to the bowl of the mixer and mix until just combined. Add the sour cream and milk and mix until just combined. Add the remaining flour and mix until just combined and no streaks of flour remain. Refrain from over-mixing.
Transfer the batter to your prepared pan and spread it into an even layer using a silicone spatula.
Bake for 45 to 50 minutes, or until a knife inserted into the middle comes back primarily clean and the loaf is golden brown.
Variation:
Add 1 Tbsp. lime zest and 1 tsp. coconut extract to the cake for a delicious coconut lime pound cake.
There you go, darlings! Make some awesome pound cake.
To know it is to love it! Once you know how to make sticky toffee pudding, your dessert game will change. You will dream about variations. This classic British dessert will strike a chord of warmth and rich tradition. According to legend, it was created in a pub in northwest England. It is popular throughout Britain, Canada, Australia, and New Zealand. It has at its core a moist, tender sponge cake sweetened with brown sugar and finely chopped or pureed dates. I use puree. The cake gets sandwiched between layers of creamy toffee sauce before it's returned to the oven, then generously topped with more on the plate. The baked pudding is served with custard, whipped cream, or vanilla ice cream to complement the rich sauce.
Here, I used a super simple method to ensure the sauce is easy to make. The sauce uses dark corn syrup and sweetened condensed milk to ensure the rich caramel stays smooth and deepens the toffee flavor. We enliven the cake’s flavor with a bit of almond extract. We suggest serving the puddings with a generous amount of lightly sweetened whipped cream for contrast.
Sticky Toffee Pudding
Active Time: 1 hr. 30 mins Total Time: 2 hrs. 20 mins Yield: 6 servings
Toffee Sauce
1 can sweetened condensed milk
1 stick unsalted butter (4 ounces)
1 cup dark corn syrup
1 cup granulated sugar
Cake
¾ cup pitted dates (about 7-10 dates)
¾ cup water
1 ½ cup All Purpose Flour
1 ½ tsp. baking powder
¼ tsp salt
¼ cup unsalted butter, softened, plus more for greasing ramekins
¾ cup packed dark brown sugar
1 large egg
1 tsp. pure vanilla extract
¼ tsp. almond extract
Vanilla ice cream or lightly sweetened whipped cream for serving
Directions
Gather the ingredients.
Make the Toffee Sauce: In a medium saucepan, combine condensed milk with the butter, corn syrup, and sugar; bring to a boil.
Cook over moderately low heat, stirring frequently, until a deep amber caramel forms, about 30 minutes. Strain the sauce through a sieve into a bowl.
In a small saucepan, simmer the dates in ¾ cup water over moderately low heat until the water is nearly absorbed and the dates are soft, about 15 minutes. Transfer the dates and any liquid to a food processor and puree until smooth.
Preheat the oven to 350°F. Lightly butter six 4-ounce ramekins. In a small bowl, whisk the flour with the baking powder and salt.
In a medium bowl, using an electric mixer, beat the butter with the brown sugar at medium speed until light and fluffy. Beat in the egg and vanilla, then beat in the date puree.
At low speed, beat in the dry ingredients.
Spoon the batter into the ramekins and smooth the tops.
Bake for 20 minutes or until a toothpick inserted into the center comes clean. Remove cakes and let cool slightly. Leave the oven on.
Using a small, serrated knife, trim the tops of the cakes level with the rims of the ramekins.
Unmold the cakes and invert them onto a wire rack. Slice each cake in half horizontally.
Wipe out the ramekins and spoon 1 tablespoon of the toffee sauce into each. Return the bottom layers of the cakes to the ramekins, cut side up.
Spoon another tablespoon of the toffee sauce into the ramekins and top with the remaining cake layers.
Spoon another tablespoon of the toffee sauce over the cakes and spread evenly. Place the ramekins on a baking sheet and bake for 10 minutes or until the toffee bubbles around the edges.
Let the puddings cool for 5 minutes, then run a thin-bladed knife around the insides of the ramekins; invert each pudding onto a dessert plate. Rewarm the remaining toffee sauce and spoon some around the puddings. Serve with vanilla ice cream or whipped cream.


.jpg)
.jpg)
.jpg)


.jpg)


.jpg)
.jpg)
.jpg)
.jpg)