Showing posts with label aprons. Show all posts

Friday, May 21, 2010

Women's Aprons from Recycled Cargo Pants (Part 3 of the Recycled pant apron series)

I made this khaki cotton apron from a recycled pair of women's cargo pants.
This khaki one reminds me of "The Sound of Music". The Chef's Von Trapp.

My personal favorite by far is the chocolate brown corduroy apron. It looks so rustic and swanky. Again, made from women's cargo pants.

I made them the same way I did theRecycled Cub Scout Pant Aprons for Boys. (Part 2 o...
but I used women's pants instead and made sued-ed waist straps.
Just another great idea. I will be posting a few of these to my Etsy website in the near future. Be excited...I'm expanding my inventory. Hopefully they become so popular with the ladies, I won't have to get a real job. Wouldn't that be nice. That's all I have to say about that.

Thursday, May 20, 2010

Recycled Cub Scout Pant Aprons for Boys. (Part 2 of the recycled pant apron series)


Those who have been following us long enough where able to see Little Man making homemade graham crackers on our local Fox 10 :Good Morning!

This post started when we where here: Crazy Cub Fundraiser Dinner . His leader informed me that Little Man's pants where not regulation. He needed green khaki. The whole rest of the year, Little Man wore the uniform pants we got. Until finally, they where too short. He got tall on me. It was time to graduate.
How do you make a fun pocket Army style apron like this...out of these old cub scout pants?
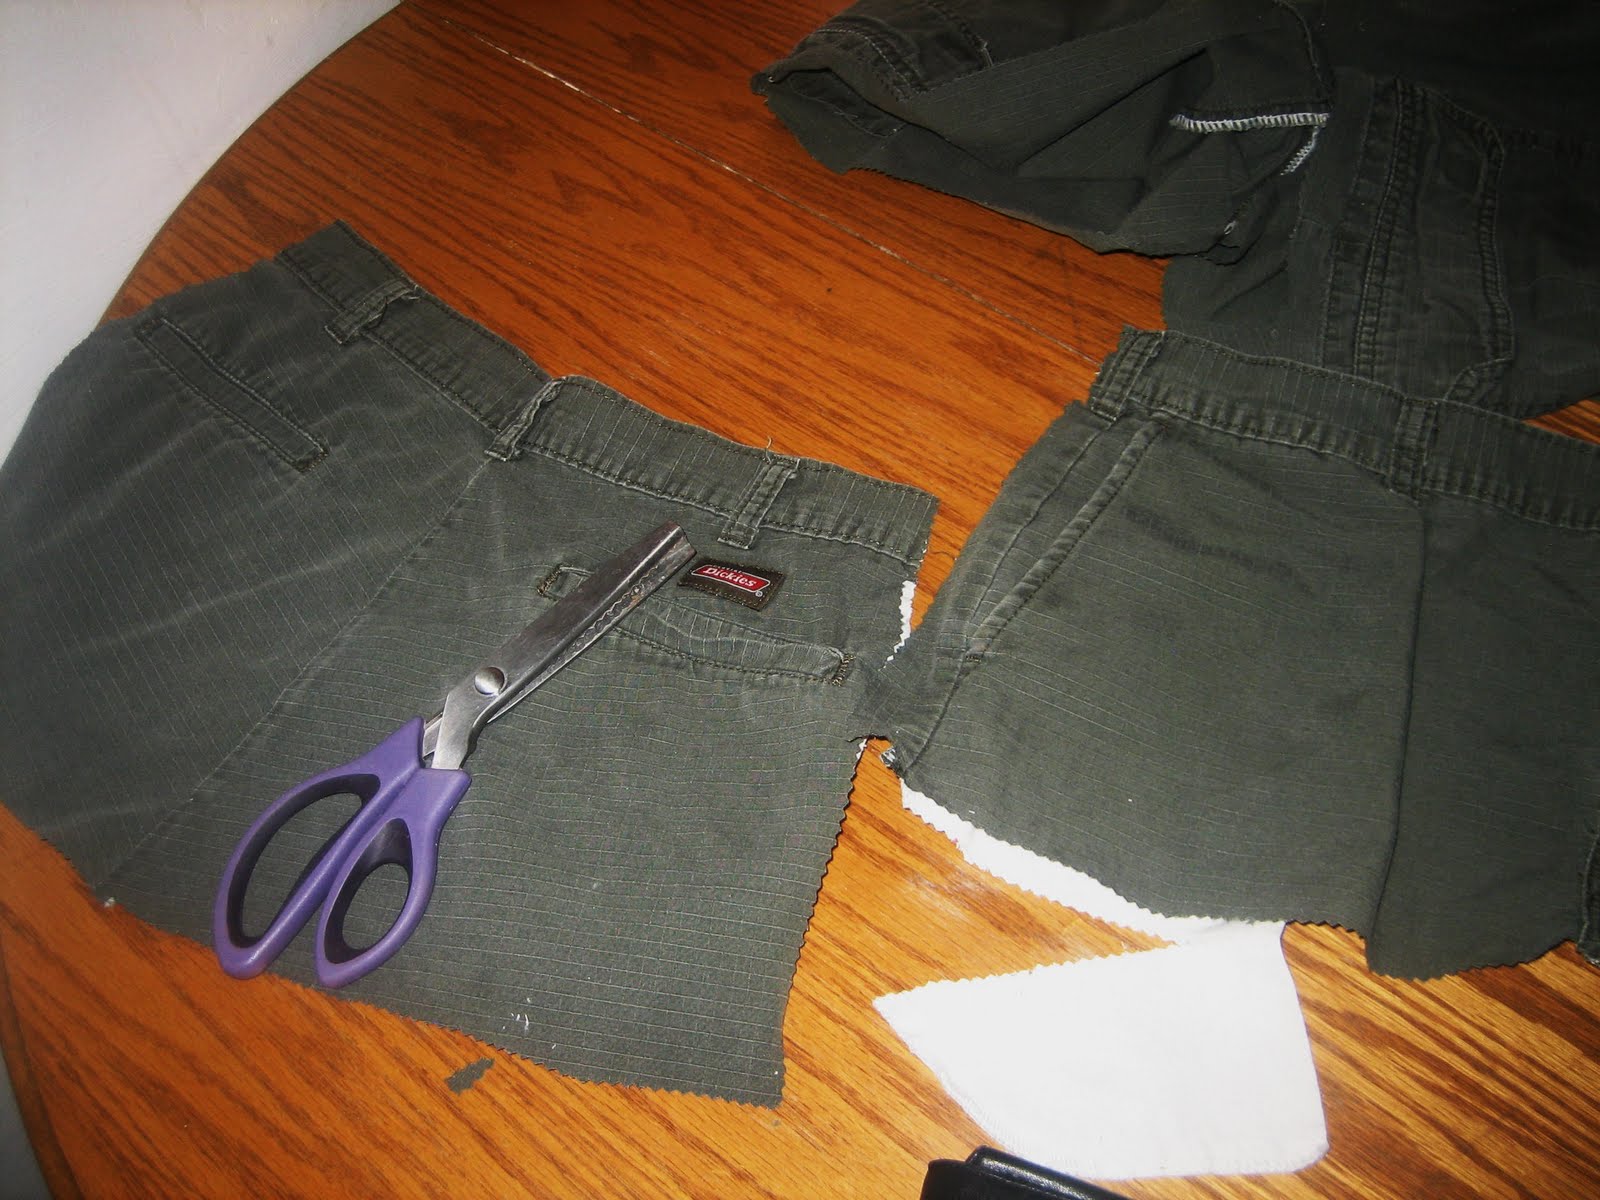
I think each apron I make is different depending on the style of the pants, so I'm going to show pictures and give ideas, just so you can wrap your head around how it's done. Starting with pockets on the pant leg, that I wanted to use as the pocketed bib for the apron, I left enough space to turn the seam inward, and to attach the neck strap.
At one point my son asked me to turn these pants into shorts, but the leg pocket was in a weird place, and the shorts would have been a mini skirt. Not good for a boy...or a girl. In my humble yet accurate opinion... my son will not be cross dressing.
I cut the front and back apart. This pair of pants will make two aprons. One for Little Man, age 11 (next week) and Face, age 7.
The length of the leg that had the pocket will make the bib of the apron, and the remaining part of the leg will be turned into an additional pocket.
I pin things a lot. It's a trick my mom used to tell me all the time (she has a bachelors degree in home economics education). Things look a lot more professional when you measure the seams and you pin things. Use a lot of pins.
So, I folded the top of the bib inward and the bottom of the bib inward, pinned it, and then pinned it to the bottom of the apron. Notice the addition of the additional pocket made from the bottom half of the pant leg, now in the middle of the apron covering the "fly".
Pin it with right sided together, so when you sew it, the pocket will be front facing.

I did purchase seam binding. I know it can be made at home, but for just over two dollars per apron, it was a good deal for me. Face got the army green, and Little Man got black binding, just so we could tell the aprons apart.

I sew seam binding over the open edges to give it a finished look, but you don't have to if you want more of a frayed country look to it.
I use an additional length of seam binding to make the neck strap. I measure it to fit over the head...apparently that is a good thing.

I then secure it well into the bib top of the apron, inside of the seam before I sew it.

For the waist strap, I used a strip of camouflage heavy canvas, with seams bound inward, 120 inches long. I center it in the middle of the apron through the belt straps, and then fasten it securely to the side seams.
We ended up with five sturdy pockets to hold all the cooking tools of my little chefs. Now...we just need to go through basic training. "And knowing is half the battle". Thanks G.I. Joe.

There you go.
End note. Both boys where excited beyond words at the new aprons. Little Man got a little misty eyed...he was so happy his favorite pants didn't get put in the trash. Who knew a little boy could get so attached to his pant?

Tuesday, May 18, 2010

Super Cute Recycled Jean Apron Tutorial

Who wants to make a quick apron? Well, I have a few ideas today for Tutorial Tuesday and I think this may be the first tutorial on my blog that is not about food...but rather some cheap easy aprons moms and kids can make. With summer vacation just a few weeks away here, I wanted to make some aprons that the kids and their friends can totally make and use all summer with cooking classes. I also didn't want to spend a lot of money. I used one pair of my husband's old jeans, an old purse, some silk flowers, and a little fabric that was laying around here. So, what you see is what we had. Totally free to me.

These ones today are for girls, but there's not any reason they can't be done with a manly theme as well. This first one, was made from the leg of on of my husband's old jeans that I cut in half and opened up. The crazy adorable embroidery was from one of my favorite hand bags that I just couldn't seem to throw away. I loved the design so much and when the handle broke, I wanted to use it for something. So, this first apron was born.
I cut the purse open and put it on top of the jean leg centering the middle flower on the middle seam. Folding the edge over, and pinning it, I then sewed it to jean, leaving the top of the purse open so it had a full size pocket made from the purse.

I folded edges under, but because I wanted a rustic hippy type look, I decided against finishing the edges. I want it to fray when I wash it. I measured some ties from the remaining part of the jean legs and attached it to the apron on each side, like so...


The top of the purse was thick enough that I had to hand stitch the seams together on the back.


I love how it turned out. Now I can keep using my favorite purse while I cook. I feel so smart.
That doesn't happen everyday.

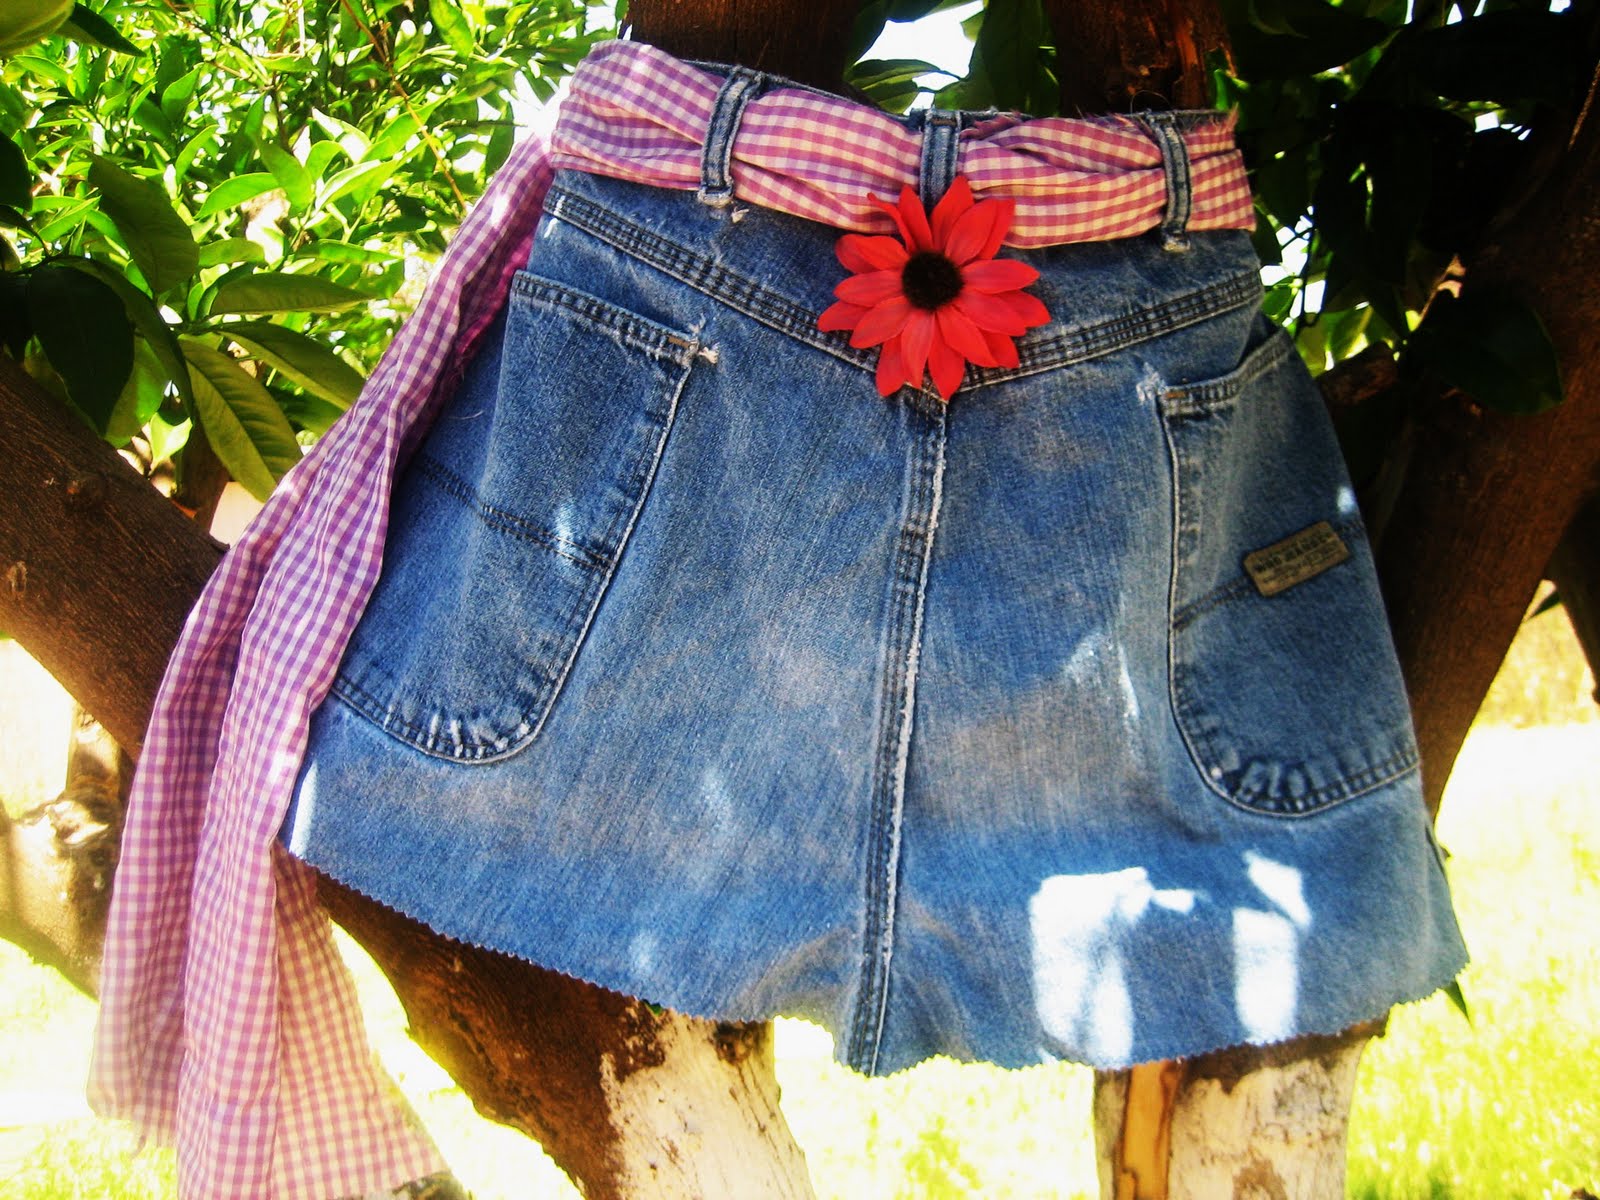
The next apron doesn't require much sewing at all, maybe 3 seams. If you can handle that, I think we're in business. The back side of my husband's jeans cut off just above the legs make the perfect base for an apron. I was sure to keep the belt loops in tact. I did finish off the edges with a zig-zag, so the apron wouldn't fray too much, but you don't have to finish the seams.


I took two strips of gingham, four inches wide and 36 inches long, and sewed them end to end to make the apron strap. Then I simply thread it through the belt loops.

With a safety pin I attached a cute flower to the center of the apron. That's it. Easy right?

The front of his pants, cut off just above the legs, was made into a third apron. I did sew some red ric-rack onto the edges, but did the belt and flowers in a similar fashion to the second apron.
Look how adorable the back looks for a little girl. Why don't I have an daughters?

So, with a little creativity and not any money other than what we already had in the house, we now have three new aprons. They're not fancy, but they are a little "Daisy Duke meets Martha Stewart". What's not to love about that?
There you go.