Showing posts with label party ideas. Show all posts

Saturday, November 4, 2017

Sweet Hot Jalapeno Peach BBQ Sliders

This weekend I got to cater the food for my best friend Gena's baby shower. It was a lot more fun catering for someone I know and love rather than it just being part of my job at the restaurant. Plus, since Gena is my same age and probably the last of all my friends from High School who is having a baby, I felt like this was a final blow-out party.  Her last child was born 9 years ago and the Hershey's Kisses Party was the last time I actually showed that part of my life...

Fast forward to now...and all of Gena's babies are all grown way past the baby stage! At the Boss Baby party, they all got matchy t-shirts. 
This lady is starting over. I'm excited for her. I'm nervous for her because this is a whole new phase having teenagers and a newborn. I'm ecstatic for her because it's almost like I'm a new aunt and I'll get to snuggle a new baby. That's the best part. I miss being a mom of small kids sometimes. 

I wanted to share a few of the recipes for the party since I think y'all can benefit from having some great recipes on hand for all of your holiday parties coming up! I'm starting this series of posts with the Sweet Hot Jalapeno Peach BBQ Sliders.


Sweet-Hot Jalapeno Peach Sliders
3 lb lean, trimmed boneless pork, cubed (or beef)
1 cup peach jam
1 cups bbq sauce (I use my Great Grandma's Chile Sauce plus 2 tsp liquid smoke)
1 tsp salt
1 cup picked nacho jalapenos
2T fresh minced garlic
Chef Tess all-purpose seasoning to taste (about 1T) It is here
Directions: Place cubed venison meat in a 4-5 quart pressure cooker (This one is my favorite) along with remaining ingredients and cook on high for 30 minutes, natural release. If you want to use a slow cooker, you can do so as well, but it will take 5-7 hours on low. When meat is cooked tender, shred with a fork. 


I served the meat on these slider buns but used poppy seeds on top instead of the onions...


That recipe for the slider buns is here.

I'll be sharing a few more recipes from the party in several posts. I think Y'all are going to love this! 

Always My Very Best,
Your Friend Chef Tess


Saturday, February 18, 2012

The Tank Pinata

My son turned 9 this week. He wanted to make a tank pinata for his birthday party and I wasn't about to tell him to stop being so dang creative! So...we emptied a cereal box, found a disposable "to go" salad bowl, 8 mason jar rings, a paper towel roll and a lot of duct tape. 


 That with some metallic lookin' acrylic paint...and we had a tank. I should say...we still have the tank.  
Turns out...when a kid makes the pinata, they may or may not want to have other kids swing a baseball bat at it. Turns out, we have one who would rather die than have his tank destroyed.   If you missed the full tutorial on homemade pinatas go here. I now have a very cool tank in my bedroom...next the Christmas tree star out of paper that I think we'll probably never be able to throw away. Ah...it's home decor at it's finest. Next year...we're making one with a trap door so the party guests can pull on strings and still get the candy. In the meantime...I have3 lbs of M&M's fun-packs stuffed in a tank in my bedroom...for emergencies.


Always My Very Best,
Your Friend Chef Tess

Monday, November 21, 2011

Amazing Fall Dinner Menu from Lucky Leaf

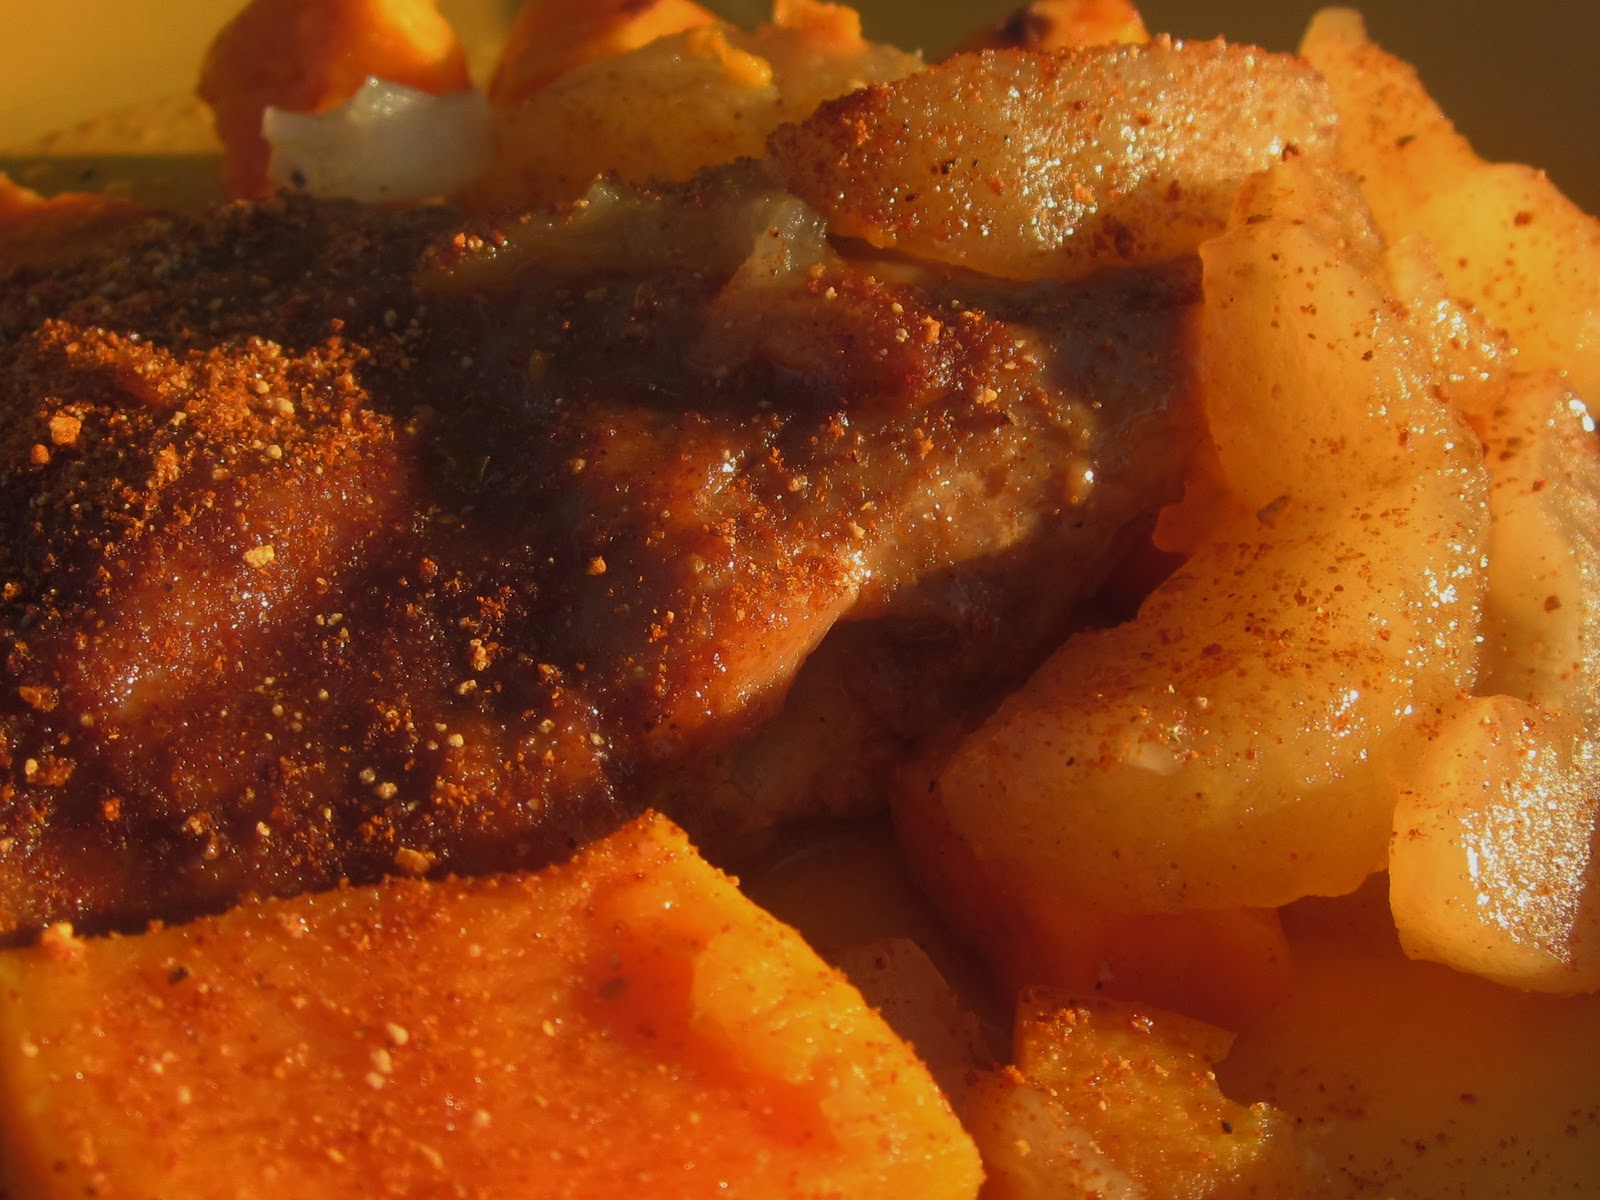
 About a month ago my friends at Lucky Leaf sent me a sweet package of goodies and some invitations to do a Fall dinner party using their products. I was excited to take part and use what I already knew to be a great fruit filling from a dependable company. I love it when they send me recipes! This time it was for a pork dish called Sweet and Hot Slow Cooker Pork and a dessert called  Cherry Chocotinis. However...the month got away from me and the kids got strep throat. Then Ace got it. Then I got it. Then...I decided I didn't have to wait for a whole bunch of friends and family to come visit in order to serve something special. I think that's the whole point of this post. I think that's what Lucky Leaf was trying to get at anyway, that their filling was good enough to serve to company.   I think that all too often we put things off. We're waiting for that "something special" when in fact, every day we get to wake up and breathe is a special day. I can't say it enough...because this dinner was just that. It was a celebration of the fact that we got to be a family one more day.  It did help however that the pork was tender and amazing slow cooked with the apples and sweet potatoes in a perfect balance of sweet and hot.
 It also helped that it was a freakin' easy recipe that I could make on the run.
 Oh...and the apple filling was amazing.
 Lucky Leaf never fails to have apples in full giant slices packed to the top of the can. Mostly fruit. Now that's how I love it.

Click to get the  Printable Version but I think you'll be happy with this one. Did I mention how easy it was?
 Sweet potatoes kissed with apple and chipotle...yeah, it was amazing.
 My son helped make the dessert and thankfully it was easy enough that even I, a pastry chef, could let my 8 year old make it. He had a blast whipping up the pudding and making the cups. It was a really beautiful presentation...even for a kiddo. Cherry Chocotinis.  Basically this is a very simple dessert. It's a layer of rich homemade or store purchases pound cake , chocolate pudding, Lucky Leaf Premium cherry filling and some glorious gobs of whip cream sprinkled with dark chocolate chips. I used 1 cup of vanilla yogurt in place of one of the cups of milk and a dash of my Chef TessWise Woman of the East Spice and Floral Blend to the pudding as well. It was a hit! We even lined them all up on the outside dessert table for our own little family dinner party.
 Now that's a special occasion.

At any rate, I just had to share the amazing Fall dinner and the sweet family memories that came with it. Thanks Lucky Leaf for the great recipes and wonderful Fall ideas! I appreciate it very much. You know what I appreciate most of all?...I get to live and breathe one more day with the people I hold most dear. Have a wonderful Thanksgiving week my dear friends.

Always My Very Best,
Your Friend Chef Tess

Saturday, September 10, 2011

Halloween Table-Scape Ideas


Halloween is a lot closer than I want to think about...and it's one of the most popular holidays to decorate! However, I'm not one who likes creepy weird decorations. I love fun and happy ones!

I can't even tell you how much joy I had at  the Pumpkin Fondant Cupcake & Spider Cupcake Class !
I want to share here on the zany crazy blog some of the ideas that I shared in the class! 

First of all, I always have a lot of different heights and depths when I do a table for a buffet or any gathering. It should be just as appealing to look at the decorations as it is to look at the food. Case in point. We added some high candle sticks (embellished with removable Halloween bracelets!). On the stands we used some twill to add a bit of a ruffle. 
My secret? Dollar store Halloween costume Tutu's for little girls! Yup...they're inexpensive and add such a vaaavooom to your table!


See?! Now on candles and bases of trays I like to add inexpensive Halloween bracelets {again dollar store}. They're really simple touches to add some charm. Recycled Cutting Board Party Tray you can watch the segment from Valley Dish that I did on this here.


Another great idea is to use a feather wreath on the table at the center. This one happened to be huge and orange...and perfect! Thank you Cindy for having this one available!

To add height I also took a few of my Crafty Pots with a tray on top. Again adding a tutu or two to the base of the pots and stands to make them "pop". The larger bowl placed on top of a frilly tutu in a bread basket-bowl with the pumpkin loaf in it took it from a simple bread display to a work of art! Adding things like plastic felt covered spiders, glittered ceramic witch shoes and another black lace embellished bracelet to the base of the bread stand was another great touch. You want that. The whole table should be an extraordinary journey for the eyes. The food has to be remarkable...but people eat with their eyes first. 
We had a full size black and white striped tablecloth...and two life size witches sitting at the table. It was an awesome display!

For the food tables, I was excited to see what the hostess had done. Again, keeping with the color theme of black and white with orange, she had striped tablecloths. Orange napkins with adorable napkin rings!


When I walked in the front door, this is what I saw...
Each place setting looked like this:
Lin Sue told me the best secret for how they made the napkin rings! Seriously I squealed! These are little party favor tins with the plastic end removed. How brilliant is that?!
The menu was awesome too!

Here are a few of the cupcakes from the class:

 The Decadent Sweet- Stops fudge truffle cakelets...were the devil. So good!
 I fell in love with the Enchilada style baked tamales! Brilliant! Cutting tamales in half, covering them with enchilada sauce and cheese...what's not to love!
 The mixed Summer greens with a citrus vinigarette...so pretty! I fell in love with that serving spoon, by the way.
 So, at the table eating, my brain started thinking of all the amazing ways the tamales could be changed up with the enchilada style method!
My  would work for this menu as well as the Strawberry Spinach Salad with Blue Cheese Peach vinaigrette. (Granny's diabetic luncheon ).  

There you go! Have a ball getting ready for Halloween! Better yet...throw a party. {Now accepting invitations for lunch. Grin.}
Your Friend,
Chef Tess.

Monday, July 4, 2011

Red Velvet Cherry Cordial Pancakes with White Chocolate Custard and Blueberries!

We celebrate the 4th of July around here. It's an amazing day to remember the men who boldly signed their names on a paper that, should our fledgling rebellion had failed...would have been their death sentence. At that time Benjamin Franklin said, "We must all hang together, or, assuredly, we shall all hang separately." They, along with the many who have fought, lived and died for our freedom did so that we as citizens of this country could enjoy days like today with those we love. So...it is on this day I share something that we adore as a family.

 Red Velvet cake is like an icon of happiness in my family. If you look on the "Special Occasion Calendar" and ask anyone what kind of perfect cake was served at any one of the *said* {Special} events...Red Velvet will be the ideal. Red velvet however will not be the box of fakie choco-junk. It will be Mom's Best Red Velvet Cake. There is nothing else.

 Now...imagine my freakish opinion when it comes to creating a pancake worthy to be called such a red velvet piece of happiness...and you will find this...the red velvet cherry cordial pancake stack...layered with mom's amazing butter-custard white chocolate frosting and blueberry pie filling. Topped with fresh berries...


The secret has been using a sweetener in the pancakes that will not stick to the pan, so the pancakes are actually like a real cake. The red is not bitter, as is often the case when using red food coloring, because it is made from a *secret* ingredient (below)...I think you'll be pleased with the result. 


Chef Tess' Red Velvet Cherry Cordial Pancakes


1 1/2 cups homemade bisquick (or store purchased buttermilk pancake mix)
1/4 cup baker's cocoa
1 packet cherry kool-aid *unsweetened* (Yes, I know it's not a natural red...)
3/4 cup xylitol natural sweetener  or 35 drops stevia natural sweetener (or 1 cup Splenda spoonable)
1 cup water (plus or minus depending on how thick you like your pancakes)
2 tsp vanilla


Combine all ingredients and mix until just moist. Do not over-mix.  Cook on  a hot griddle. Serve warm with butter-custard white chocolate frosting (recipe below) nestled between the cakes and Blueberry pie filling of your choice drizzled over the top.


Frosting:1/2 cup all purpose flour
1-1/2 cups whole milk
8 ounces white chocolate baking pieces
1-1/2 cups butter, at room temperature
1 Tablespoon vanilla (or 1 1/2 tsp LorAnn's vanilla bean paste)
2-3 drops LorAnn’s Royal Raspberry oil (optional)
1-1/2 cups sugar
Frosting: Whisk together milk and flour in a two quart pan. Heat on stove over medium heat while continuously whisking until the mixture comes to boil and is very thick. Take the pan off the stove, add white chocolate pieces and stir until they are melted (don’t mix too much as the baking pieces may become oily). Force thickened mixture through a fine sieve into a small bowl. Place plastic wrap directly on top of the “pudding” mixture and cool for at least 4 hours in the refrigerator.


Cream the butter, vanilla, raspberry oil (optional), and sugar in the bowl of a stand mixer fitted with the whist attachment and beat until the mixture is very fluffy and the sugar is dissolved, about 6 minutes. Add the cold milk/white chocolate paste, a few tablespoons at a time to the butter mixture and whip until light and fluffy.


There you go. Let's all hang together! 


I like it much better that way...and the food is better at a pot luck, right?! God Bless the USA!

Monday, June 6, 2011

Recycled Cake Pans, Tiered Party Trays and Topiaries...Today's Ideas!


 What do cake pans and popcorn balls have in common? Well...topiaries and party trays...Wait. What?
 Wow! Are you hungry yet?!
 What about a popcorn ball bouquet?!

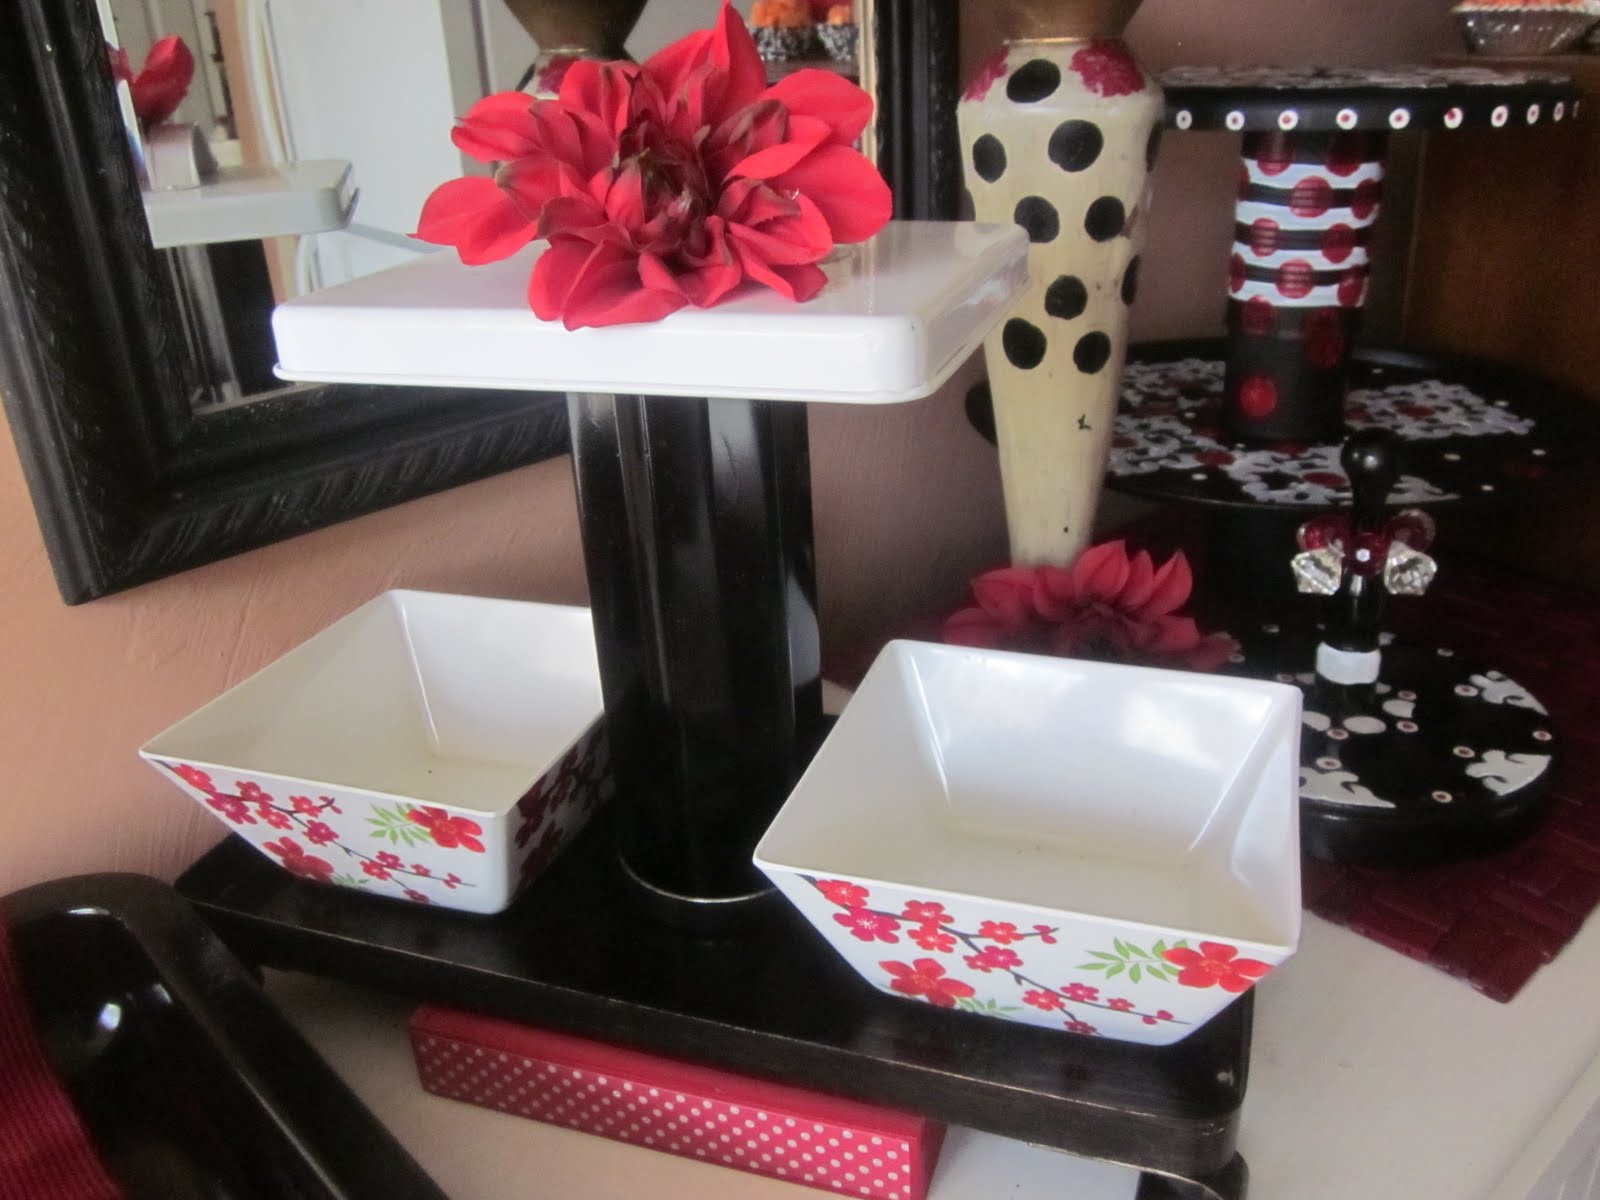
 Today I'll be showing these sweet tiered stands I made from old cake pans and aluminum cans! I'll also be talking topiaries!
 You won't want to miss the details. NBC 12 at 3:30. In the meantime, here's a look at a few of the party trays...


I'll have the full tutorial up for Tuesday's Tutorial! Are you excited?! I am!