Showing posts with label wheat. Show all posts

Thursday, May 1, 2025

The Ultimate Pastry Chef's Wheat Flour Science of Baking Guide


Although flour is an essential addition to many recipes and is the most popular baked goods, do you know how it works scientifically? Let my chef's guide give you all the insights you need!

Head millers spend years in college studying the properties of milling equipment and how to produce exquisite flour that meets exact specifications.  Bakers and pastry chefs devote the entirety of their careers to using it creatively and studying hands-on with experimentation. If they’re any good at their job, baking instructors also learn the science behind what makes each flour work in each application.  So, do you really know how flour works?
How often did you add flour to your cookies and cakes and overlook its true importance for the chemical and physical changes needed for the finished product to come out of the oven with an acceptable finished look and taste? You probably haven’t had to think about it until something went wrong. Why are the cookies as hard as a rock? Why is the cake extra thick and weird today? What happened to the bread? It looks like a two-headed monster!  We certainly prefer the question, “Who ate all the bread?” That’s a question suggesting that everything went perfectly in the baking process.

Understanding the science behind flour and its interactions during baking can provide valuable insights into our baking items. When we select a specific type of flour, it should be chosen for a recipe that will complement the properties of the flour and produce delicious results. This knowledge empowers us to achieve the best results with each flour, making us more knowledgeable and confident in our baking endeavors.
Gluten Is Not Evil.

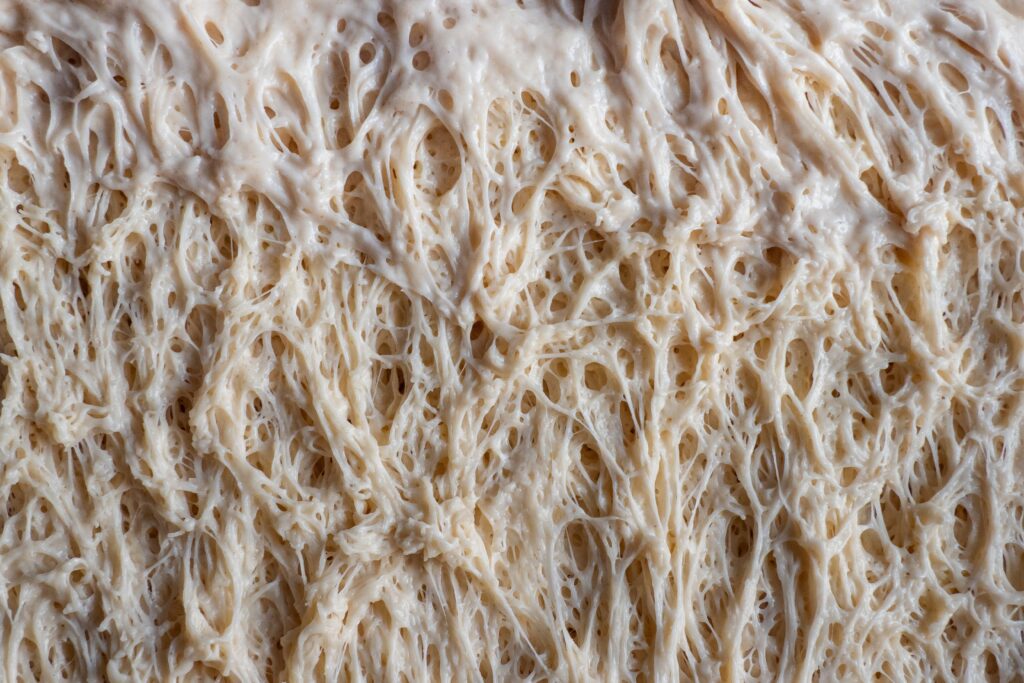
Gluten, often misunderstood, is a vital component of wheat flour, especially in baking.  Its role in baking is significant and multifaceted. First, it acts as a binding agent for doughs and batters. Secondly, in bread and batters, it traps the gases released by yeast or leavening agents during baking, preventing bread, cakes, and cookies from being too dense. Furthermore, gluten is ultimately responsible for the shape and texture of baked goods. Understanding and appreciating the role of gluten in baking can enlighten us and enhance our baking experiences.
How exactly does this miracle protein work?

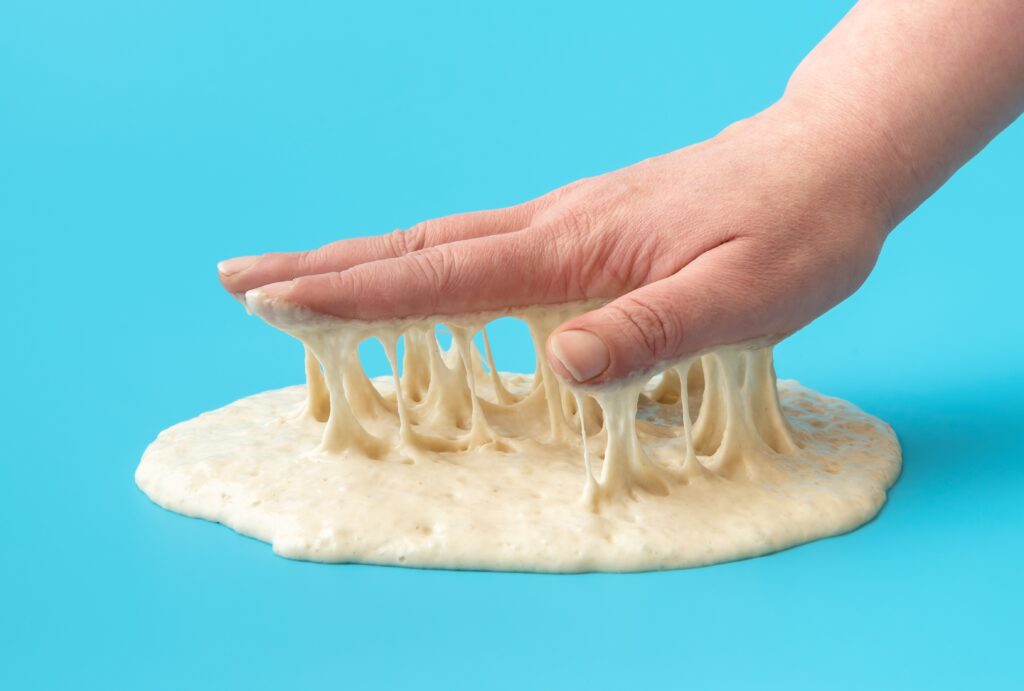
Gluten is made up of two proteins, glutenin and gliadin. When mixed with water, these two proteins combine to create strong, elastic gluten strands in the dough. These gluten strands become stronger and more developed the more you mix the dough, ultimately affecting the texture and type of dough formed. The more gluten proteins in flour, the quicker and stronger the elastic gluten strands will be created in the dough.
The Fat Role

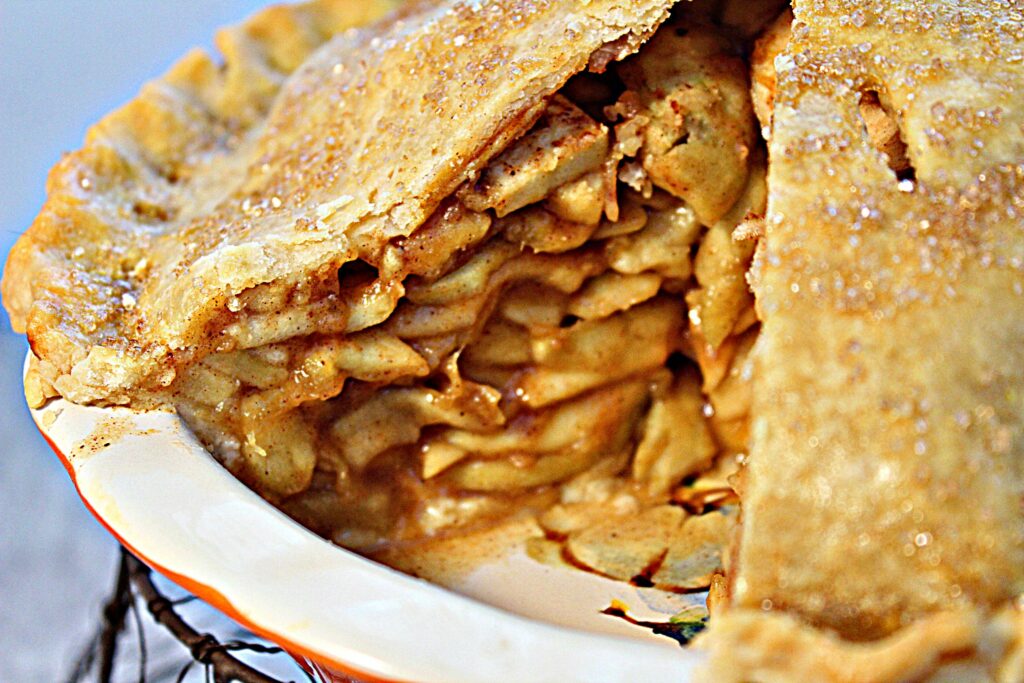
The role of fat in baking is crucial and often overlooked. The fat content in a dough or pastry significantly affects how quickly and tightly the gluten strands are formed. Fat prevents the proteins from connecting as rapidly as possible and can even prevent them from connecting altogether. This understanding can prepare us when choosing the right flour for our recipes. For instance, when a more tender finished product is desired, higher fat content is often seen in pastries, cookies, and cakes. It’s also not uncommon for a higher protein flour to be used in pastries with a lot of fat in the formulation, as bakers may want more structure and a longer shelf life. Fat in baking adds to the shelf life of baked goods, keeping them moist when exposed to air.
Which flour for which baked goods is most appropriate?

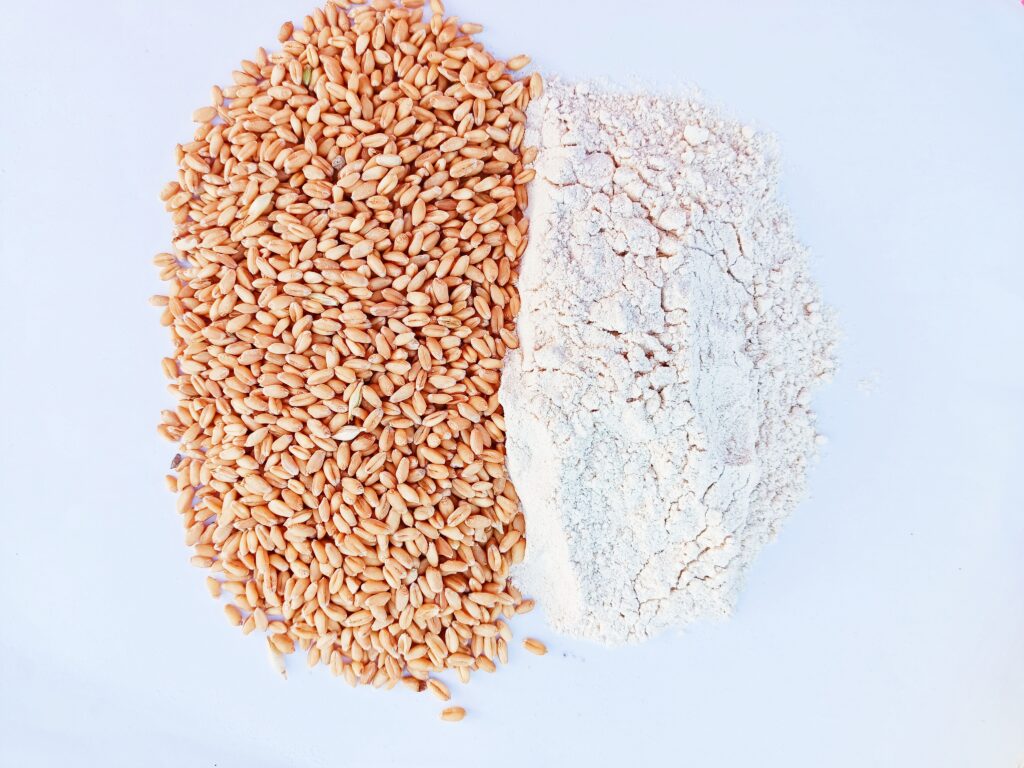
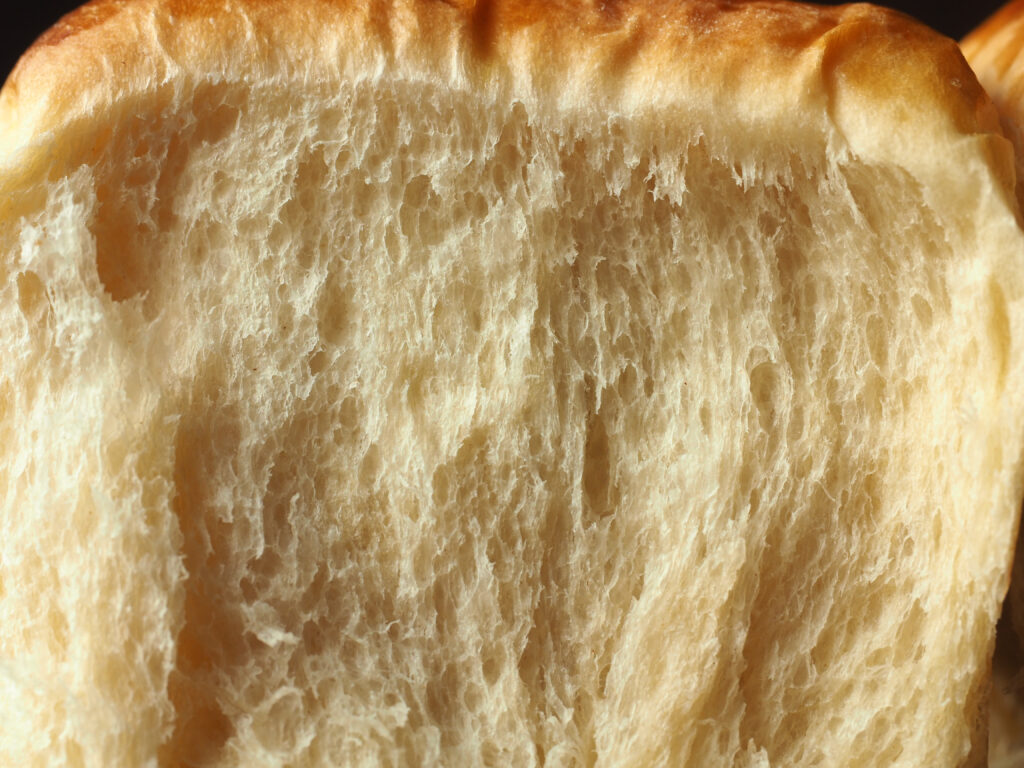
The protein percentage is the best indicator for choosing the flour for a specific baked good. Different types of dough and batters require different levels of gluten content. For instance, bread, pizzas, and pasta require a higher protein content. The higher amount of gluten makes the bread dough elastic and stretchy, contributing to open-air pockets and a tender loaf that won’t fall apart when sliced. It helps the pasta to have enough protein so that, when cooked, it has a desirable texture.

On the other hand, cakes, cookies, and other pastries require less gluten, making them lighter and fluffier. The gluten connections are less connected and elastic. Therefore, as expected, bread flour has a higher protein content than pastry or cake flour. Oddly enough, hard wheat varieties produce higher protein content flours for bread and pasta. Softer wheat varieties produce lower protein content for softer products. If someone mentions they prefer soft wheat, they are more than likely to create baked goods that are more delicate, like cakes and cookies.
Bread Flour

Bread flour, durum semolina, and hard whole-wheat flour have the most protein, about 12-15%. Bread flour is made from hard wheat and forms strong, durable gluten, making the elastic dough necessary for good bread. Whole-wheat flour provides a more wheat flavor and is slightly darker than white flour. It is produced by milling whole wheat berries instead of just parts. These flours are, therefore, ideal for yeast-raised dough and pizzas.

All-Purpose Flour

As its name suggests, all-purpose flour can be used for almost anything since it is generally a mix of hard and soft wheat. It falls in the middle regarding protein content, 9-12%, and thus can be used for most home-baked goods. It also comes in bleached and unbleached versions. The difference between these two is that bleached flour has been treated with an agent to whiten it. Its nutrients are restored, while unbleached flour remains untouched and keeps all its nutrients on its own. Regarding baking results, however, these two are equal and will work the same.
Pastry Flour

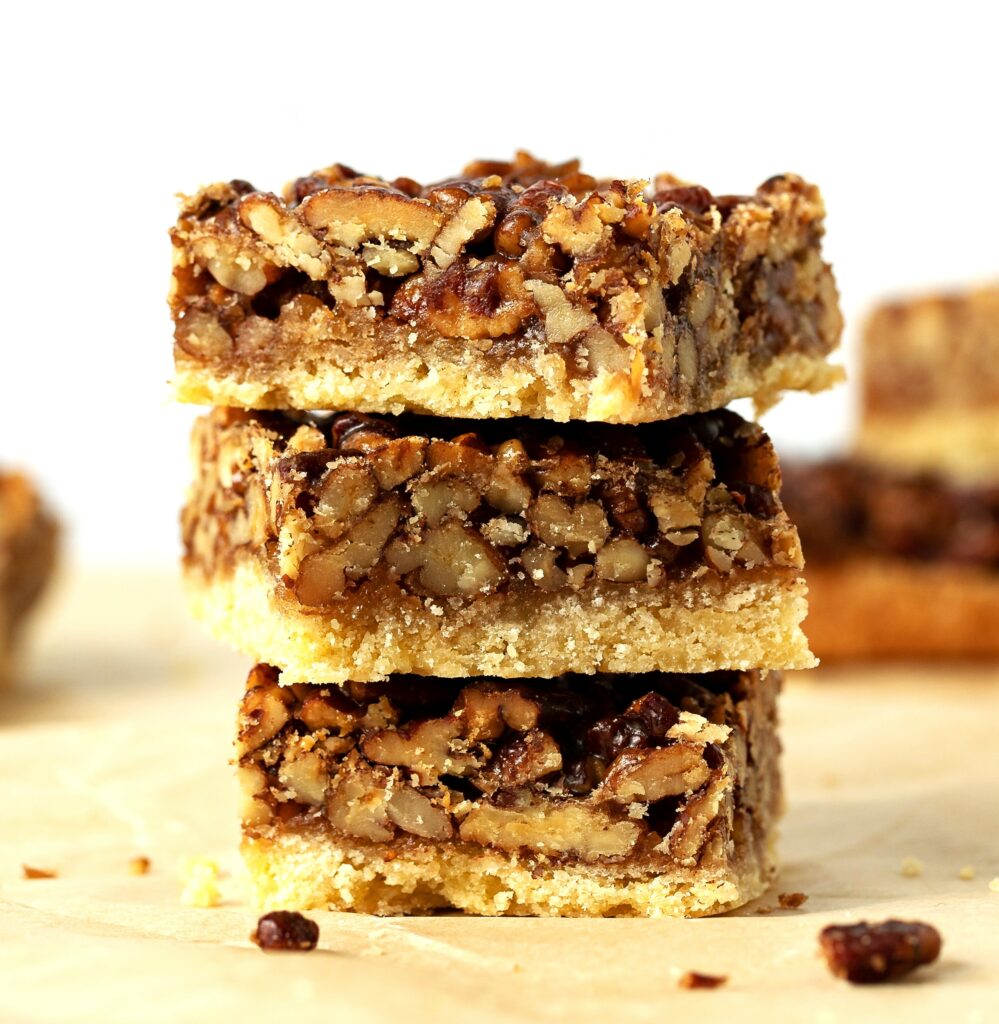
Pastry flour is made from soft wheat and contains 8-9% protein. This results in weaker gluten and a softer product, resulting in a crumbly, fluffy texture. Thus, it is mainly used for different types of pastries.
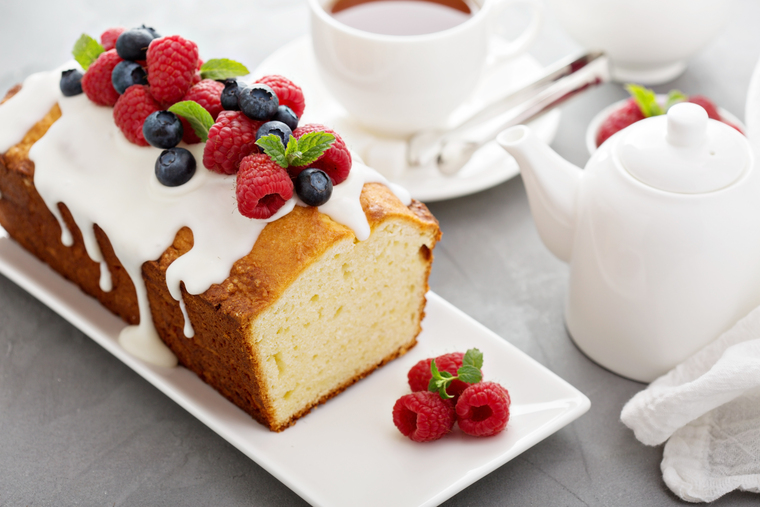
Cake Flour

Cake flour is very similar to pastry flour. It is made from soft wheat and falls below pastry flour with a 7-8% protein content. The lower protein content ensures that cakes turn out fluffy and tender.
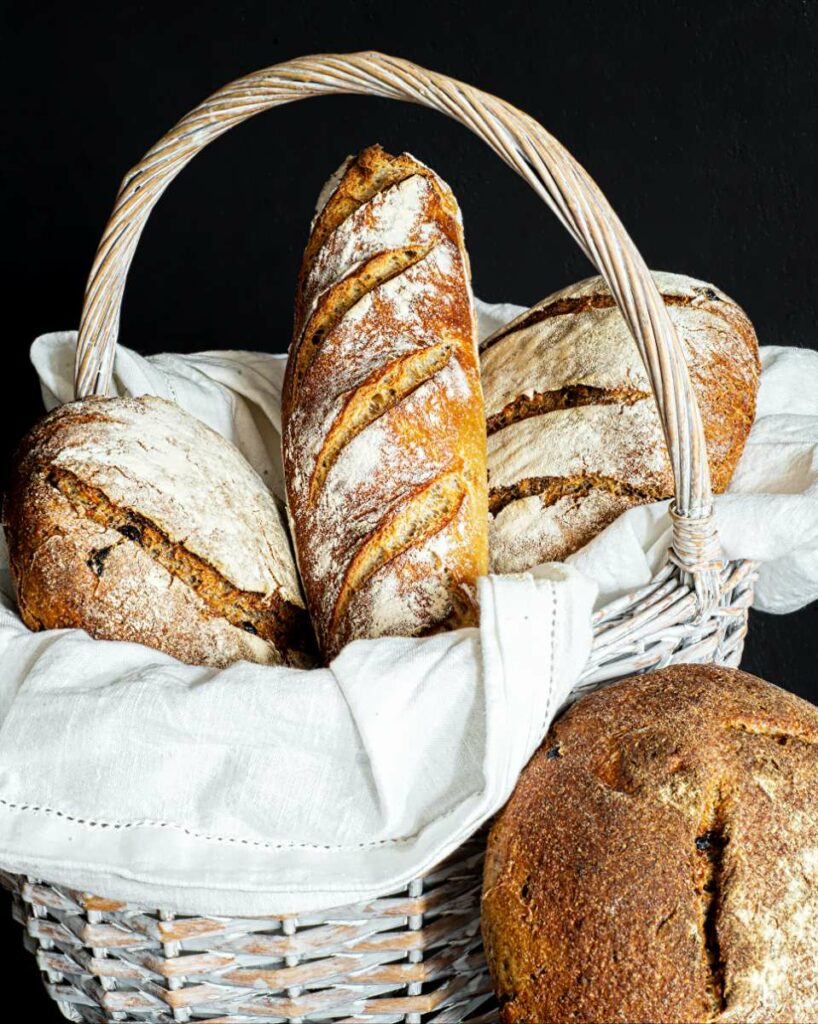
Type 55 Flour

Typically described as low-protein bread flour with .50-55% ash, this flour is ideal for Artisan bread, laminated dough, Neapolitan pizza, cookies, scones, and quick bread.

Tortilla Flour

 The typical falling numbers* for this flour mean it can’t be used as well for bread, but is excellent for flatbreads, crackers, pizza, and tortillas.
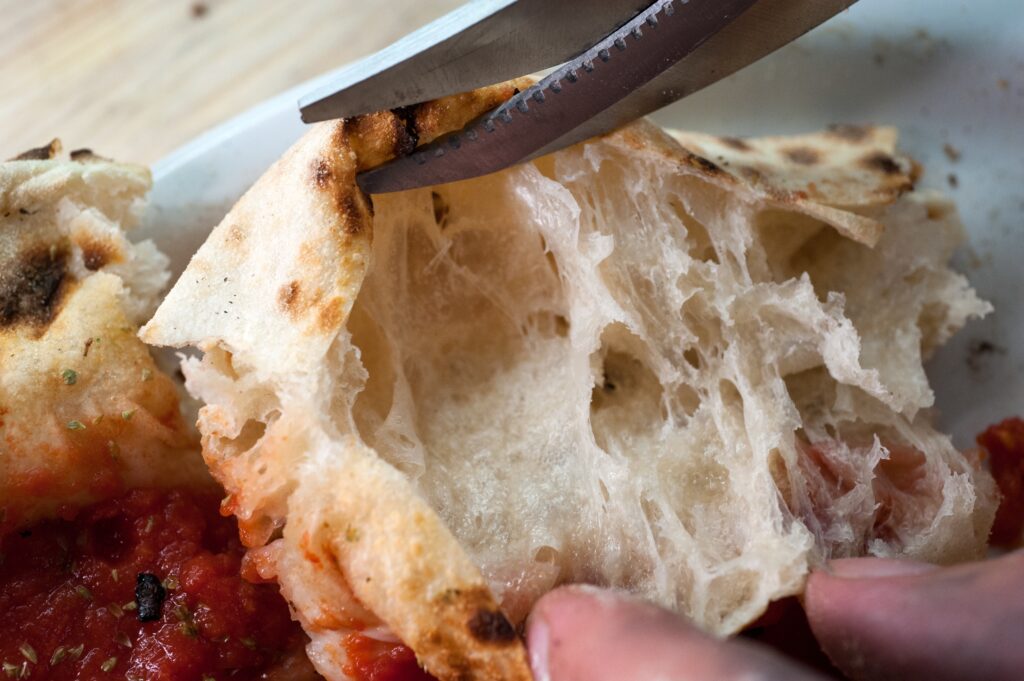
High Gluten Flour

As the highest-gluten flour (13-14%), it’s key to helping you bake lusty, chewy artisan and whole-grain bread with a hearty, lofty texture. It’s suitable for breads that require long fermentation, like no-kneads, and great for dense, chewy breads like bagels, crusty rolls, artisan hearth breads, and pizza crusts — adding a toothsome quality and a bakery-worthy interior. Higher protein flour absorbs more liquid than other flours, so add about 1 tablespoon or more extra liquid for each 120g when subbing in a recipe.

Baker’s Patent Flour

Patent flour is milled from the innermost part of the wheat kernel’s endosperm, producing pure, high-quality white flour. It typically falls in the 12.2% to 12.8% protein range, making it suitable for breads and rolls that need structure and chewiness. Patent flour is usually made from hard spring wheat, contributing to its strong gluten development. It is ideal for yeast breads, European Artisan Breads, French breads, Ciabatta, Focaccia, rich sweet doughs, Cinnamon Rolls, and Doughnuts.
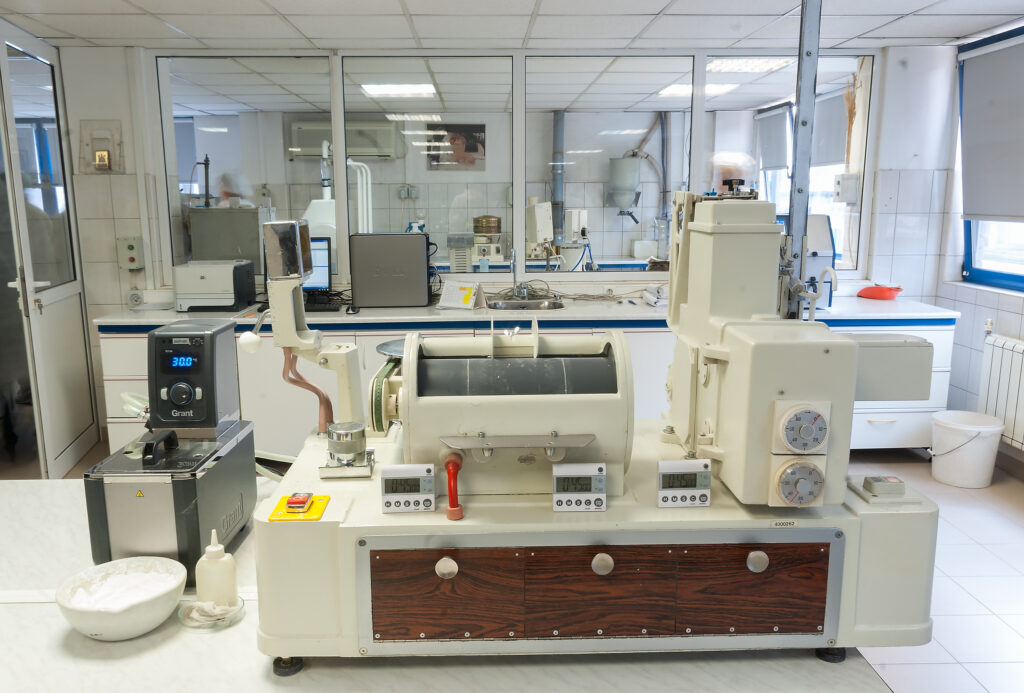
The Food Science Lab

*Understanding Falling Numbers in Flour

For baking bread, falling numbers ideally should be between 250 and 300 seconds, as this range indicates good flour quality and optimal enzyme activity. Falling Number measures the amount of pre-harvest sprouting that occurs in the grain while on the stalk in the field. It is a lab test in which a slurry of flour and water is placed in a test tube, and the time it takes for a plunger to fall through the slurry to the bottom of the test tube is measured.

Why is the Falling Number Significant?

The test assesses the level of alpha-amylase, an enzyme that breaks down starch in flour, negatively impacting bread quality.

What are Ideal Falling Numbers?

For optimal baking results, flour with falling numbers between 250 and 300 seconds is generally considered ideal, especially for bread baking.

Falling Number Too High?

A very high falling number (above 300 seconds) can indicate a lack of enzyme activity, which may require the addition of amylolytic enzymes or malted flour to the baking process.

Falling Number Too Low?

A low falling number (below 250 seconds) indicates high enzyme activity, often caused by sprout damage or high moisture content in the wheat kernels. Such flour might be unsuitable for milling and baking or require adjustments to the baking process.

Whatever you are baking, we hope this essential guide has been helpful and will give you insights into choosing the flour that best fits your desired results. Happy baking.

Always My Very Best,

Chef Tess


Monday, April 18, 2022

Classes with the Culinary Institute of America in Napa, CA and Wheat Foods Council


So...I finally got to go to the CIA. Tim O'Conner, the President of Wheat Foods Council
invited me to attend this remarkable event in Napa last week! It was by and far one of the most amazing experiences yet! There were about 50 chefs there from all over the country that they considered the "most influential in wheat foods." To be honest, I was humbled beyond words to be invited, but also thrilled! The facility was gorgeous, and the instructors were world-class. 

In this elite invitation-only event, I was asked to attend the workshop at the CIA COPIA campus with Chefs Victor Gielisse and Chef Lisa Brefere, Consulting Partners of The Culinary Institute of America, Consulting Group. We explored the opportunity of differentiating in a competitive foodservice and hospitality market, driven by the challenges for Chefs in creating and implementing high-performing culinary teams. First, I explored the options that Chefs face and must understand in their business to determine what adds value. Then, learned at what stage to initiate another point of menu differentiation to stay ahead of the competition. New and natural value creation for organizations and teams were also highlighted.

Key outcomes from this two-day hands-on culinary session included:

  • Understanding and improving upon culinary repertoires by exploring creative uses of wheat foods within the global flavor palette
  • Analyzing the importance of plant-based approaches to create delicious culinary dishes with cultural appeal
  • Explore the principles of menu concepts and the impact on food and ingredient use
  • Continue to approach a diversity of menu strategies by leveraging globally inspired culinary strategies.
  • Lead with menu strategies around flavor development


I look forward to continuing my work with Wheat Foods Council and building on this friendship. I've learned so much from my relationships with wheat farmers across the country and seeing the change that is taking place in the world of food because of the hard work that state wheat councils are doing together nationally under the direction of the Wheat Foods Council is impressive.  


Always My Very Best,
Your Friend Chef Tess


Friday, July 14, 2017

Freezer Friday! Video 3 Ways to use Sprouted Wheat dough: Cinnamon rolls, Dinner Rolls and Sticky Buns


Episode 3 Season 2 Cooking with Chef Tess as seen on the Heartland TV Network in Las Vegas! Here's last week's episode and recipes. 

Freezer to Oven Sprouted Grain Cinnamon Rolls, Dinner Rolls and Sticky Buns

Make the Dough
·       3 cups water (no hotter than 110 degrees)
·       2 Tbsp. active dry yeast
·       ½ cups Organic coconut sugar
·       4 ½ cups Organic Grains bread flour
·       4 ½ cup  Organic Grains sprouted white wheat flour 
·       1 Tbsp. salt
·       ¾ cup coconut oil or Ahuacatlan Avocado Oil 
·       2 egg
Combine everything in one large bowl or mixer. I like that. Knead 5 minutes by hand or 3 minutes in a mixer on medium setting. This is a less developed dough as far as gluten is concerned. Form into a ball and place in a bowl covered with plastic or a lid for 1 hour, or until doubled in size. Punch down dough and divide into 3 equal pieces.

Cinnamon Rolls
Roll out in rectangle on a lightly floured surface. 

Smear:
½ cup sugar
½ cup butter
2 Tbsp cinnamon or Chef Tess  Wise Woman of the East Spice blend


Cut into 8 rolls. Place 4 roll per 8 inch pan. Raise 45 minutes. Freeze.

Oven-Ready Stuffed Sticky Buns

Caramel Topping:
1 c brown sugar
1/2 chopped real bacon bits
 1/3 c maple syrup
¼ c butter, melted

Cream Filling:
1/2 package (4 oz) cream cheese, softened
¼  c shredded coconut (okay...how evil is that?!)
 2 Tbsp.  powdered sugar
 1 Tbsp.  butter, softened
 1 tsp vanilla

 Spread topping in the bottom of each pan.
Combine all cream filling ingredients and beat until well mixed; set aside.
Punch dough down and divide into 6 equal pieces. Flatten each piece of dough into a small circle, about 4 to 5 inches in diameter. Place a scant T of cream filling in the center. Pinch edges of dough together and form into a ball; It looks like a little cheese tortellini. Place in prepared pans, pinched side down. Cover and let rise until doubled, about 30 to 45 minutes. Yes, let them raise before freezing! That is the secret! (if freezing, put in freezer at this point. To prepare pull from freezer straight to the oven and add 20 min to bake time for room temp dough) Bake at 350°F for 25 to 30 minutes or until deep golden brown (45-50 minutes from frozen). Cool on rack for only 1 minute; invert onto serving platters. Remember, allow to cool only one minute before inverting onto a platter. Be careful, it's hot and that goo is delicious...but not in a molten mass attached to your arm. Oh my stars!


 Making Dinner Rolls

 I kind of put them in a log form. this helps to keep things pretty even. You can get science-like and weigh the dough and then divide it into 12 equal portions, but on most given days, I just eyeball it. I may go to baker's heck for saying that.
Now, lightly (I do mean lightly) dust the counter top with a little flour...just a little. We don't want the rolls sticking too much. On the other hand, we don't want so much flour that they just roll all over the place. The point is, we want a little tacky stuff so they form correctly. Take the dough piece and pinch the sides together...
Then turn it over so the pinched side is down.
You don't want it to look loose like this...
You want the dough balls to look like they have a skin holding them together. Like this picture below. Place the rolls on a pan lined with parchment paper (or a freezer friendly pan for easy make and bake). If you use metal pans, you don't have to worry about the glass shattering going from the freezer to the oven. I may mention that again.
Allow to raise at room temperature, uncovered for 35-40 minutes, until the rolls are touching if originally placed 1/2 an inch apart. Cover with foil and place in the freezer. Keep frozen up to one month. Removing them from a pan once frozen and placing directly in a freezer bag will save space in your freezer...big time!

 Bake, Serve. Wrap Up
When you want fresh rolls, preheat oven to 375 degrees. Remove pan from the freezer. Important note...don't place glass pans directly from the freezer to the oven, they will shatter. If you keep rolls frozen in freezer bags, place frozen rolls on pan and then place in the oven.
Bake 375 degrees 20-25 minutes until golden brown.
Try not to eat them all in one sitting...alone. 

Special thanks to Organic Grains for sponsoring this episode!

 There you go! Make some awesome buns!


Always My Very Best,
Your Friend Chef Tess


Saturday, June 17, 2017

Pistachio Peach Sprouted Einkorn Artisan Bread


  The concept of sprouted wheat bread isn't new to me, in fact I used it for years to make my Sprouted Wheat Bread in a Food Processor that first saw its way onto the blog in 2009. I have many Sprouted Wheat Recipes but those have been tricky because of the nature of sprouted wheat and the process can be time consuming.  In the early days, I had a lot more time to sprout the grain and make my own products directly, including the option of re-dehydrating the sprouted grains and making them into flour.  If you have the time and means to do it, that is a valuable skill and the most nutritious. When grains are sprouted they are converted into a raw, living food with more vital nutrients which are more readily absorbed by the body. Sprouted flours are digested by the body as a vegetable not as a starch.
When grains are sprouted, enzymes are created that aid digestion. Complex sugars are also broken down and as a result, painful intestinal gases and potent carcinogens and enzyme inhibitors are neutralized. This is especially beneficial for those people with intolerance to wheat as they often discover that they can digest sprouted grains without any problem. Grains are normally digested as starches using pancreatic enzymes but when grains are sprouted the starch molecules are changed into vegetable sugars which the body then digests as a vegetable.  

The trick is getting the dehydration done at just the right enzyme stage of the sprouting as to produce good bread instead of bricks. It is also an issue to use a dehydration method that doesn't get too hot and kill all the nutritional benefits of sprouting (anything over 118 degrees). Those enzymes are critical to the raising process of the bread.   
I personally have changed to just purchasing the Pre-sprouted and dehydrated organic sprouted wheat and milling it at home in a stone mill or if you don't have a mill, purchasing it already ground. The other baking benefit of sprouted flour is that it has the depth of flavor associated with a long slow fermentation in a bread dough that is usually achieved with eight-12 hours of slow raising, but it can be done in a short period of time (usually an hour or less). 
Because Einkorn is an ancient form of wheat, it is already a better option for those who can't tolerate modern wheat, but sprouting the grain takes it one step further!   Organicgrains.com is the only company I know of that actually mills the grains to order to provide the freshest flours possible and retaining the nutrition of the flour. I'm addicted to their  Sprouted Einkorn Wheat Flour .  It has all the benefits of sprouted grain without having to do all the back-work.  I'm okay with that right now.  I've enjoyed working with OrganicGrains.com and their products so much, that I asked if they would sponsor my TV show. They graciously agreed and have been very kind to us. So yes, I do benefit greatly from my association with their brand, but I loved them long before they started backing me. 
Sprouted Einkorn Flour from OrganicGrains.com 

Why Use Sprouted Wheat Flour?
According to research done by the University of Minnesota, sprouting increases the total nutrient density.
  • Vitamin B1 (thiamin) increase of 28%
  • Vitamin B2 (riboflavin) increase of 315%
  • Vitamin B3 (niacin) increase of 66%
  • Vitamin B5 (pantothenic) increase of 65%
  • Biotin increase of 111%
  • Folic Acid increase of 278%
  • Vitamin C increase of 300%
These studies also demonstrated a significant increase in various enzymes including amylase, lipase and Protease. Sprouting grains also helps with the absorption of calcium, magnesium, iron, copper and zinc as reported by the Price-Pottenger Nutrition Foundation.*Resource: www.organicwheatproducts.com 
 Gourmet Nuts and Dried Fruit sent me this huge box of my favorite little nuggets of love and asked me to try them out in my baking. We discussed earlier this week all The Health Benefits of Pistachios so I wanted to use them in conjunction with this amazing sprouted wheat flour to really get all that nutrition in one place. 


This is "Staff of Life" kind of bread. It will definitely give you a huge boost of energy as well as a full gamut of benefits.  If you don't want to use dried peaches, this recipe will work with any dried fruit. Figs would be amazing! 


Pistachio Peach Sprouted Einkorn Artisan Bread
Yield: 1 loaf

3 cups Sprouted Einkorn Wheat Flour
1 tsp Salt 
1 1/2 cups Water, lukewarm
1 cup Raw Pistachios, chopped 
1/2 cup Dried Peaches or any Dried Fruit, chopped
1/2 cup Coconut Sugar
1 1/2 tsp Yeast, active dry

 Directions: Combine all ingredients in a large 1 gallon bowl, and mix by hand until combined, about 2 minutes.


Cover tightly with plastic wrap or a lid and allow to sit at room temperature 1 hour.  Turn the dough out onto a lightly floured countertop.  Cut it in half and form each part gently into a ball. Roll dough into a rectangle and fold into thirds. Roll, pinch, and form into a loaf. Place in greased 4 quart dutch oven loaf and raise one hour. Preheat oven to 425°. When oven is hot and only then, place loaves in the oven. Covered with lid. After 15 minutes, reduce heat to 325 ° and remove lid, Continue baking for 30-35 minutes, until internal temperature is over 175°.


There you go! Make some nutritious and extremely delicious bread. Your body will thank you!


Always My Very Best,
Your Friend Chef Tess


Tuesday, July 5, 2011

9 Grain Ciabatta Whole Grain Bread Tutorial

Grain embedded in the dough of an already chewy and satiating  loaf of bread is probably one of the most satisfying of all the meals on earth. Here it sits. Glory and praise resound for the 9 grain Ciabatta! 

True confessions...this may be one of my favorite breads of all time. It's light and fluffy. It's got chewy little grain nugget-lets in the dough...and it's hearty and filling as heck-fire. I couldn't ask for a better deal when it comes to whole grain bread. I'm going to use some pretty gold stuff in my bread too.
Today I'm using this gorgeous 9 grain cereal mix. It looks like it should be priced by the ounce and sold in little pouches. Well, it is...kind of...
Honeyville Farms Nine Grain Mix has become a fast favorite in our home. It's not priced like gold, but it tastes amazing! 
Why? 
Well, this cracked cereal mix contains hard red wheat, soft white wheat, barley, rye, oats, corn, millet, buckwheat and flax seeds.  All of the grains have been milled to a nice, course consistency, that is very similar to most commercially cracked wheat.  The texture is even and consistent.  This mix is a good source of fiber, protein and iron.  This cereal will store for 7-10 years sealed in the #10 can. However...it makes a magnificent breakfast cereal...or an even more beautiful bread. I'm totally hooked.  That being said, I'm gearing up to teach a whole grain bread class at the Honeyville Farms store in Chandler, Arizona this coming Saturday morning at 10 AM. One of the things I teach is how to make bread with a bucket instead of a mixer. It's a little odd to some, but it's a lot less expensive than buying a mixer...and it's a lot more practical for larger quantity bread making. I have a method to it though...and that's what we'll be covering here.
First you'll need my recipe. I give it out freely, but I also give it out with very specific directions. Don't change the directions and the recipe and tell me it "doesn't work". Follow what I say and do...and I think you will find joy in your bread. That being said, here's the recipe:

Chef Tess 9 grain Ciabatta Whole Grain Bread

Sponge:
1 1/2 cup high gluten whole wheat bread flour
1 1/4 cup water (no hotter than 95 degrees)
1T active dry yeast (.3 oz)

Dough: 
3 cups high gluten whole wheat flour
1 cup water
1T salt
2T olive oil
 To make the sponge: Combine the sponge ingredients until it is a batter-like consistency. It will be pretty loose.

In fact...I did a video so you could get a better idea of what I'm talking about.


After 4 hours, it will look very bubbly and gorgeous like this...


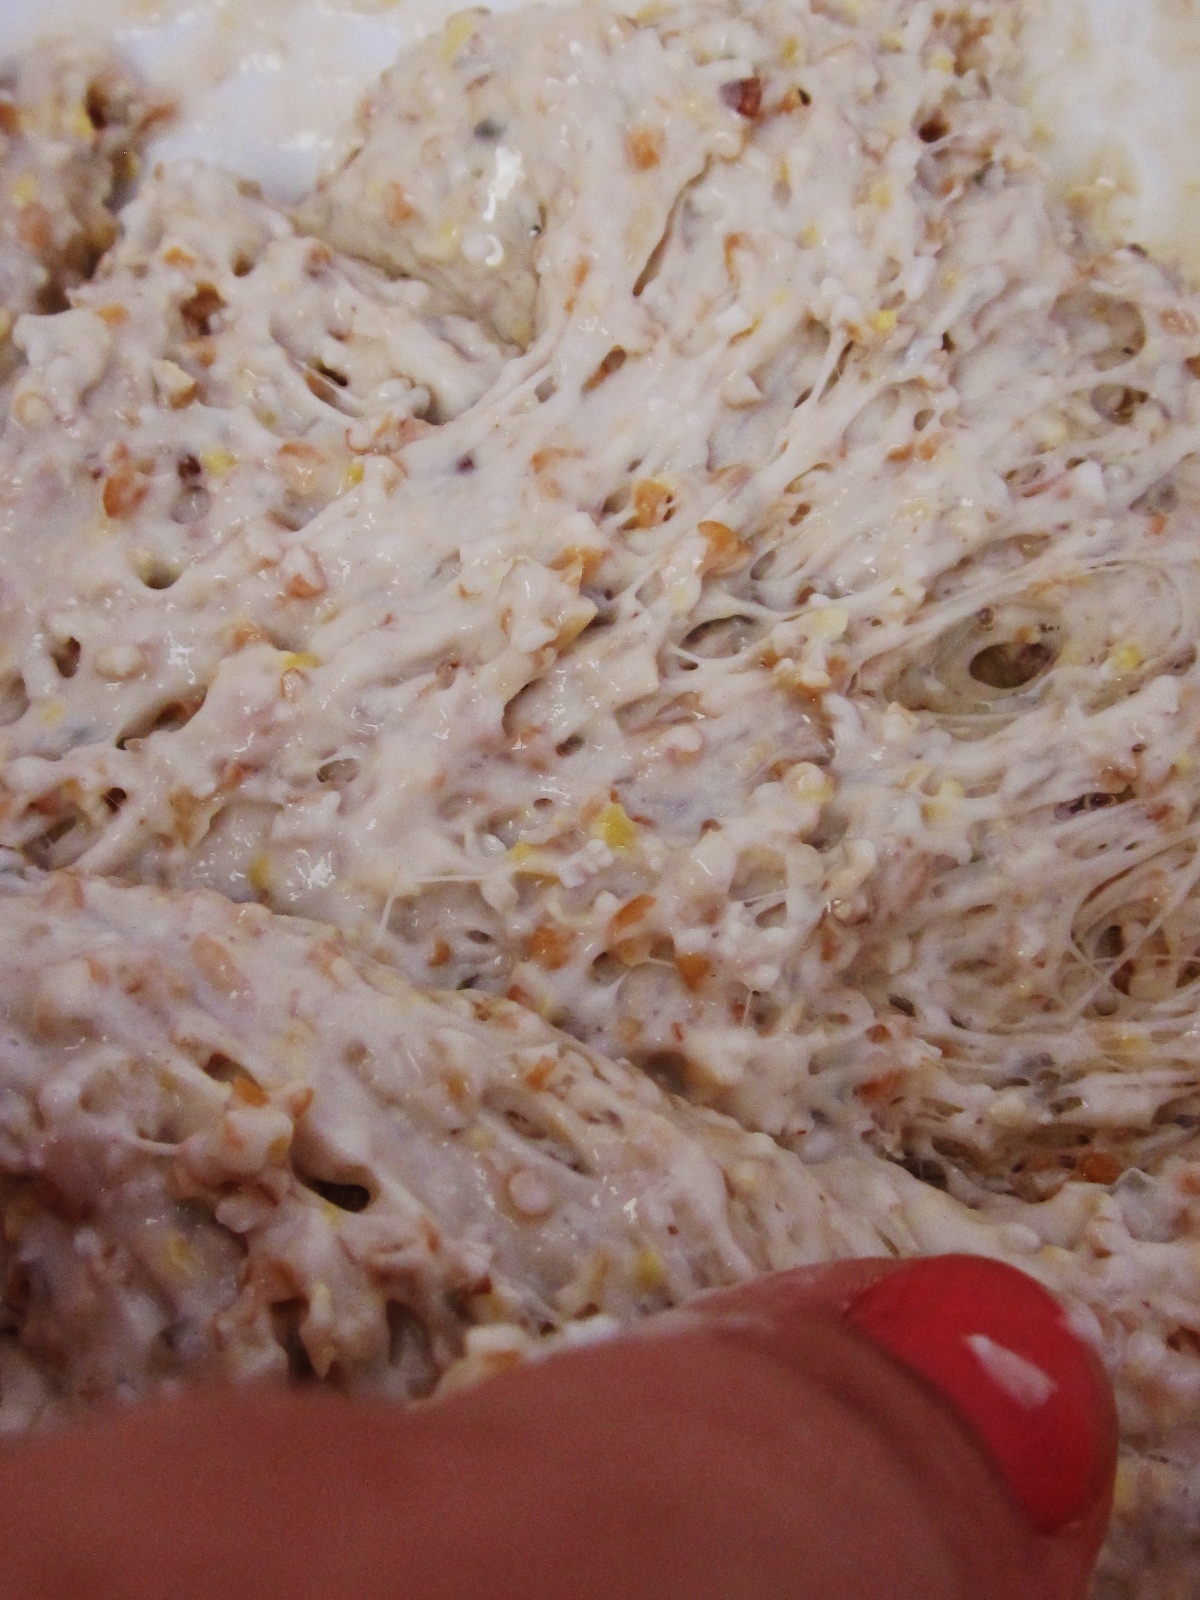
When you reach in the bucket you will find some very strong gluten strands developed. It's remarkable!


In with the gluten development, there will be soft pieces of whole grain. 


Add the water and mix up the sponge. Add the oil, salt, and 3 cups of flour. You will not need much more flour. I keep the dough very moist. Again, this helps you have a nice tender whole grain bread.


More of me talking and saying things that make sense...


After kneading...it will look like this...Oh wait. Watch the video...


Fold it over until the rounded part is up. 
It will look like this first...again, with all those gorgeous grains just hanging out all over like jewelry. Bling. Bling.


It won't touch the sides of the bucket.


After 1 1/2 to 2 hours, it reaches the edges and is very spongy. 


Now, get some whole wheat flour...


Spread a generous amount on a counter-top or table. Emergency situation, just lay your bucket on it's side and cover the inside with flour.


Lay out the dough in an 8 inch by 12 inch square, but DO NOT expel air. Now, that's totally opposite of any other bread I make so that might through you for a loop. Don't be thrown. Just follow what I say and you will be happy. Ahh. Trust is good. Trust Chef Tess...{mind control complete...}


Top the dough with a good sprinkle of flour.


 Take out a sharp serrated knife and slice the dough into 4 strips, long wise.


OH mercy...look at that grain! Are you happy yet? I'm getting so giddy!


Lightly oil 2 sheet pans and lay 2 loaves on each pan.


OH have mercy! Are you happy now?!


Allow to raise, uncovered for 1 hour. Preheat your oven to 425 degrees.


When the loaf is fluffy enough to pass the edge of the pan...


Bake it! 20-25 minutes.   It will get all golden and awe inspiring.


We topped it with some gorgonzola lemon herb butter. It was totally wicked...you should eat it everyday.


Then, to make my hum-drum life complete...I topped out the day with Pesto. The heavenly green gloop of happiness.   He sounds like a magical elf who lives in the ceiling huh? Nope...He lives on my pasta.


Low carb be dang-tootin' banished to another side of the universe!


We are living it up!  Okay...and believe it or not, that's all whole grain, low glycemic index and low fat food...so my body is happy. I'm full...and I'm feeling great. Weight loss update...down 45 lbs. So...you know it's not just in my mind, right?! 

There you go. Make some Ciabatta! Want the printable?

Always My Very Best,
Your Friend Chef Tess