Showing posts with label cake decorating. Show all posts

Wednesday, January 24, 2018

A Country Wedding Cake for My Nephew

I have been a little out of the loop the last few weeks, but I have to share the photos from this wedding cake I did for my nephew Andre and his new wife Lydia. The wedding was the last week of December and it had a "Country Winter" theme.  The pictures really don't do it justice. The base is 16 inches wide and 8 inches tall, so it was really a good size. Lydia wanted it to look county with edible burlap on the top layer. The second layer we made to look like a Birch tree trunk with their initials carved in it.  The base was to be sculpted buttercream of a winter mountain and Pinetree scene. 

The biggest challenge was trying to get the three layers to tie together, but I think the addition of the edible burlap on the base of the cake as well as using some as leaves, made it work. 

Here's a better look at the finished Birch tree trunk layer...


Here's the sculpted buttercream base. I did this one all free-hand.

Here's the edible burlap and lace top layer, minus the bride and groom topper.


The best part was seeing the look on the bride's face when she saw the cake. 

Of course, it really was never about the cake. It's about these two finding each other and building a life together, but I was really happy to be part of it all. Congratulations Andre. She's a great addition to the family!


Always My Very Best,
Your Friend 
Chef Tess


Saturday, November 8, 2014

Latest Wedding Cake...Country Natural Fall Cake

 My friend Nikki is getting married today and she asked me to bake her cake. It is a country wedding, very casual, but still classy enough to need something special.

I had to share the pictures.
 What do you think of this trend in cakes?

Always My Very Best,
Your Friend Chef Tess

Monday, October 6, 2014

Easy 4 Ingredient Homemade Cake Fondant


Recently I taught a class on how to make rolled fondant for cakes and I wanted to share the recipes here on the blog for those who were unable to attend the class. It is really not very difficult to make and tastes a ton better than the stuff in a box, plus it costs a heck-of-a-lot less! We made two varieties, one traditional and one using marshmallows. Both were delicious! My favorite for ease and flavor was by and far the one based on marshmallows. I think a lot of people will be surprised to see how inexpensive it is to make. For around $1 a lb to make compared to up to $10 a pound pre-made and packaged. That adds up quickly when you're frosting a large cake!


My  4 Ingredient Easy Homemade Rolled Fondant
Adapted from the Cake Boss (here)
  • 16 oz marshmallows, mini
  • 2lb powdered sugar
  • 1Tbsp corn syrup
  • 2 tsp natural flavored oil or flavor extract (here)
Directions: Grease a large wooden spoon or silicon spatula with oil.  Transfer to a plastic bag and cover tightly until ready to use, allowing to rest at least 5 hours.


Melt marshmallow in microwave for about 2 minutes in a large glass bowl. Yes.  I used a microwave. It is just fast and easy. If you want to melt it on the stove, you can do that as well, but it will take about 5 minutes and you'll need to stir it constantly. 
 Add the corn syrup and flavor along with a gradual addition of the sugar, stirring until the sugar is assimilated.
 When dough becomes too stiff to knead by spoon, transfer to a well oiled counter top and knead 5 minutes until smooth. I had to add a little more oil to the surface about half way through kneading.  Some folks have been saying that this can be done by machine, but I've not found a machine strong enough to handle it for home use. The larger commercial bakery mixer will work if you have access to them. 


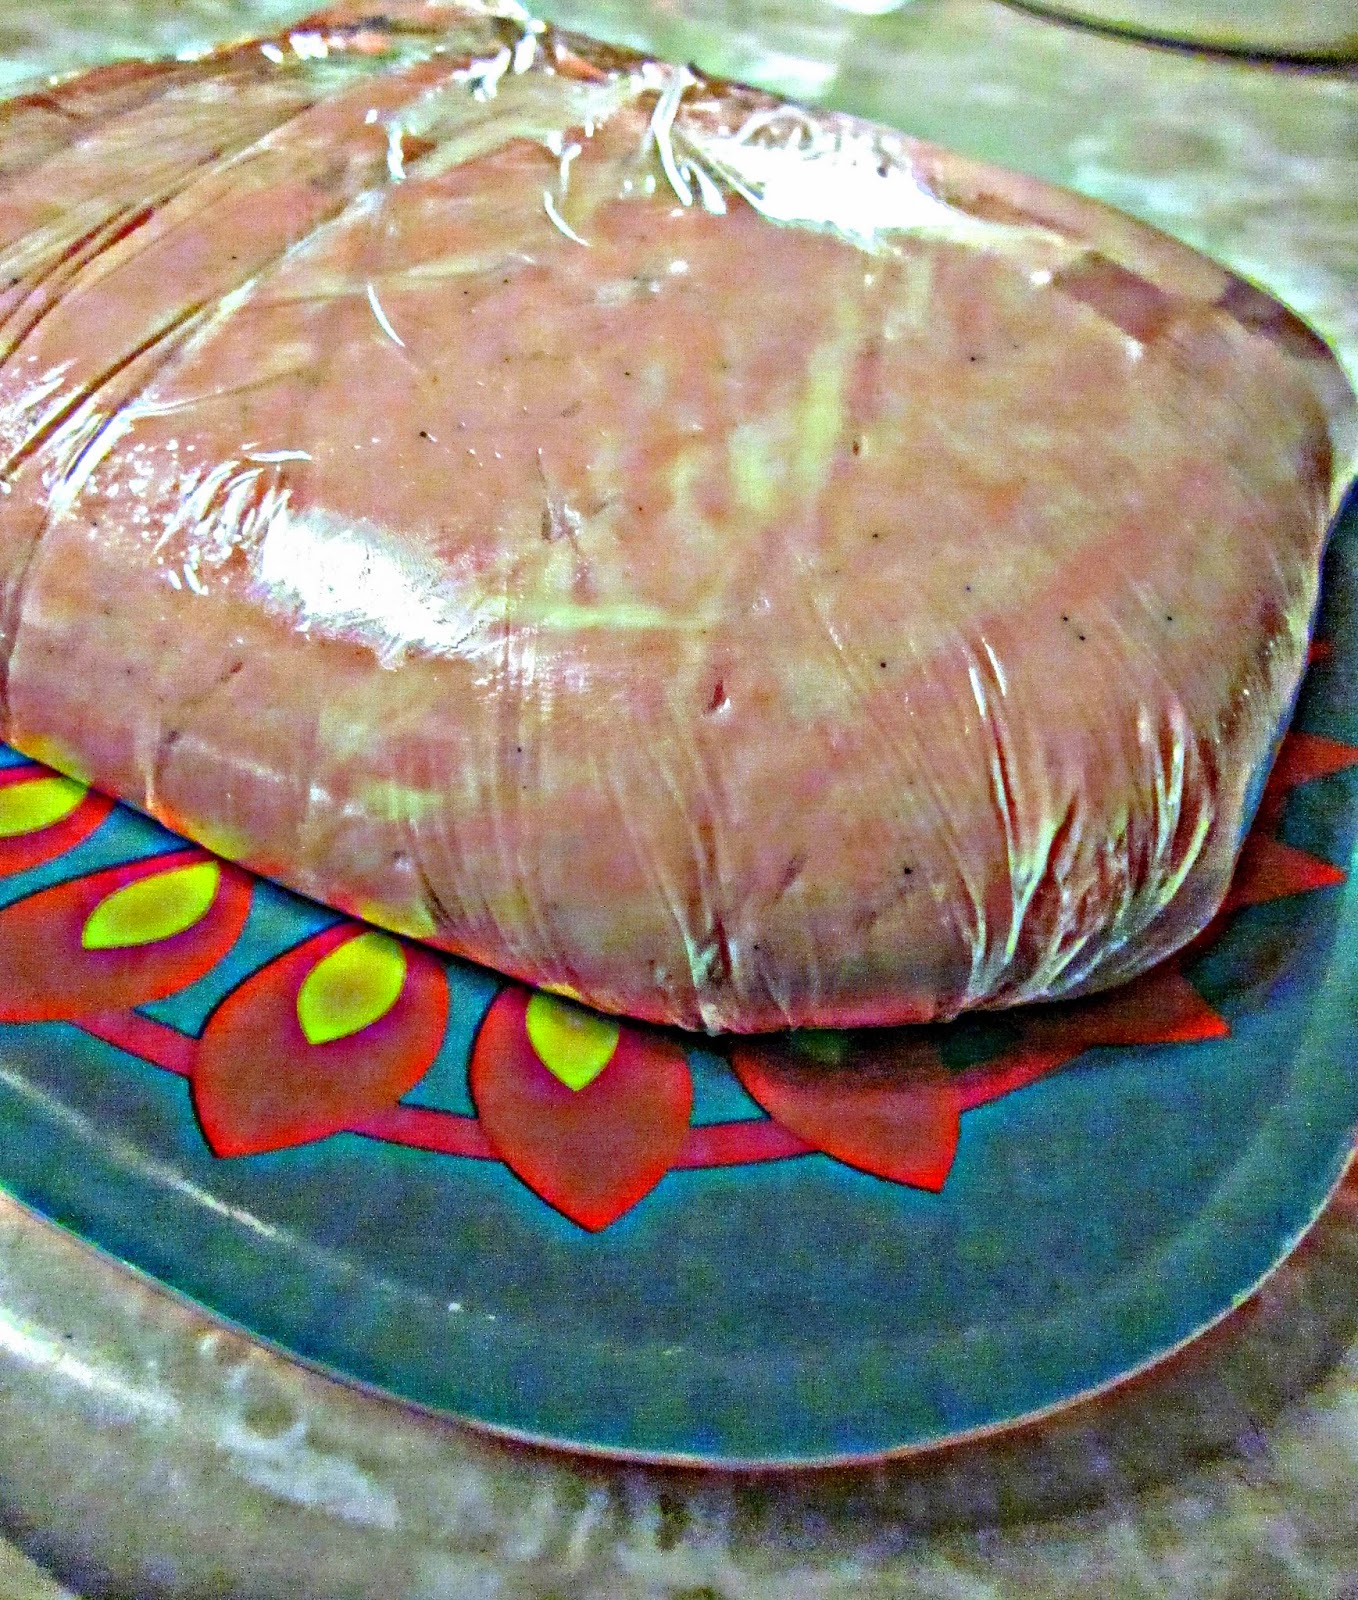
 Lightly oil the outside surface of the fondant so it doesn't stick.  Transfer to a plastic bag and cover tightly until ready to use, allowing to rest at least 5 hours.

 To cover a cake with fondant: Dust a clean pastry cloth, or a smooth, clean surface, with cornstarch and roll the fondant with a rolling pin until it is approximately 1/4 inch thick. Make sure that the fondant is large enough to fit over the top and sides of the cake. Slide both hands under the fondant and carefully center it on top of a cake that has been freshly iced with butter-cream. (The icing makes the fondant adhere to the cake.) Dust your hands with cornstarch and smooth the fondant, starting at the top and working down the sides until the entire surface is even and flat. Cut off the excess icing around the bottom of the cake with a pizza cutter or sharp knife. Decorate the cake with butter-cream or royal icing. This fondant keeps a cake fresh for two days at room temperature. Do not refrigerate a cake with fondant icing. 


Want to see how to make these fabulous roses? 


The next recipe is the more traditional fondant. It has some specialty ingredients like the vegetable glycerin that I had to find at a cake decorating store. You may be able to find it online also. 

Traditional Homemade Rolled Fondant
Adapted from Colette Peters, Cooking Live here
Yield:icing for 2 9-inch cake, 4 inch tall
Level:Easy

Ingredients
  • 4 pounds confectioner's sugar, sifted
  • ½ cup cold water
  • 2 tablespoon unflavored gelatin
  • 1 cup glucose (found in cake decorating stores) or white corn syrup
  • 3 Tbsptablespoons glycerin (found in cake decorating stores)
  • 1 teaspoon oil based desired flavoring 
  • food coloring (if desired)
  • Cornstarch
Directions: In a large bowl (do not use metal), sift the sugar and make a well in the center. In a small saucepan, add the water and sprinkle the gelatin on top to soften for about 5 minutes. Begin to heat the gelatin and stir until the gelatin is dissolved and clear. Do not boil. Turn off the heat and add the glucose and glycerine, stirring until well blended. Add the flavoring. Pour into the well of sugar, and mix until all of the sugar is blended. Use hands to knead icing until it becomes stiff. Add small amounts of confectioner's sugar if the mixture is sticky. Form the mixture into a ball and wrap tightly in plastic wrap. Place in an airtight container. This icing works best if allowed to rest at room temperature for about eight hours before using, particularly if the weather is humid. Do not refrigerate. 


There you go! Homemade awesome fondant! cake decorating

Always My Very Best,
Your Friend Chef Tess

Sunday, December 2, 2012

The Kitchen Craftin' Gingerbread House Under Glass Tutorial


 Last week we made some gingerbread houses for centerpieces to use during some swanky upcoming Christmas events. Ya know. It is the pretty little house that any inch-high fairy would find passed the land of swirly whirly gum-drops and the proverbial "wintery Fairy-Land". Try not to scream, "Saaaanta! I know him!!"  Now, in order to keep swipers from swiping...we put our gingerbread fantasy-lands under glass!


How did we take this gorgeous beast and put it in the glass display?
 Ya know...without destroying all the delicate features of the house?


Well. The secret is making them by first measuring. Simple silly.  The second secret is making them lightweight and cheating a little. Yes. I cheated. These beauties are made with cardboard. They're a cross between a kitchen craft and a real gingerbread. This makes them light enough and strong enough to put in a container without falling apart.

We even used a hot glue gun to really give the strength we needed for the base.
My advanced pastry school instructors are probably not very happy with this. However, I'm a mom first right now...and I just didn't have a full day to devote to baking gingerbread, cutting, sugar melting, and waiting for royal icing to dry. Plus...it wouldn't have been light enough to slip into the cookie jar. Really. 
Just make sure the base of the structure fits inside the container, then remove from the glass, decorate and return to the "under glass" area.  This one was done in a trifle bowl.
This also works for mini snow-globe-type gingerbread houses. Invert a regular mouth mason jar lid and ring that have been sealed together with hot-glue. This base gives the house enough lift to be seen as a snow globe inside of the jar.  Put your gingerbread or cardboard house inside the inner circle of the ring. Place the regular mouth mason jar lid on a wide-mouth lid. 
Make sure it will fit inside the wide mouth quart jar. This is one of the Ball old-fashioned wide mouth pint jars. They are a little fatter and shorter than the regular wide-mouth jars. 

Remove. Decorate. Return to the jar.

Other cheater ideas.
Yup. I have them too.
1. Use recycled stuff. The top roof is a recycled hamburger clam-shell. The base is a cardboard box and the structure for the fireplace is some strategically folded paper-towel cardboard.  

2. Use unexpected decorations and embellishments.
The "wood siding" for the house is actually some perfectly measured and snapped pieces of tomato-basil dry linguine...hot glued in place. This was dry enough to keep the structure from going soggy. I could have used gum pieces or something. This was just what I had around the house. If you see some light green on the side of the wrap-around porch and the balcony...that was spinach linguine.

The pillars on the wrap-around porch and the fence-posts are all made from candy sticks. My son called them candy cigarettes. I'm not sure I'd let my kids play with them for anything but making gingerbread. I used royal frosting for the final decorations but in general, the hot glue gun stayed in-use most of the project. I think this house will be here in 5 years if I keep it dry. Not that I'm going to do that...but it is really cool!
My son said, "We need to make these every single week!" So, you can bet that we will be doing more. 
Please note. The pile of candy and bags of goodies...well...that was for the project. However, for under 20$ and a full 6 hours of just being creative with my son...it was a priceless investment.

We bonded over pretzel-logs, licorice siding, smarties shingles, and frosting ice-cycles. What could be more perfect?

There you go. Do some kitchen crafts with your kiddos!

Always My Very Best,
Your Friend Chef Tess


Tuesday, July 3, 2012

Easy 4th of July Patriotic Cupcake Ideas


When I was growing up, it wasn't the 4th of July unless grandma made the ice cream cone cakes. I don't know why that was the case, but it was a tradition. 
 For me, it isn't the 4th until we've busted out some festive cupcakes. This year, as I'm now a full time working mom, I've simplified my cupcakes a bit. I've also resorted to making them for a baking class so that I can officially call my cupcakes "work". Phew. It's hard...but someone has to do it. Officially...we're having lemon raspberry pound cakes with a pistachio-cream cheese butter-toffee frosting. I know...they are evil. I'm keeping it really simple. 

 Let's kick it off with a red candy  star upon "thars"...with a blue little star upon it's belly. Just a simple little red flair of happiness.
 This is just made by Wilton candy melts. This is the red coating. Melt it over a very low heat or in the chocolate pro. I rarely use the melt setting on it. Usually the warm setting will give me a good melt and then I turn it off and it stays just right for a good while. Otherwise, if you use real chocolate, you'll need to go to the Chocolate dipping 101 Post. I melt it and spread it out on a baker's mat. When it is almost set I cut it out into stars with a fancy little cookie cutter. 
 Use the small one the size of your thumb or the large one the size of a small apple. 

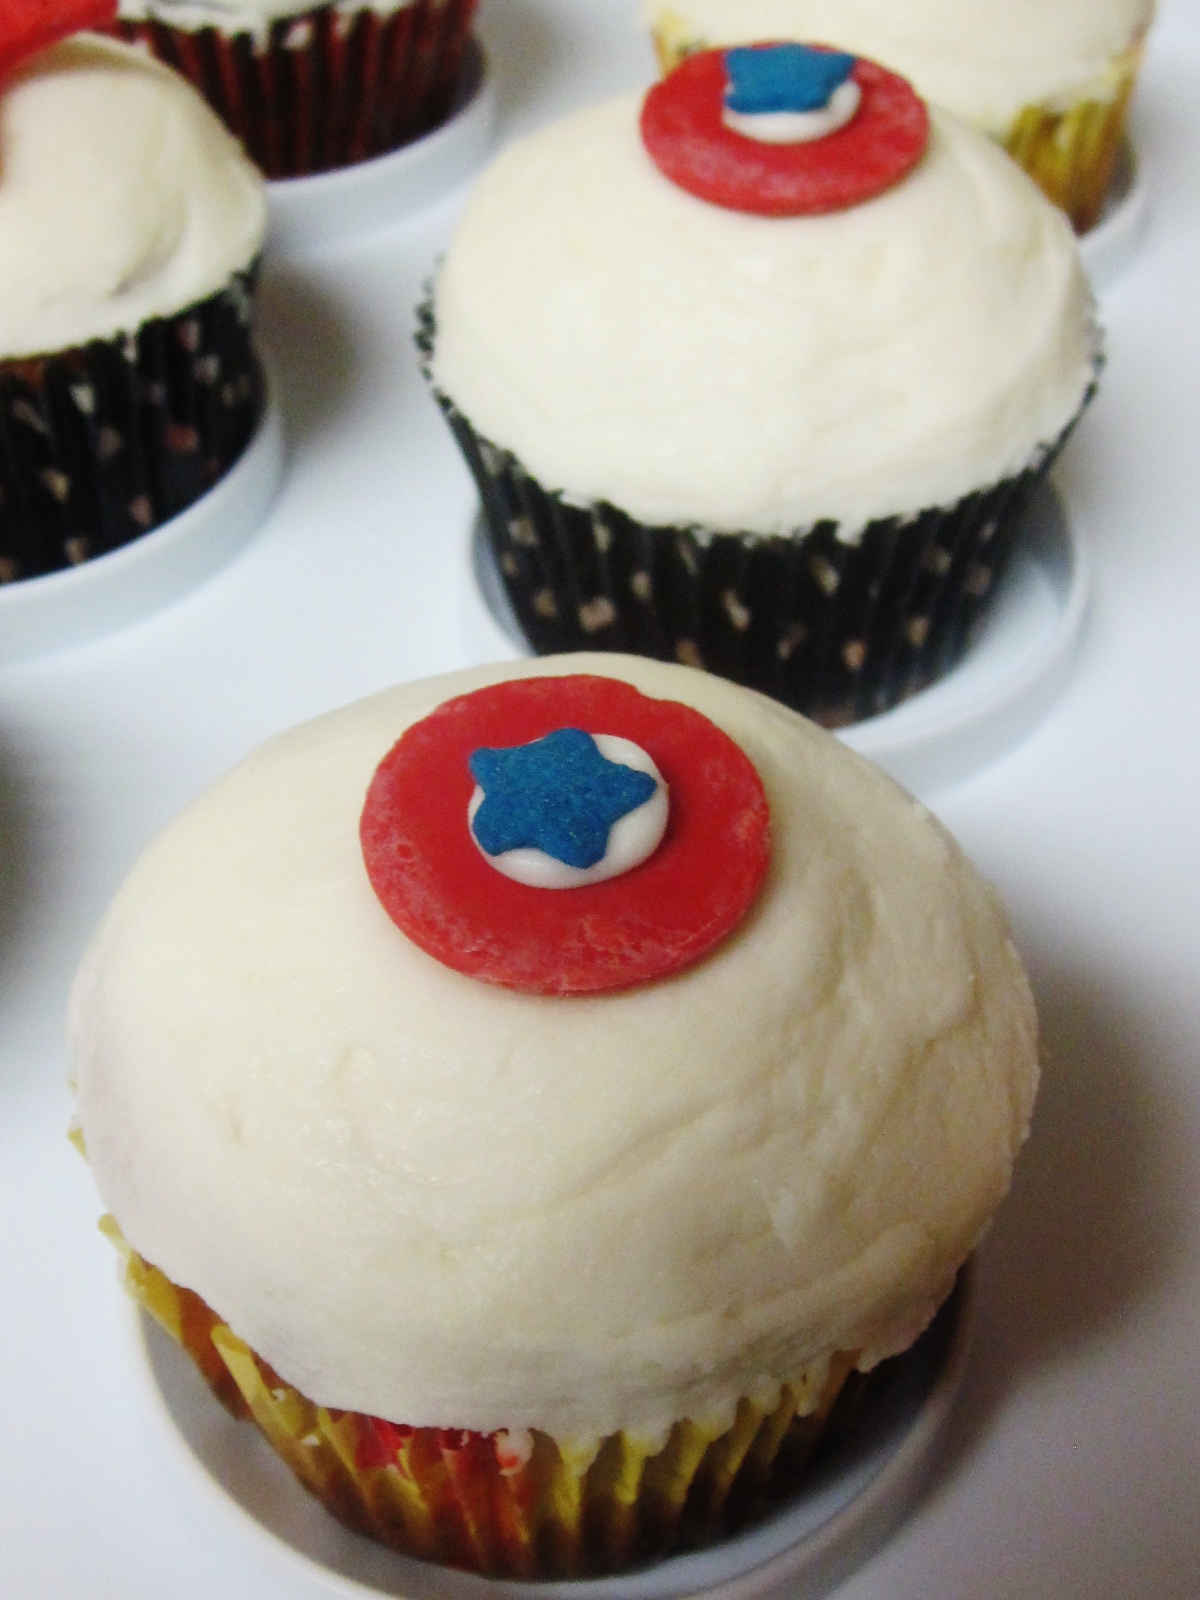
 My other favorite topper is just a simple "Captain America" type dot. They look a lot like a signature of "Sprinkles Cupcakes"  except mine are not made of fondant and well...much easier for me  to make.  
 Once again I'm just using the  Wilton candy melts, except leaving them unmelted. Flip them over to the smooth side and fix a blue star sprinkle to the the middle of the disk with a little frosting. 
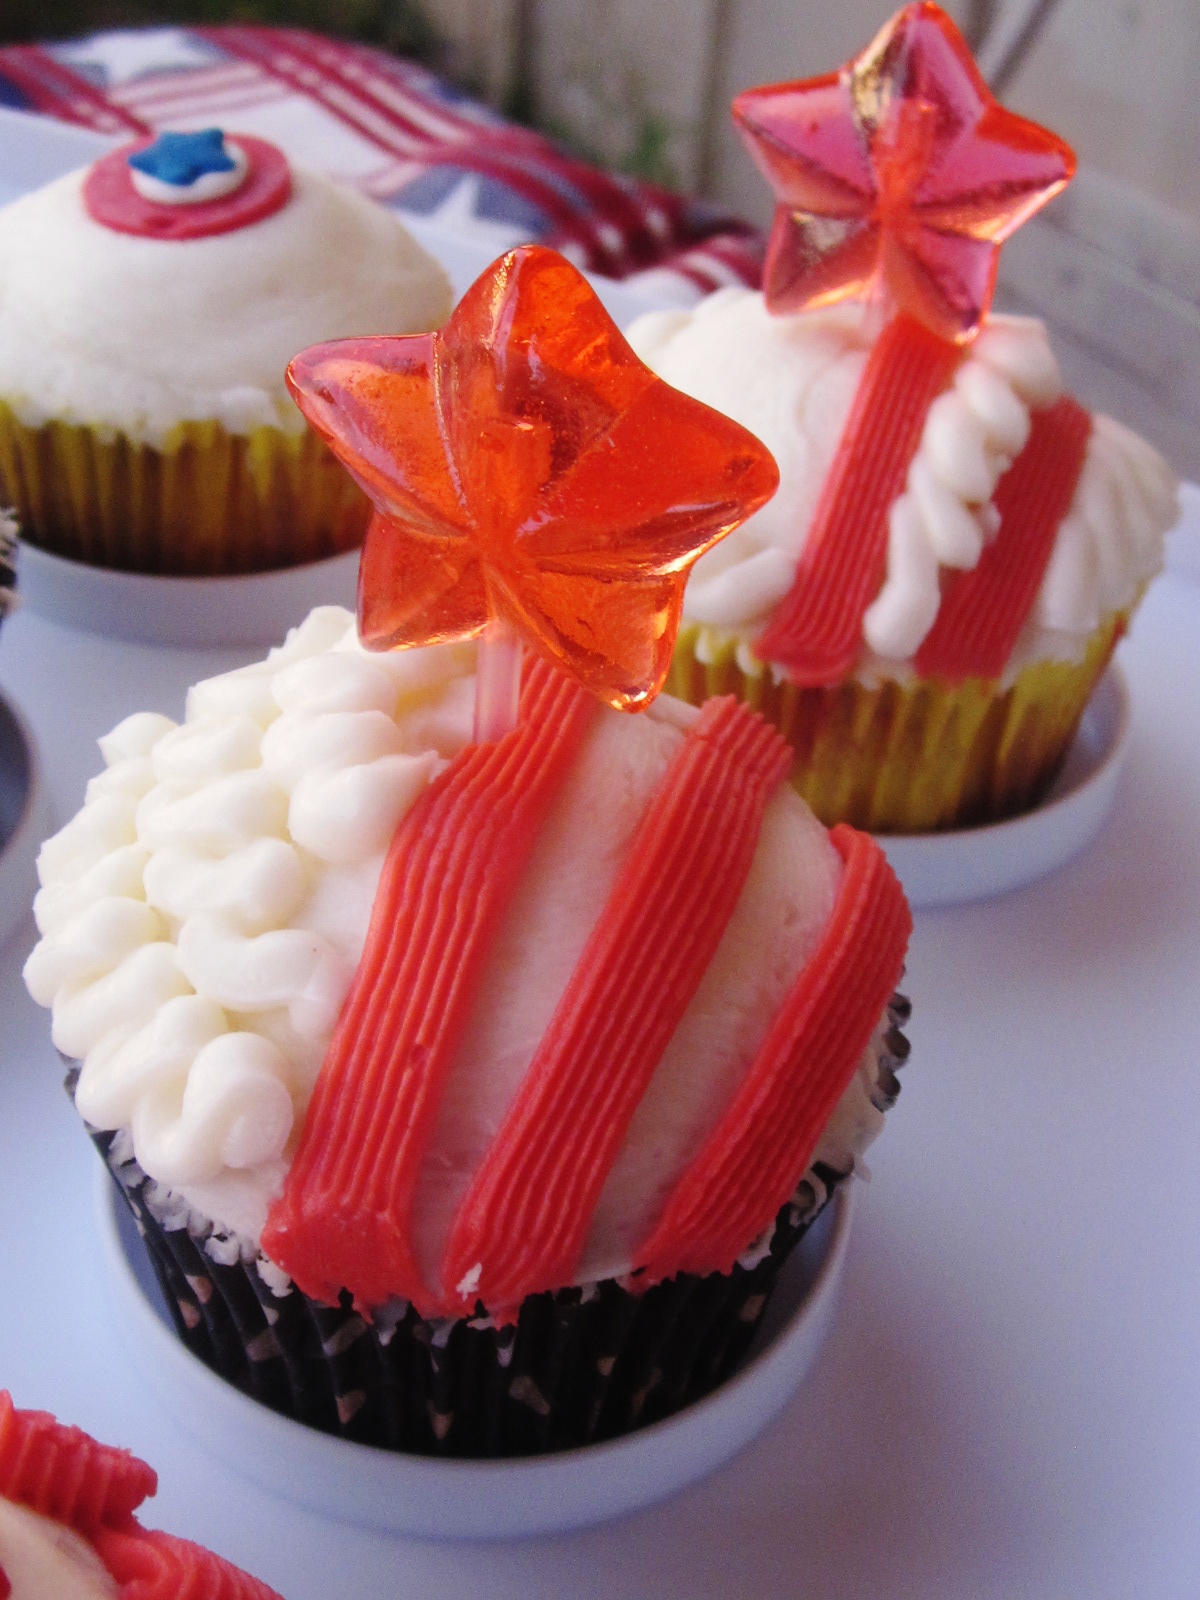
 The remainder of the melts were used for stripes. 
 With the simple addition of a candy star lolly, we have some stinkin' cute cupcakes if I do say so myself. I admit...I didn't make the candy lollies myself. I got them at the dollar store. 6 for a dollar. Sorry. If you want to make your own hard-candy lolly see my sweet tutorial here. We had fun with that one.
 I really like the red stripe of frosting. It is fast...and festive.
There you go. Fun and easy July 4th cupcakes. No printable required for a fancy topper and certainly only a few minutes to make toppers that will cause some firework fun! As for my cupcake  and buttercream recipe...


Chef Tess Lemon-Sour cream Pound Cake

Cake:
4 1/2 c  Chef Tess homemade yellow cake mix (here)
3/4 c Honeyville lemonade powder
1 c Honeyville Sour cream powder
1/2 cup Honeyville whole egg powder (4 eggs)

Directions: Preheat oven to 350 degrees. Combine dry cake ingredients. Mix with 2 cups water by hand 200 strokes. Grease and flour a 9 inch bundt cake pan. Pour pound cake batter into prepared pan and bake 55-65 minutes until a toothpick comes out clean. Cool in pan 20 minutes before inverting. For cupcakes, yields 24 cupcakes. Bake 17-20 minutes.


My Chef Tess Favorite Buttercream Frosting Recipe
4 lb powdered sugar
2 c butter (1 lb)
1 T clear vanilla or rum extract (cheesecake, English Toffee, or Pistachio LorAnn Oils)
3/4 cup very hot, almost boiling water

Directions: Combine all the ingredients in a kitchen aid mixer with the paddle attachment (or a hand held mixer would work). Put on speed 1, with a spill guard installed or you will get powdered sugar all over the floor. Whip 3-5 minutes until very smooth. Yield frosting for 2 10 inch cakes (plus layers and decorations).

There you go! Have a wonderful 4th of July!

Always My Very Best,
Your Friend Chef Tess