Showing posts with label Emergency Food Storage. Show all posts

Wednesday, November 19, 2014

Episode 41. We Grow Ours Radio Show!


This week I visited my friends  Nick and Don over at We Grow Ours (Episode 41)  and had a blast talking with them about the benefits of good food in your food storage. 

We Grow Ours radio show is centered around teaching people how and why to grow their own foods. Rabbits, Quail, Aquaponics, Gardens and many other methods. We talk to those doing this and learn new things everyday. Come learn with us as we look into food safety, NON-GMO foods, fun ideas and more. Preppers, gardeners, conservatives, and everyone. We all come together to rally around our food, and our food freedoms!

Check them out here! Xoxo!

Always My Very Best,
Your Friend Chef Tess

Monday, February 18, 2013

Cajun Red Beans, Sausage and Rice Meal in a Jar (The 52 method continues)


Welcome to another food storage Monday!


By and far the most requested meal in a jar to date has been a good recipe for Red Beans, Sausage and Rice. You know...the basic Cajun dish that is used as a staple all over the southern USA...a basic.  Gourmet we do...basic...we do every single day. It wasn't a surprise when I posted the Louisiana Gumbo Meal in a Jar  recipe that the requests for the RB&R started pouring into the e-mail. So, I've heard your cries. I've gone with a basic recipe description from one of my friends here on the blog. She described her recipe as follows:

"The basic recipe I use has a pound of sausage (I use all beef kielbasa since Andoui is hard to find here in the wilds of West Texas), the trinity of onions, celery and bell peppers, and cajun seasoning. I saute the veggies in the fat leftover from cooking the sausage - don't know how you'd get around that in a 52 method recipe. Then I add a can (or two depending on how many I'm feeding) of red beans and the cajun seasonings. I do the rice separately. I have a favorite brand of red beans that I use and wondered if I could just dehydrate those since I like their flavor. I use the "goop" and all since it's flavored too."

All right. Here's what I came up with. Sausage being the main issue as far as I'm concerned it will be as close as you can get without using sausage in casing, but using the same seasoning as andouille sausage  in the beans. This is also a lower fat recipe the the typical pork sausage traditionally used in this dish.  You may need more spicy-heat or to tweak it as desired to your family's likes, but so far so good!  We have kids, so we have to make it a little milder than I think a few of you may be used to doing. Make it your own and enjoy! I get my ingredients for this dish from two sources.

  • Special thanks to Chef Tess Thrive Life for the freeze-dried sausage, dehydrated celery, quick cook beans, rice and dehydrated celery. 
  • Special thanks goes out to my friends at Firehousepantrystore.com for the special powdered ingredients and dehydrated bell peppers and minced garlic.

Cajun Red Beans,Sausage, and Rice

Bean mixture:
½ tsp black pepper
1/2  tsp thyme
¼ tsp  dry rubbed sage
1 tsp No MSG Chicken bouillon (autolyzed yeast extract is used)


Rice baggie (if you want to cook the rice separate from the beans):
1 cup long grain rice
2 T  Powdered butter (optional)
1 tsp salt

Jar directions:
Combine the sausage, garlic, pepper, hot sauce powder, thyme, paprika, sage, smoke powder, onion, bell pepper, celery, beans and bouillon in a quart jar. Top with a oxygen absorbers (learn all about oxygen absorbers) or seal with a Food Saver Vacuum Packing Jar Attachment).

Product details:
Firehousepantrystore.com has been a really great company to work with on getting specialty powdered items I can't find anywhere else. If I list something here on the blog for meals in a jar and you can't find it anywhere else, you can usually find it from them. They ship really fast as well!
 Chef Tess Thrive Life  is my favorite for bulk items.  Their quick cook red beans cook in 20 minutes and have an outstanding 10-15 year shelf life.

I prefer using the real freeze-dried sausage  .
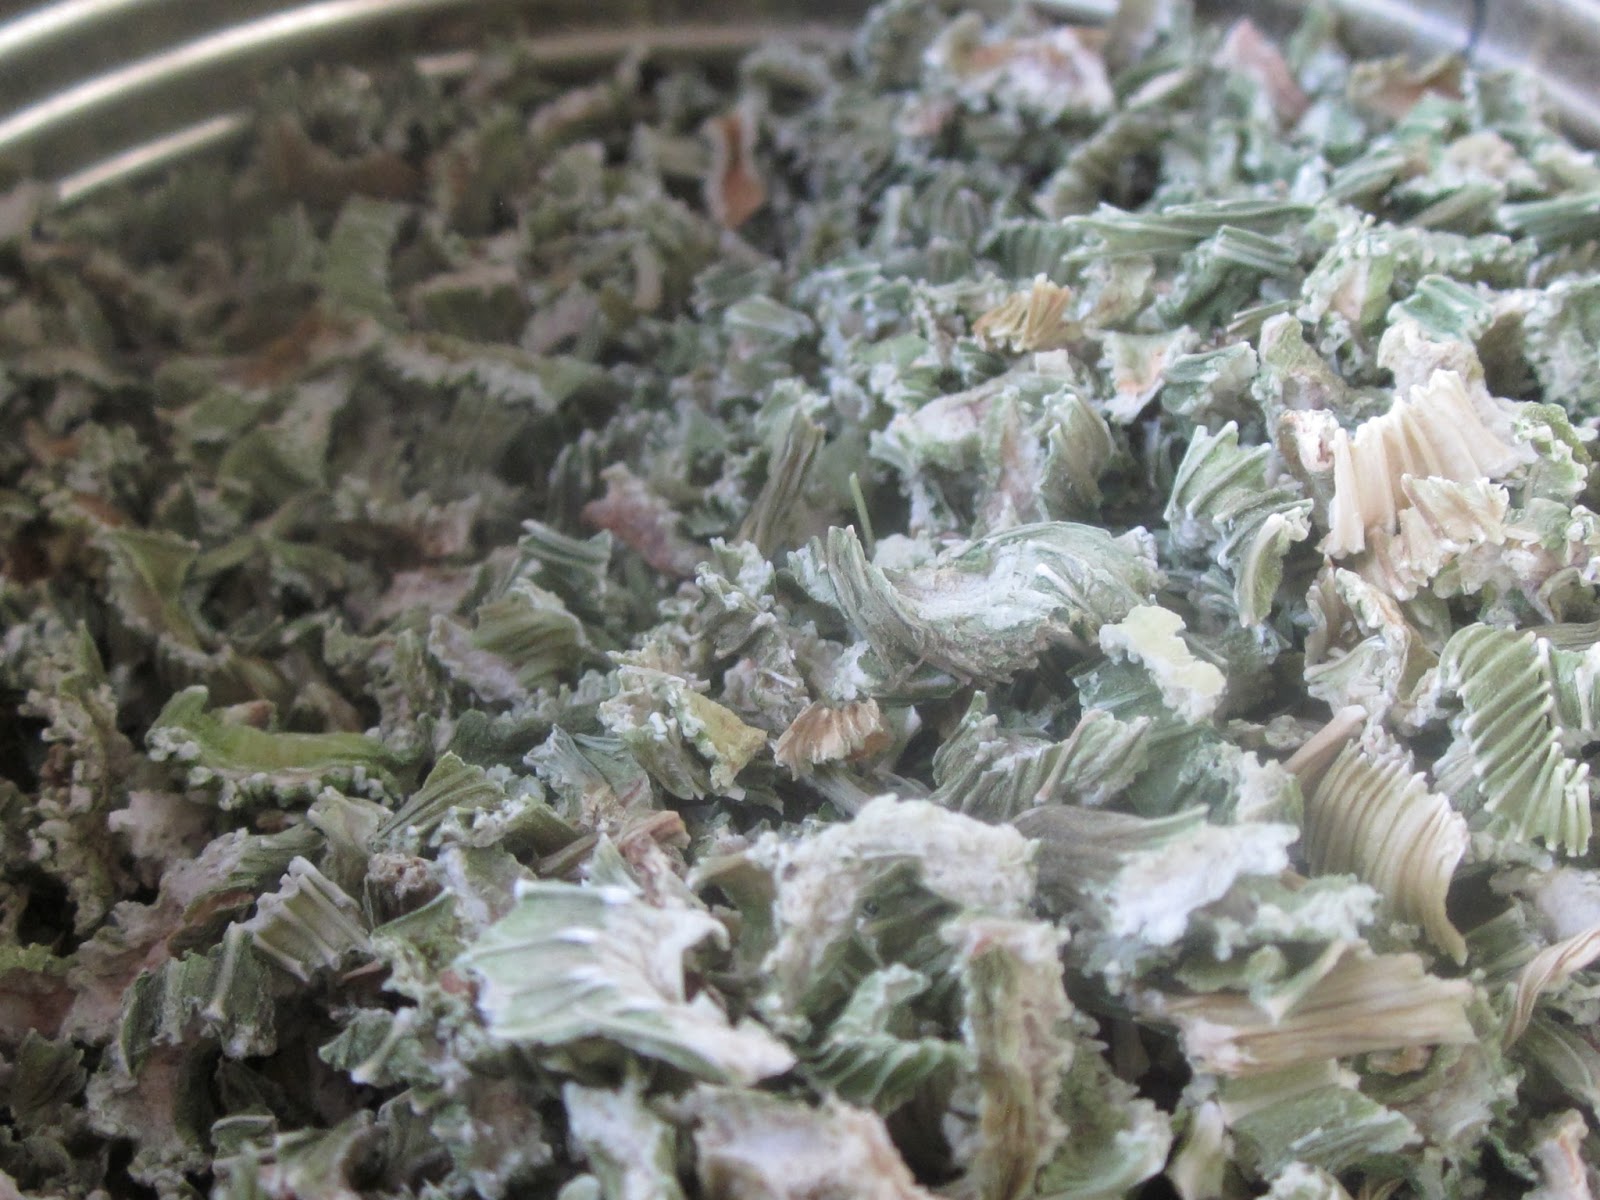
I like to use the dehydrated celery in this meal. The price is right and the longer simmer gives it enough time to hydrate correctly. 

The find of the week has been this awesome Hot Sauce Powder! I also love sprinkling it on popcorn and homemade potato chips...but I digress. 


To prepare: Combine bean ingredients with 3 1/2 cups water and simmer on low 20-25 minutes until cooked and tender. In a separate pan combine rice ingredients with 2 cups water and simmer low, covered pan 20-25 minutes. OR if you cook the whole thing together, omit the use of the bag for the rice. Cook all ingredients together with 5 1/2 cups water for 20-25 minutes over low heat, covered. 


There you go. Our family's favorite red beans and rice.  Adjust as needed for your family's favorite flavor.


Always My Very Best,
Your Friend Chef Tess


Tuesday, September 11, 2012

City of Scottsdale and Scottsdale Healthcare Free C.O.P.E Preparedness Fair


I have been invited by Scottsdale Healthcare and the City of Scottsdale to attend this event on Saturday! I'll be there with my meals in a jar and mylar for emergency preparedness with recipes, and to answer questions at the Honeyville  booth. There will be a raffle at the event, and one of the prizes will be a personal cooking class with me and 3 of your close friends (Value 350$)! You don't want to miss it right?!

It will be I'll be a Community Outreach for Preparedness and Emergencies event.

This event is to honor those 9-11 and to help us as a community to be prepared for any disaster to strike. It is well worth attending...and it is FREE!

Be prepared if disaster strikes!
Free! C.O.P.E. Fair!
Community Outreach for Preparedness in Emergencies
Saturday, Sept. 15―9 a.m.‐3 p.m.
Location:
Scottsdale Center for the Performing Arts
7380E. Second Street
Scottsdale, AZ 85251
• Presentations and classes on preparedness—Learn about maintaining short‐term food and water supplies, water purification, emergency cooking and heating, emergency shelters and evacuation routes, dealing with severe weather conditions and more!

Get the printable for this event flyer here


Always My Very Best,
Your Friend Chef Tess

Monday, February 27, 2012

Vegetable Fried Rice in a Jar (52 Method Continues)

Okay...It's really not fried rice. I don't fry it. It's a lot healthier that way and my family hasn't noticed a difference. However, I can say that all eight cups of cooked food looked like this before cooking: 
Vegetable Fried Rice in a Jar
If you are new... 
 my series on homemade convenience meals you will want to read the Introduction to the 52 Method It's a very fun way of preparing meals ahead of time for emergencies or everyday use.  It's a basic menu planning method for food storage based on meals that your family will eat, having all the ingredients in one-quart size jar. ONE jar...easy to find. Easy to plan.  I think it's an idea that's been a long time coming and this is yet another recipe.  You will be using a method called "vacuum pack canning". No liquid or pressure canning is necessary. If you opt to use the freeze dried meat in the recipes, please note NOTE: The repacking of Freeze Dried Meat must be done within 24-48 hours of opening the can and must be done in a dry environment. Once repacked you must use an oxygen absorber to make sure there is a vacuum oxygen free environment. Mylar bags can also be used instead of jars, but it is not recommended to use Ziploc bags as the sole source of storage if you are including meat. 


This week's recipe is one that I converted from one of my favorite food storage meals, Ham Fried Rice. Originally it was for a cooking class on how to use freeze-dried and dehydrated eggs . It's been a long-time favorite at our house without the ham because of my husband's vegetarian preferences. This one got added to the food storage meals-in-a-jar with the advent of   Soy Sauce Powder into my life. I used Chef Tess Thrive Life for the food in this post. 


In the can, they are cooked and freeze-dried pieces of scrambled egg. They are different than egg powder or egg crystals. They can only be used for meals where it calls for cooked eggs. Fried rice is a perfect fit for this!
 We enjoy them in breakfast burritos and skillet meals. 

 Chef Tess Vegetable Fried Rice In A Jar

Ingredients in the jar:
1 cup freeze dried scrambled eggs
1 cup long grain rice
1 cup freeze dried Vegetable Mix of your choice (corn, peas, carrots)
1/4 cup freeze dried onion
1/4 cup freeze dried celery
1/4 cup freeze dried bell peppers
1/4 cup freeze dried mushrooms
1T Haco vegetarian ham base or 1T chicken bullion (chicken won't have a smoky flavor)
1/8 tsp red pepper flakes
2 tsp garlic granules (or powder)
1/2 cup Soy Sauce Powder  (shake it down into the vegetables when you add them)

Put all ingredients in a jar. I use a funnel. In order to get it all in, you will need to shake the soy sauce powder into the vegetables. Top with a 300 cc oxygen absorber to make the meal shelf stable.  This is good 5-7 years. I't great for emergency food storage or to use for dinner during a busy week. 

To Prepare:
Bring 4 cups of water to a rolling boil in a gallon size pot with a tight-fitting lid. Combine contents of the jar with the boiling water. Stir. Reduce heat to very low. Cover and simmer very low 20-25 minutes until all the rice is cooked and the vegetables are tender. Serve hot. Yield 8 cups of cooked Vegetable Fried Rice.

There you go! Have fun with this one! 

Always My Very Best,
Your Friend Chef Tess


Monday, January 9, 2012

Dallas Style Chicken Noodle Soup In A Jar (52 Method Continues)

 It's Food Storage Meal Monday. It doesn't happen every week, but sometimes I actually have my fabulous act together enough to be sure we share some things to do for and with your storage. Given the immense and overwhelming response I've had to the 
 (Yes the book is coming together!) I've decided to add some more here to wet your whistle. Now, that being said...this isn't a gourmet recipe. It's a winter recipe even though it was 80 degrees outside today and I could walk around bare foot and short sleeved. I do realize most of the country doesn't have that luxury right now. You all will not be so jealous of our weather in July.

This meal was a request from a friend named Dallas. It has nothing to do with anything actually in Dallas, Texas. Sorry Texas.  As for Dallas, she loves chicken noodle soup but, "without all the vegetables and big herbs and crap in there." (As she put it.). I love her. A great reminder that though I may be creating some remarkable gourmet jar meals that span international cuisine...there's also a need for some simple basic meals that every family in the good ol' United States of America will eat. Most of the ones I've posted so far, are just that. They are  simple and basic foods that most families I know will enjoy every night of the week. The other rule, they have to be simple enough to just add water and cook. If by some far stretch I had to use these camping or in an emergency situation after an earthquake or something...I'd want it to be that simple to prepare the food. Heaven forbid that next Tuesday I want my 12 year old to open a jar and make dinner. I can't make it so hard that he can't do it. See how I roll? It's like regular food. 
This is a case in point. The basic almost name-brand chicken noodle soup is immensely popular. It's just the broth, noodles and chicken. What's the deal?! For about the same cost as one of their cans, I can make a half gallon of this stuff. Plus, I can control the sodium and other ingredients. So. Here it is. Just for Dallas, and people like her...it's a regular chicken noodle soup. This one uses a PINT jar and yields 6 cups of soup. If you want a quart size jar, double the recipe. For details on the method of packing for long term storage, look here.   I love that I can make it with real meat and have it be shelf stable 5-7 years. That's awesome! Freeze dried meat is the secret for that. No, you don't need any other special equipment.  You will  need  oxygen absorbers if you use the real freeze dried  meat (or you can use a vacuum jar attachment on the  food saver if you have one). Any long term storage will require those. 

Chef Tess' Dallas Style Chicken Noodle Soup in a Jar

In a Pint Size jar combine:
1/2 cup (.75 oz) Freeze Dried Chicken 
1 1/2 cup broken  linguine or fettuccine noodles (I go by weight 3.5 oz)
1T  plus 1 tsp Chicken Bullion  (I   prefer the no MSG vegetable based version {quality counts on the bullion} ) 
1 tsp garlic granules or powder
1/4 tsp dry thyme
1/4 tsp Chef Tess All Purpose Seasoning Blend
1/8 tsp turmeric (for color and flavor)

Top the jar one  oxygen absorber  and seal jar tightly.

To prepare: 
Combine contents of the jar with 5 cups boiling water. Simmer 12-15 minutes until noodles and chicken are tender. Serve hot.    
 For the record, all the folks at my house eat this with much gusto. I guess we're pretty regular people as well. If I really want to take it to the next level, I use some Herbs de Provence in with the mix...about 1/2 tsp. What a difference some good herbs make. However, don't feel like you have to get all chef-tastic like that.  I think the word we use is "Tessalicious".  You know, it's a cross between Tess and delicious. If your family likes regular plain old awesome soup, then you'll be happy with this .

There you go. Make Chicken Noodle Soup. Babe it's cold outside (somewhere). 


Always My Very Best,
Your Friend Chef Tess


Monday, July 11, 2011

Creamy Chicken veggie Casserole...In a Jar!

Every Monday I usually share recipes and ideas for cooking with food storage
and today is not an exception. It's part of who I am and how I hope to empower people to become self-reliant.


I will be teaching a FREE class at  Preparing Wisely on Thursday night at 6:30 in Mesa and at the Honeyville Farms store in Chandler on Tuesday the 19th on  these Convenience Meals in a Jar. Directions and more class information is on this link: here.   This class is  always well attended and in high demand, especially  in  light of recent emergency events that have happened around the world and the demand people have for good quality homemade meals.  People prepare for family emergencies in different ways. Some prepare for an earthquake, fire or natural disaster.  Some prepare for financially difficult times and unemployment.  Some just prepare meals in advance so that mom or dad are not too entirely stressed out at the end of a hard work day. Whatever your reason for preparing convenience meals, this is a simple method of keeping track of what you have on hand and keeping it an organized location.  This method is one anybody can use. I don't claim the method of planning a menu this way to be mine, I do however claim these recipes as ones I have developed through personal trial and error. We've heard it called a "year's supply" of food. Insuring that should anything catastrophic happen, your family will be fed.


Recently someone asked me to write down a few of my recipes for long term storage and what I recommended. I have a method that I like to recommended to  those starting out on food storage use that isn't new, but it was a little bit exciting when I heard it. One plans 7 meals, one for each night of the week and then figured getting 52 of each meal.  My method of containing each meal entirely in ONE  jar is different than others who have planned the meal in a 52 week method, but didn't keep it this simple or concise. I wanted it all in one spot. In this way one would easily be able to have a year's supply of food that a family of four would eat should they need it. One wouldn't  have to search through things to find the corresponding can of meat or sauce to go with the starch.   It sounds "simple stupid"...but sometimes that's how I roll. It's a good simple way to calculate a family's needs. It's also a good way to get back to the basics of what a normal family will eat. Without getting into a lot of canning details and crazy stuff here, I do want to say that I don't want anyone to have to worry about canning meat or rotating cans of beans and vegetables. This gets into methods of pressure canning that some may not be prepared to practice proper rotation or sanitation while home canning. No they are not safe on the shelf longer than one year.  PERIOD. (Please see Home Canning Safety 101 for specific details in this matter) If you would like the original 7 recipes I used, see this post:  here .  NOTE: The repacking of Freeze Dried Meat must be done within 24-48 hours of opening the can and must be done in a dry environment. Once repacked you must use an oxygen absorber to make sure there is a vacuum oxygen free environment.


  Today I'm adding another casserole that has become a fast favorite here.  I already posted one that's a cheesy turkey noodle casserole. While this one is similar, I realize that sometimes it's the comfort food we serve during times of distress...and I'm planning accordingly.  That being said, this one is different in it's composition and flavor.  It's a lot more creamy and has more vegetables. 


In a quart Jar fit with a funnel:
1 3/4  cups wide egg noodles
2 T dehydrated onions

1/2 cup cheese sauce powder OR my homemade condensed soup mix  
1/3 cup powdered milk


For long-term 8-10 year storage, combine all ingredients in a sealed mason jar with an oxygen absorber packet.  These will cause a vacuum seal.  Note...it is important if you are doing these jars to open the freeze-dried meat and bottle it again within a few hours. If you're worried about it or want a vegetarian alternative, you may use 1 1/2 cup Freeze Dried Zucchini instead of the chicken. You'll need to add 1 tsp no msg chicken bullion to the mix as well.

The chicken is really cool. 

To Prepare:

In a casserole, combine the entire contents of the jar with 4 cups hot water. Let sit 5 minutes.  Cover and bake in a solar oven at 350 degrees for 30-35 minutes. OR microwave in covered deep dish casserole for 15 minutes.  
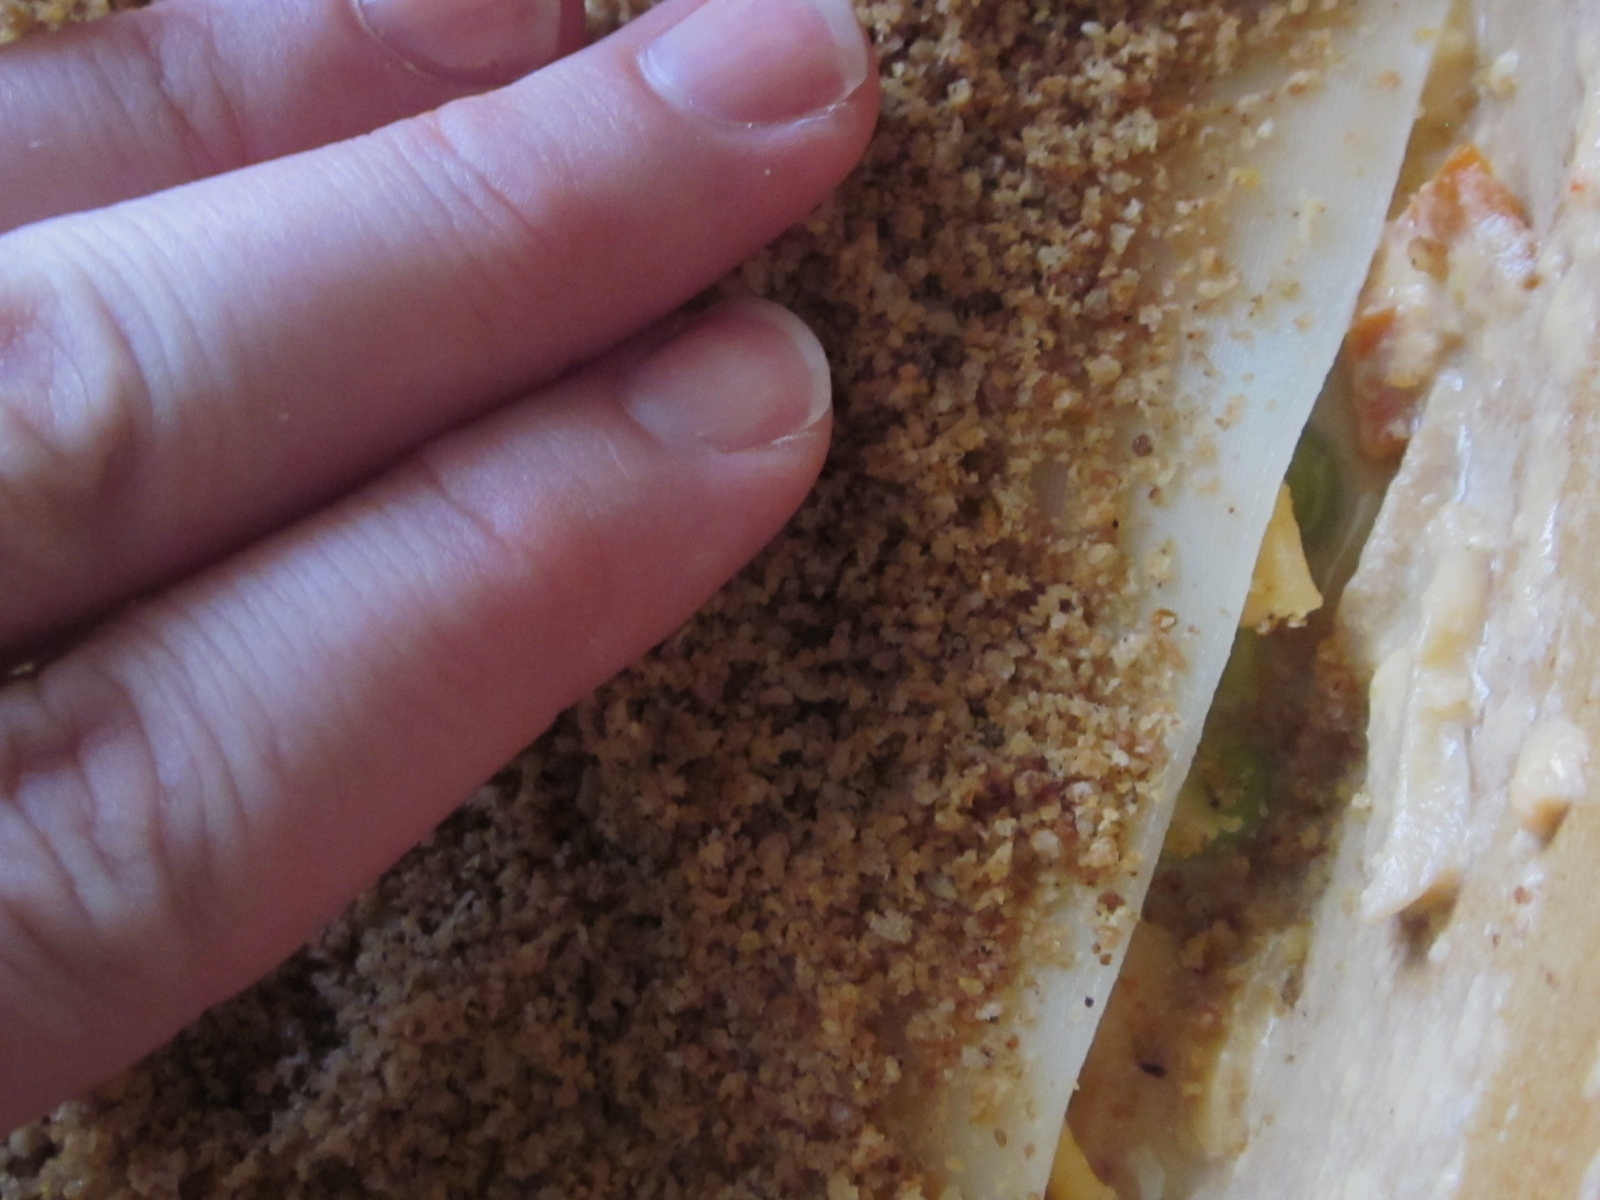
While the casserole is baking, I make bread crumb topping. This is optional but adds a lot of texture and flavor. I prefer, when cooking with the solar oven to do the topping on a separate burner or if microwaving...cooking the topping on the stove to crisp it. This saves a lot of time and with the solar cooker, gets a crispy topping I can't normally get.   I'm using  homemade 9 grain ciabatta (if you missed that post it was freakin' fun!).  Put a few pieces in a food processor or finely grind in a hand-powered  processor.
Add 2 T olive oil 1/2 cup of  the crumbs and 1/2 tsp of my Romantic Italian Seasoning. 
Mmm. Now that's a crumby job right there. 
Put the crumbs in a hot skillet and stir until toasted. How easy is that?! Were you expecting rocket science?!

Remove casserole from the oven or microwave (especially important with microwave to let the casserole sit 10 minutes so it get's thick). Top with 4-5 slices of cheese. I use homemade mozzarella cheese  or you can also use freeze dried mozzarella from your food storage.  Top with crumbs.
Spread out the crumbs.  Cover until cheese is melted. 
Usually while the cheese is melting I saute some fresh green beans to go on the side...
Season them well and drizzle with olive oil...and waaahlaaaa! The casserole is now ready. Brace yourself for the reveal...
The casserole is now ready. Brace yourself for the reveal...

Creamy delicious...not too glue-like and thick...


Are you hungry yet?
Well?

There you go. Make some veggie casserole!

Always My Very Best,
Your Friend Chef Tess

Wednesday, April 27, 2011

Country Style Hamburger Stew in a Jar and a Cooking Class Tomorrow!

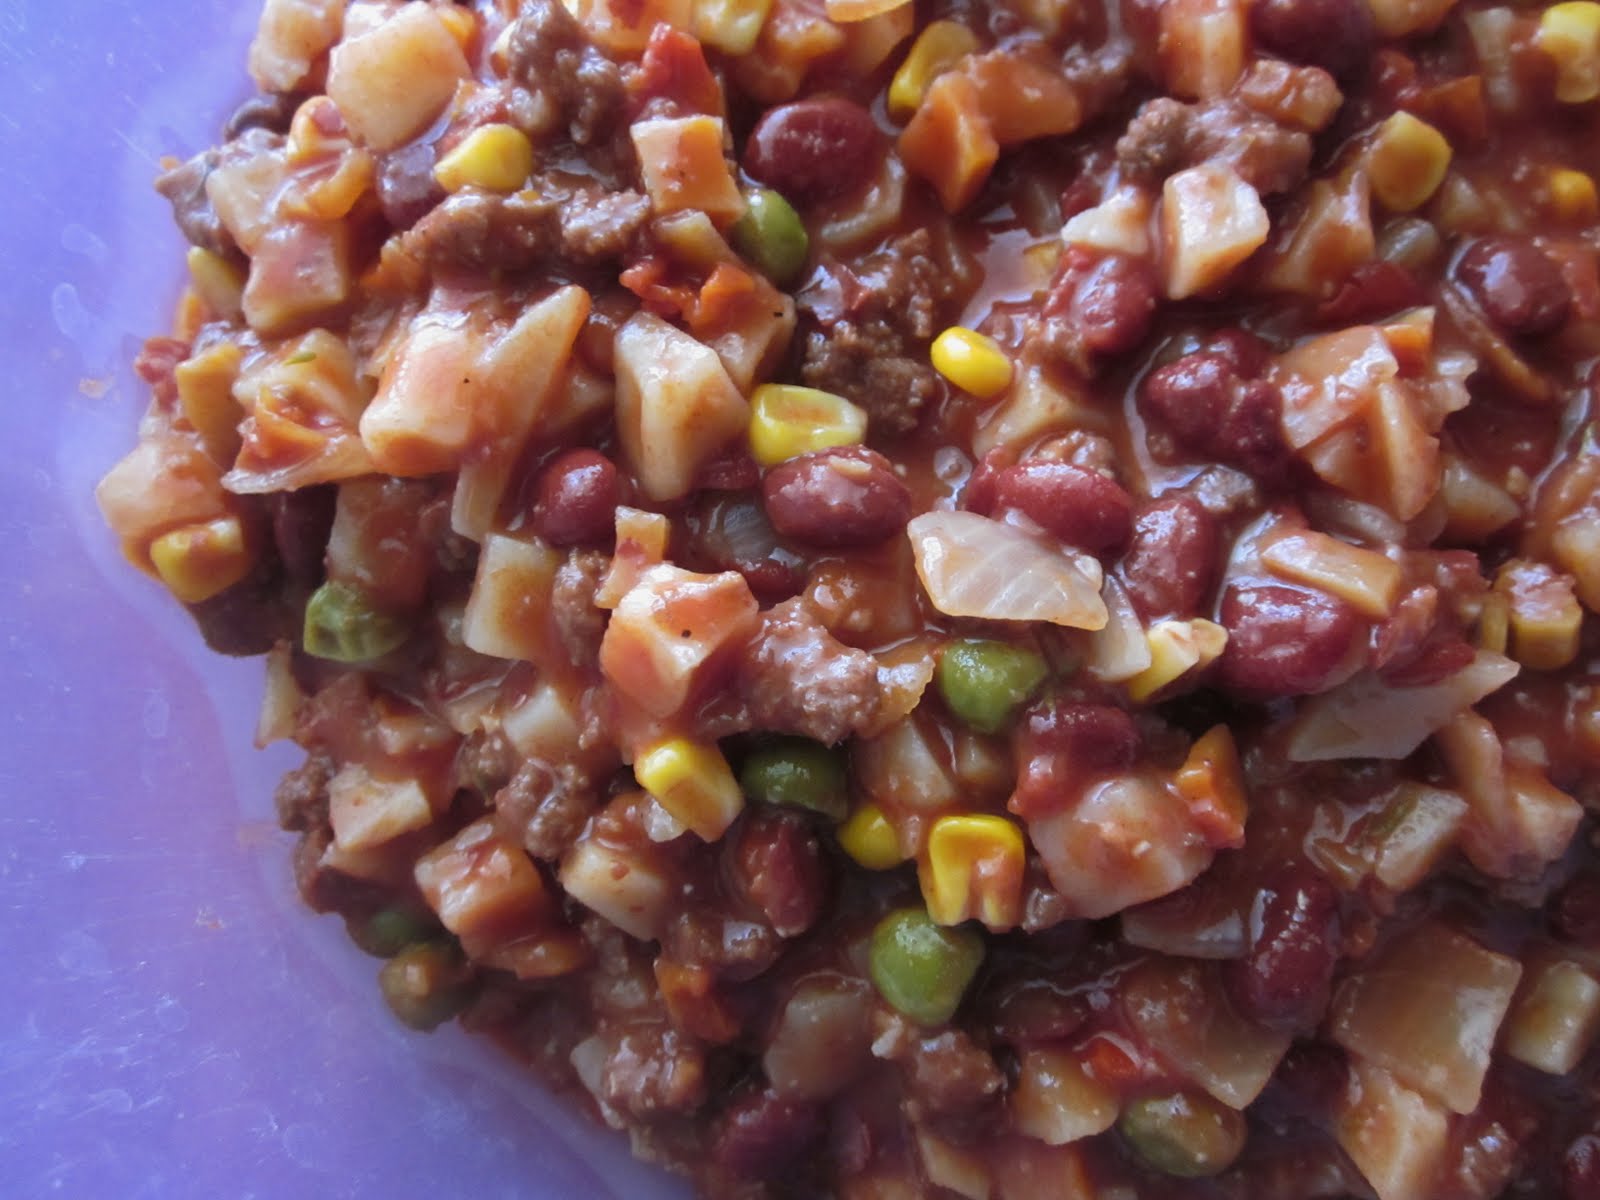
Monday I was doing the segment on NBC 12 Valley Dish Phoenix,  and totally missed my day for my convenient food storage recipe that I usually post! I thought I would make up for it today and share this cool one.  This is a great meal made completely out of food storage. It's amazing for camping or dinner any night of the week. It's perfect for giving to a sick neighbor or to someone you actually...like. I think my family likes it because the folks I cook for include my kids, husband,  Granny and Mr. Putt-Putt who are, let's face it, down-home-raised-on-the-farm kind of people. They don't like a lot of green herbs and junk in their food (ironic isn't it?). Now and then I get "froofie" chef on them and roast some garlic or chop some tarragon, but for the most part it's "regular people" food.  Sometimes we actually use...meat. Dramatic swoon.   As for this meal, the crazy cool part is that it fits in a convenient size quart jar for easy food storage space and planning! 
 Well, when I walked into my favorite  Preparing Wisely store this week, there on the shelf was yet another cool new thing that I wanted to try.

Freeze dried vegetable Mix.

I make a mix that includes equal parts: 
It has freeze-dried corn, freeze-dried peas, dehydrated red peppers, and dehydrated chopped carrots. It's great for adding a lot of flavor in one grab.  I thought to myself, "self...I bet I can make a recipe with *that* in it!" Yes...I'm a food storage dork-fest-in-action. You know you like it. (Secretly.)
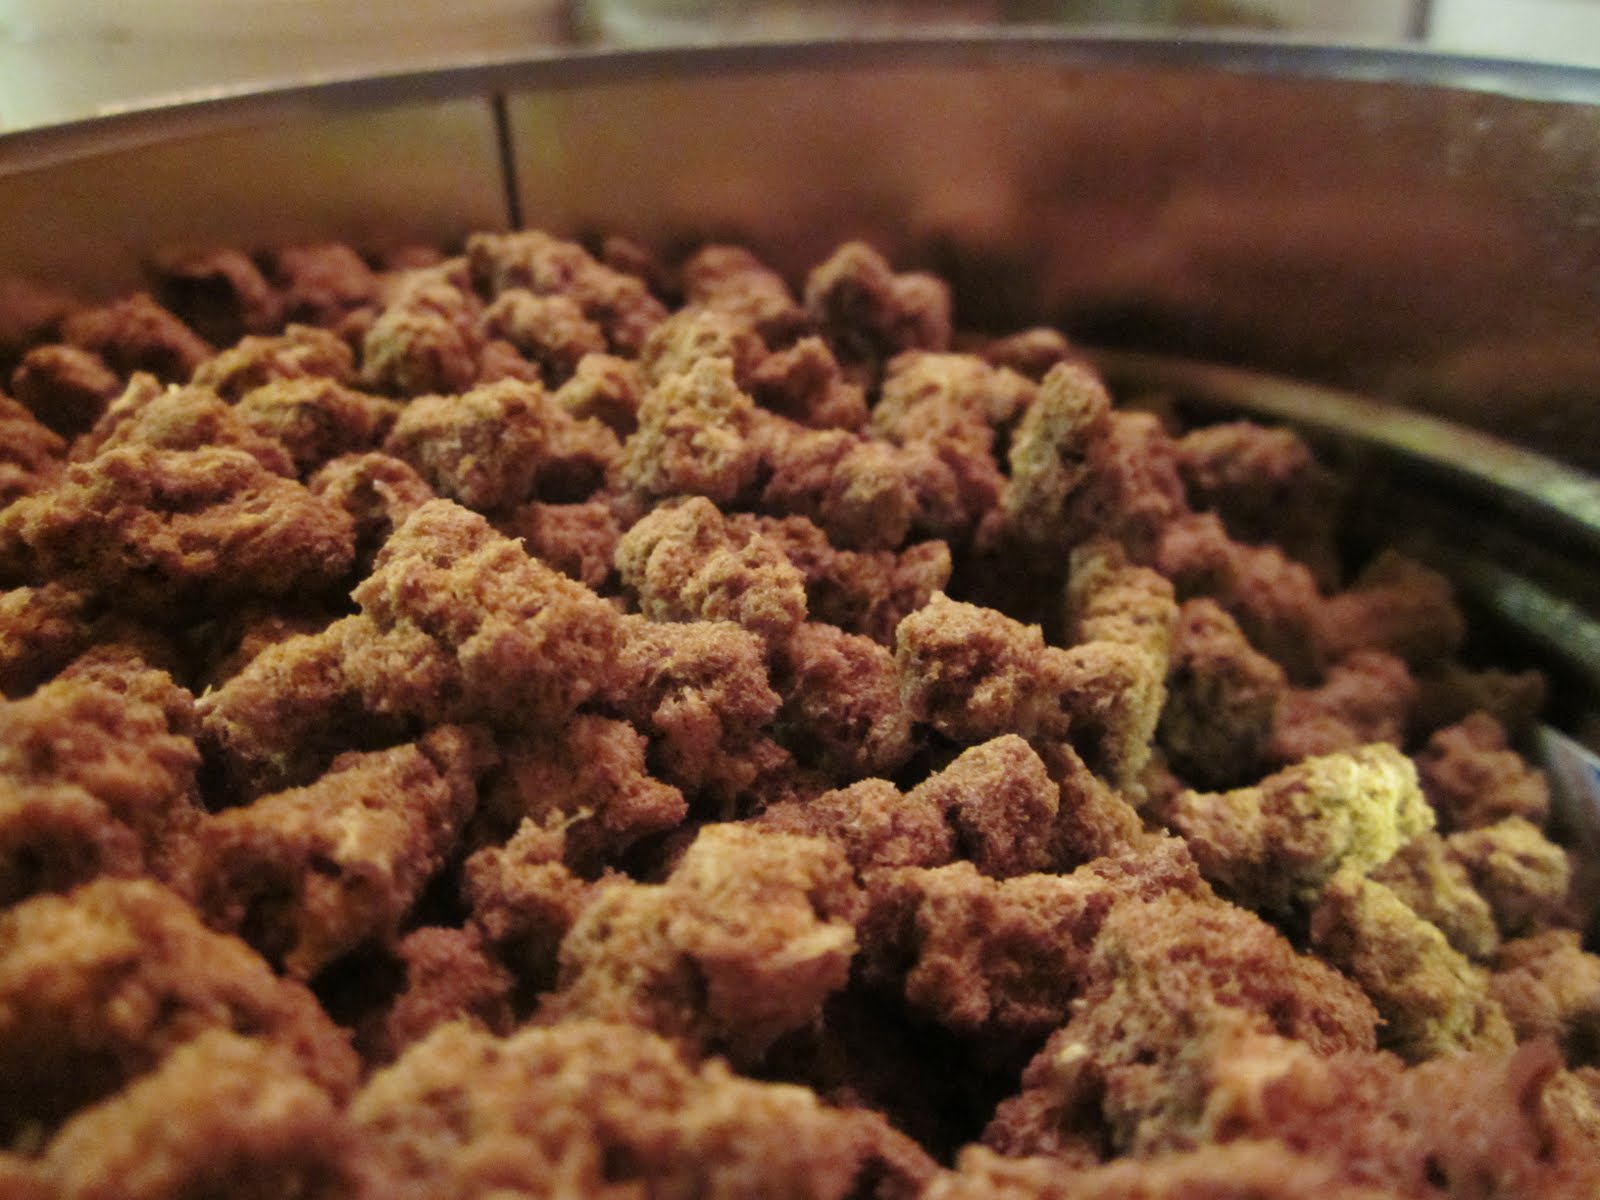
 Freeze Dried Ground Beef is probably one of the most interesting things I've ever used as a chef. It has quite literally changed my convenience food world when it comes to having to make dinner. No longer having to cook meat?! Yah. It's shelf stable and totally crazy cool stuff. I love technology...always and forever. (Quick...name that movie.)
So...Here's the next convenience dinner in a jar meal...
I promise they won't all be soup or stew.

Chef Tess Country Style Hamburger Stew
yield 12 one cup servings
in a quart jar:
1 cup THRIVE instant red beans (they cook in 20 minutes)
Seasonings I shake down into the jar: ½ cup tomato powder,
1 tsp thyme, 1 tsp garlic, ¼ cup flour, and 1 T beef bullion.
It will fit if you shake it really well.

To prepare Country Style Hamburger Stew:
In a gallon pot, combine stew mix with 6 cups water and bring to a boil.
Reduce heat and simmer 20-30 minutes.
Works great in a solar oven. Bake one hour.

You MUST Put an oxygen absorber in the top of the jar in order for this to be shelf stable with the beef.  Otherwise, use beef TVP.  Seal. Good on your shelf in a cool dark place up to 10 years.  Now, I actually tape the directions onto the jar...(not pictured) or write the cooking directions on the top of the lid in permanent black ink.


Always My Very Best,
Your Friend Chef Tess