Showing posts with label Fall Cupcakes. Show all posts

Friday, April 18, 2025

Best Ever Black Bottom Cream Cheese Chocolate Chip Cupcakes


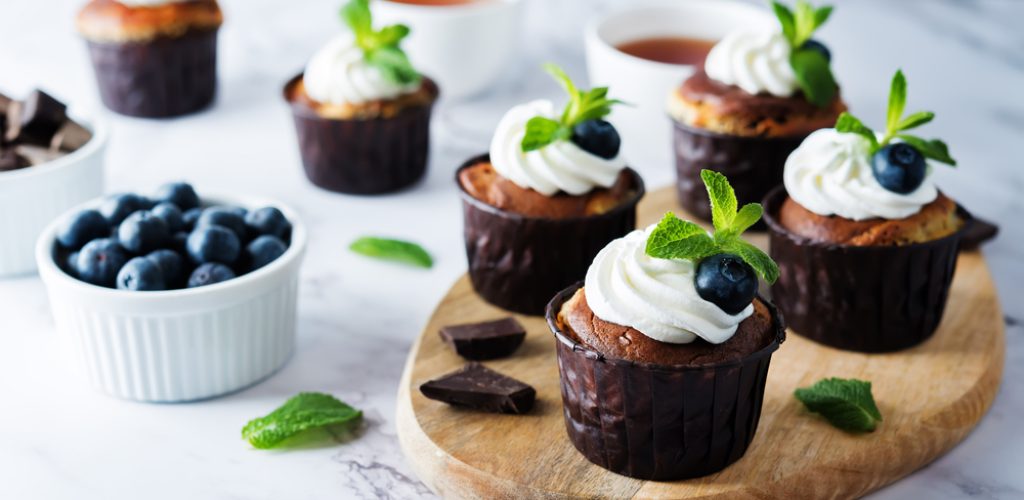
Chocolate,Cream,Cheese,Cupcakes,With,Whipped,Cream,,Mint,Leaves,And

These luscious chocolate cupcakes are filled with a rich cream cheese chocolate chip filling.

What is a Black Bottom Cupcake? Heaven. I have fond memories of these cupcakes from my childhood.

These delicious velvety chocolate cupcakes have a cream cheese chocolate chip filling baked right into the batter. They come together in just a few minutes and can be served as a warm addition to brunch or a dessert. I like topping them with fresh fruit and whipped cream for a contrast in texture. Fresh berries can also be added to the cream cheese filling before baking.

The recipe is easy to assemble in just a few minutes. Enjoy!

Black Bottom Cupcakes

Filling:

1 package (8 ounces) cream cheese, softened

1/3 cup (67g) sugar

1 large egg (57g)

1 tsp. (5g) vanilla extract

1 cup semisweet chocolate chips

Cupcakes:

1 cup (200g) sugar

1 cup (255g) water

1/3 cup (75g) vegetable oil

1 large egg (57g)

1 Tbsp. (14g) white vinegar

1 tsp. (5g) vanilla extract

1-1/2 cups (180g) All-purpose Flour

1/4 cup (23g) baking cocoa

1 tsp. (6g) baking soda

1/2 tsp. (6g) salt

Directions

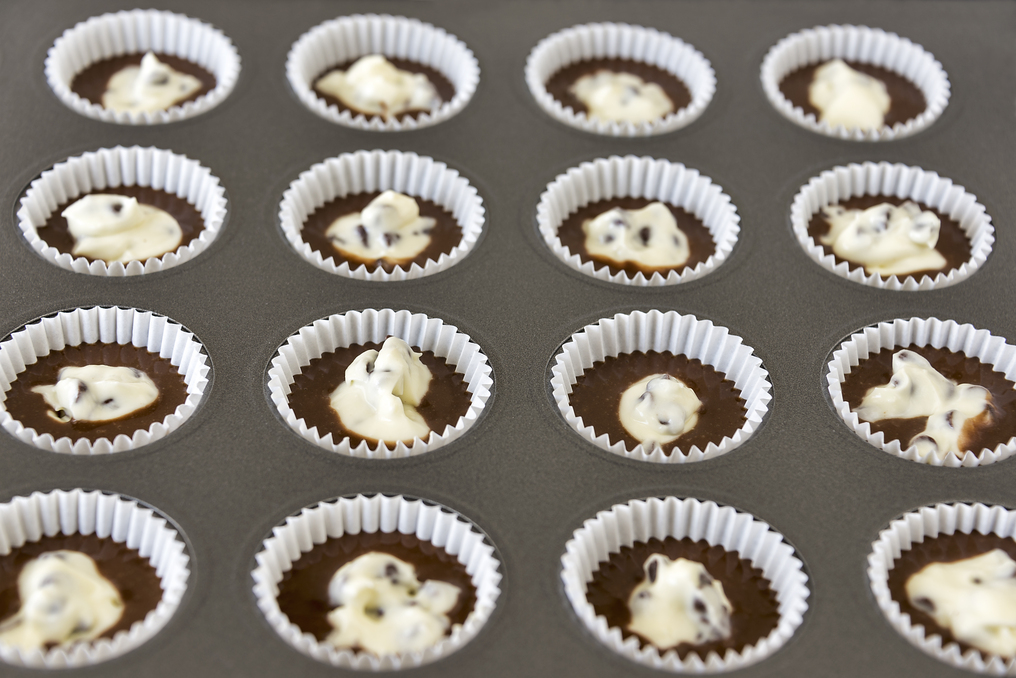
  • In a small bowl, beat the cream cheese, sugar, egg, and salt until smooth. Stir in chips; set aside.
  • For cupcakes, beat the sugar, water, oil, egg, vinegar, and vanilla until well blended in a large bowl. Combine the flour, cocoa, baking soda, and salt; gradually beat into the egg mixture until blended.
  • Fill 24 paper-lined muffin cups half full of chocolate batter. Drop a heaping tablespoonful of cheese mixture in the center of each cupcake. Sprinkle with sugar and chopped almonds, if desired.
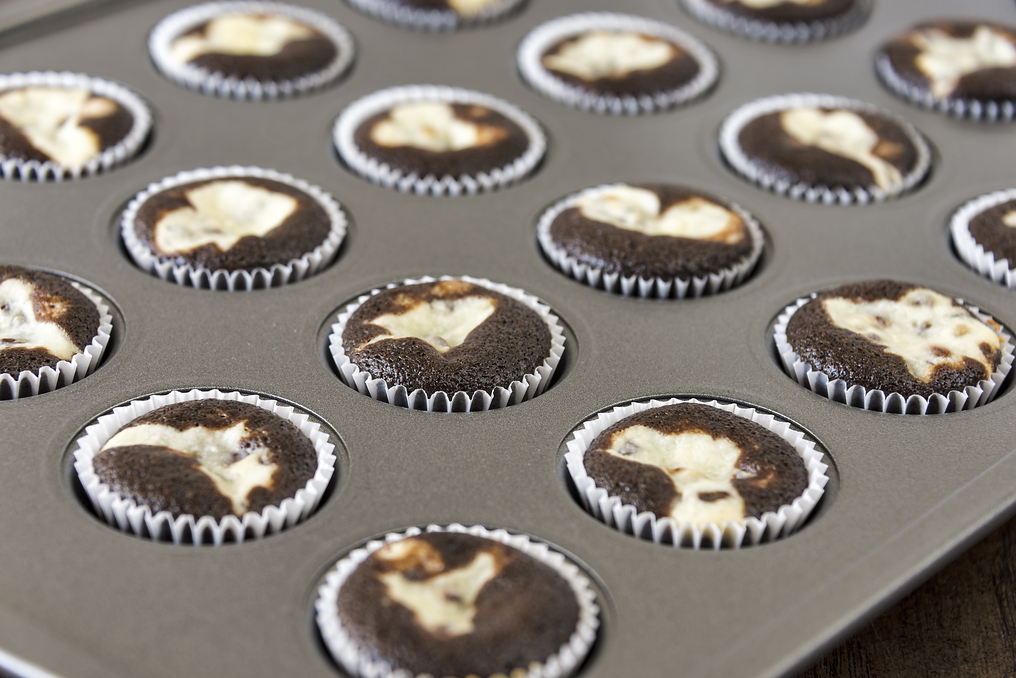
  • Bake at 350°F for 18-20 minutes or until a toothpick inserted in the cake portion comes out clean. Cool in pans for 10 minutes before removing to racks to cool completely. Refrigerate leftovers.
Always My Very Best,

Your Friend Chef Tess


Saturday, November 4, 2017

My Favorite Best Ever Homemade Cupcakes with Homemade Buttercream and White Chocolate Shards


Post number two on the baby shower food that I catered for my BFF Gena's new arrival. Cupcakes.  They can be a source of great joy at a party but sometimes they can also stress you out. If you have a great recipe, however, that doesn't have to be the case.  Recently I found a really great recipe for scratch yellow cupcakes from Here and I altered it just a bit for these baby shower cupcakes, but they turned out amazing! You can either frost them with fresh whip cream or the buttercream recipe below. Either way, they're killer perfect. 


 My Favorite Best Ever Yellow Cupcakes                                                                                                                                                                
2 ½ cup Texas Pure Milling All Purpose Flour
3 Tbsp. Cornstarch
1 Tbsp. baking powder
½ tsp salt
1 1/4 cups granulated sugar
3/4 cup butter 
3 eggs
2 tsp vanilla extract
1 tsp almond extract
1 Tbsp. Orange Zest (optional)
1 cup milk

Citrus Infused Buttercream Frosting
3 cups powdered sugar
½ cup butter, softened
2 teaspoons vanilla
1 tsp lemon emulsion
1 tsp. almond extract
1 tsp. orange emulsion
3-4 Tbsp. hot water

8-12 oz White Chocolate, sharded for garnish

Directions: Preheat oven to 350°F. Line 24 muffin cups with paper liners.  In a small bowl, stir together flour, cornstarch, baking powder, and salt. Beat sugar and butter in large bowl until light and fluffy. Add eggs, one at a time, beating well after each addition; add vanilla and flavorings. Add flour mixture and milk alternately, beginning and ending with flour mixture, mixing on low speed.
Divide batter evenly into prepared cups.
 
Bake 25 to 30 minutes, or until a toothpick inserted in center comes out clean (at least 170°F). Cool in pan 10 minutes; remove from baking pan to cooling rack. Cool completely.  

Frosting: In a large bowl, beat remaining Frosting ingredients with electric mixer on low speed until creamy. 

Decorating: Once cupcakes have cooled completely, pipe the frosting onto the cupcakes in a decorative swirl. Arrange shards of white chocolate on the frosting.

Wednesday, October 26, 2011

Halloween Monster Eyeball Cupcakes

When I made these cupcakes I heard my son singing the Purple People Eater Song...but about cupcakes. Dance with me now!  {Insert mental-vision of Chef Tess doing the cabbage patch...with a purple tutu and an egg beater...}
"One eyed one horned...flying purple eyeball cupcake...one eyed one horned...blah blah blah blah Eat that cupcake..."

We did some monster eyeball cupcakes for Halloween...and believe it or not, the eyeballs are just marshmallows we rolled into a ball.  I used food coloring and painted on the blood-shot effect then wrapped the eyeball with some homemade modeling chocolate ...just for fun so it would look like an eyelid.


I like to use grape kool-aid to flavor my buttercream...because I'm cool like that. Use a straight tip or grass tip on your pastry bag and just layer the hair-like frosting like this. 


Now that we are full of sugar and grape kool-aid frosting...I think we're ready to trick-or-treat! Ya know...because there's more sugar to be had by all! 
There you go. A really cool idea for monster cupcakes!


Always My Very Best,
Your Friend Chef Tess


Wednesday, October 27, 2010

Fall Cupcake Ideas on Valley Dish Today!

More of my Fall Cupcake ideas will be on Valley Dish this afternoon on NBC 12 Phoenix at 3:30 pm. It should be a nice little segment on getting the most out of your tray designs and your cupcake designs. Gorgeous and Easy Sunflower Cupcakes where part of last weeks segment, but are more geared toward Fall in general. If you missed how to make the modeling chocolate, I think it is an amazingly cool thing to use to add some vines or Fall leaves to a cupcake top.
One thing I like to do is make the tops symmetrical when I design them, but also for this season, adding some toasted walnuts and sesame seed can really add some great texture and flavor to a cupcake.
What seems to be the ongoing trend, is getting back to the simple "retro" designs of the 1950's and 1960's. These color schemes are great! Often I will use the same method I used for making the caramel apple wrappers for the Tricky-Treat Stuffed Caramel Apples
to make a smooth top for a cupcake. I just roll out the caramel between two pieces of parchment paper until it is the same size as the top of the cupcake. This placed on top of a thin layer of frosting will stay in place, but give such a nice caramel coat. On another cupcake I will mold the modeling chocolate into leaves and outline it with red icing. I'll use caramel balls to make Polk-a-dot designs. Yet another, I'll do the outline of a leaf in thinly rolled modeling chocolate, and then paint the leaf with food coloring to give the effect of a fall leaf...and sprinkle it with sesame seeds.
Whatever you do for your Fall cupcakes...have fun! I'm so excited to be part of your life. God bless!
There you go! Remember to watch Valley Dish this afternoon!


Wednesday, October 20, 2010

Gorgeous and Easy Sunflower Cupcakes

My amazing Aunt Dorthea showed me how to make these sunflowers when I was almost twelve years old. We were living at my Grandma's house at the time and Dorthea lived in the apartment adjoining the house. I'd slip back to her apartment now and then to watch her decorate wedding cakes. She was making daisies. But when she showed me this flower technique I was so excited. Not only was it simple, it was accessible for even an eleven year old! It was like she had given me permission to be a baker. Yes, after 25 years of baking using this technique for flowers, I am now willing to share the secret. Are you ready? I think it may surprise you. Start with a normally frosted cupcake... though I do slightly mound the frosting in the middle.

Blackberry gummy candy for the center...


Large marshmallow. Did you read that correctly? Yup. Marshmallow. With sharp scissors, cut the end like this. Keep your scissor blades clean between cuts by wiping them off with a lightly damp clean wash cloth.

With a clean new paintbrush, lightly paint the petal with food coloring of your choice. Place petals on the outside edge of the cupcake.

Put a second layer of petal on top of the first layer and slightly closer to the center. Put your blackberry candy in there too.
For the smallest petals, I use mini marshmallows, cut in a similar way.


When flower is finished, lightly dust with powdered sugar to keep it from sticking to everything it touches, and to add a little more drama. As if this cupcake isn't dramatic enough.


There you go. Make some sunflower cupcakes!

Friday, October 15, 2010

Join me for my Cupcake Segment Today on Valley Dish


Tired of plain cupcakes? Ready to step them up a notch but not sure you have what it takes to make something amazing?! These cupcakes are made using some pretty simple ingredients, you probably have in your cupboard right now! Believe it? You don't even have to have any pastry chef experience to make them! You will be shocked to know what I use for the petals and leaves. Really shocked. Nothing on these cupcakes came from a special cake supply store or even from a box mix!
These bones are made from things you probably have in your kids snack cupboard.


These elegant Fall cupcakes...will blow your mind! The secret ingredient?...
I'll show you!! Today at 3:30 on NBC 12 Valley Dish, I will be doing a short segment on how to make some amazing Fall and Halloween cupcakes, simply. You don't want to miss it. Those who don't live in the Phoenix valley, I promise to post the link when it comes available. Plus...a photo tutorial wouldn't hurt now would it?!