Showing posts with label pasta. Show all posts

Wednesday, June 29, 2022

The Missionary Cookbook Chapter 4: Pasta Profiles 4 amazing Pasta Salads from one basic recipe


It's time for a little update on the mission of my amazing son Elder Luke Petersen. For those who have been following his adventures with us. We've had a change in location happen recently that was unexpected but necessary for his health. We are excited to share that Luke was transferred to Salt Lake City, Utah to finish his missionary service staying with his grandparents (my parents). He is still away from home and still a full-time missionary. He is what is called a Service Missionary.

He is now working with the horticultural department and plants that will help make beautiful church Temple grounds, at our church headquarters, conference center, and visitor center. The grounds are extensive and full of gorgeous areas that need a huge amount of work. This is an amazing opportunity for someone who loves plants like Luke does! People come here from all over the world to feel the love of God and learn about Jesus Christ. It's Luke's way of spreading the seeds of the gospel. I ❤️ him for being willing to serve in this way. I am also so excited to see his love of God's creations in action.


He has also been working with my parents fulfilling humanitarian efforts at Welfare Square to feed the hungry worldwide. My parents have been full-time service missionaries at the Bishop's Storehouse at welfare Square for the last year. Welfare Square is a landmark location for The Church of Jesus Christ in its efforts to care for those in need. The square hosts various employment services, food production, and storage facilities, distribution centers, and training facilities. The services housed here are provided free of charge.

We believe in following the example of Jesus Christ to feed the hungry, clothe the naked, and lift up the downtrodden. In the 1930s, many people in the Salt Lake City area were struggling as a result of the Great Depression. In 1936, the Church formalized a welfare program to provide for basic needs and give opportunities for employment. Two years later, in 1938, Welfare Square was created.

Welfare Square resides on its own campus and includes a 178-foot grain silo, a milk and cheese processing plant, a cannery, a bakery, a market-style grocery, a clothing collection warehouse, and employment assistance offices. Services on the square are operated by volunteers and employees of the Church.


I love that God knows our hearts. He knows how much Elder Petersen has always loved working with plants and the peace that he feels when he is surrounded by God's creations. I know that the Lord's creations testify in their own way that God is real and so does my sweet son. I don't doubt that he is working with these plants because he is learning some lifelong lessons to lead people to Jesus Christ. 

It is a wonderful experience so far and one that he is growing from immensely. No pun intended. Okay. Maybe a little pun intended. 
Look how awesome he looks in his official uniform. My heart. Xoxo! I'm just a little bit bursting with momma pride. Only because I saw my own father wear this same uniform for forty-five years of my life. I know what kind of a dedicated Christ-like man my dad has always been, and it takes a giant to fill these threads. Luke's calling is for the next eighteen months. Time is going to fly! 
So, I know that even though my son is staying with his grandparents and serving a service mission now, he is still making meals and taking his own lunches to the temple grounds in Salt Lake City. 

So here's the premise. One salad to rule them all. 


The original post for this was called the profile of a Killer Salad on this blog and something I taught my kiddos early on was how to step into the kitchen and know what flavors worked together. So this is something I wanted to share today with this chapter of The Missionary Cookbook for those who are looking for beginner simple recipes to make life easier for those first starting lives away from home. 

Herb Alchemy 101 Cooking Without a Recipe

How many just read the words "herbs and spices without a recipe" and panic set in? I can hear you saying, "I don't cook like that! I need a recipe.” If that is you, then this post is for you. I want you to try to let go of your cooking inhibitions and think with your heart. If my 5-year-olds could do this, you most definitely can do it now! I believe in you!

So to begin with a basic explanation, herbs are the aromatic leaves, flowers, and stems of plants and spices are seeds and the bark of aromatic edible plants. Fresh or dry herbs and spices will work in cooking applications, but make sure you smell them inside the jar. If it smells like a spice or herb, then the stuff inside is still full of flavor. Most spices will need to be in an in-ground or grated form for cooking or baking. If you don't have a spice mill (not many people do), then just buy them pre-ground. 

Below is the basic outline of some flavors that work together well. Follow the steps and you will find success.   

Step 1: Begin with the pasta salad base.

Chef Tess’ Pasta Salad 101

Basic Pasta Salad

Ingredients:
1 lb. pasta of your choice, cooked al dente according to package directions and seasoned well with salt and pepper
1 cup chopped bell pepper
1 cup carrots, shredded or chopped
1 stalk celery, sliced thin
½ medium red onion, sliced thin or chopped fine

Mix together all ingredients in a large bowl. 


Step 2: Make one batch of basic vinaigrette.

Basic Vinaigrette for Pennies a Jar! 

Ingredients:
¾ cup olive or vegetable oil (flavored oils are great)
¼ cup red wine vinegar or cider vinegar
1 tsp. fresh pressed garlic
Herbs and spices (see below for variations)
Salt and pepper

Directions: 
  • Whisk oil and vinegar with other ingredients in a bowl. 
  • Start with a half teaspoon at a time of the herb or spice you want to add and then sample. 
  • Adjust flavors according to your taste. 
  • For one batch of salad, you will need one batch of salad dressing. 

Step 3: Add flavor profile to dressing & mix salad. 

Dressing Variations 

These herb and spice suggestions are to be used in the basic vinaigrette recipe to customize the recipe to fit your need. Add the flavor combinations directly to the basic pasta salad recipe. Come up with your own and try mixing and matching fresh veggies as they are in season. You can even add seasonal fruit you like. For hearty dinners, add some roasted chicken, beef, fish, or tofu. Try marinating your meat in the vinaigrette to save a lot of money instead of buying those fancy bottles of pre-made stuff. You can do this! It can be very liberating, but for you folks who just want a grab-and-go dressing fix, just use the pre-made spice blends.


These are lists of flavors that work together for the cuisine you want to create they are not a complete list. They are intended to get you started

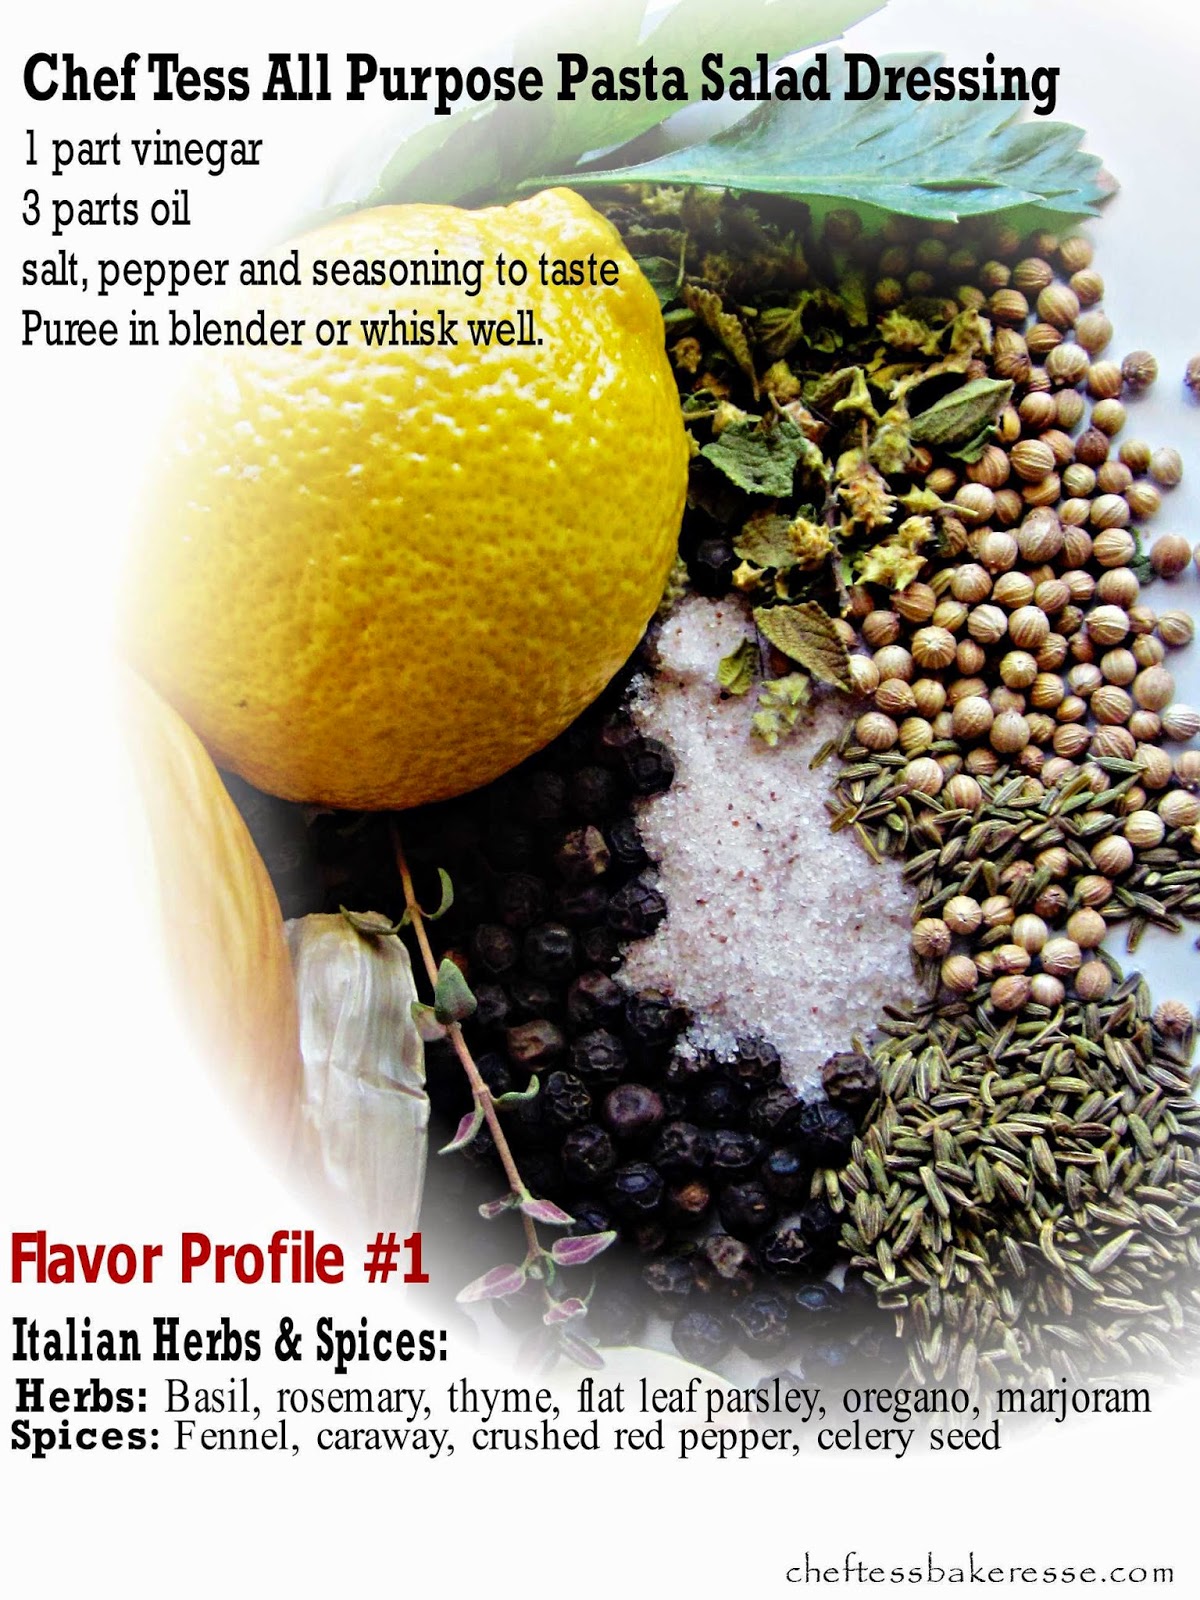
Italian
Herbs: Basil, rosemary, thyme, flat-leaf parsley, marjoram
Spices: Fennel, caraway, crushed red pepper, celery seed
Flavoring: Hard cheeses like parmesan, asiago, olives, roasted peppers, citrus zest, capers

Greek
Herbs: Dill, oregano, rosemary, mint, parsley,
Spices: Fennel, anise, black pepper, dill seed
Flavoring: Feta cheese, olives, pickled peppers

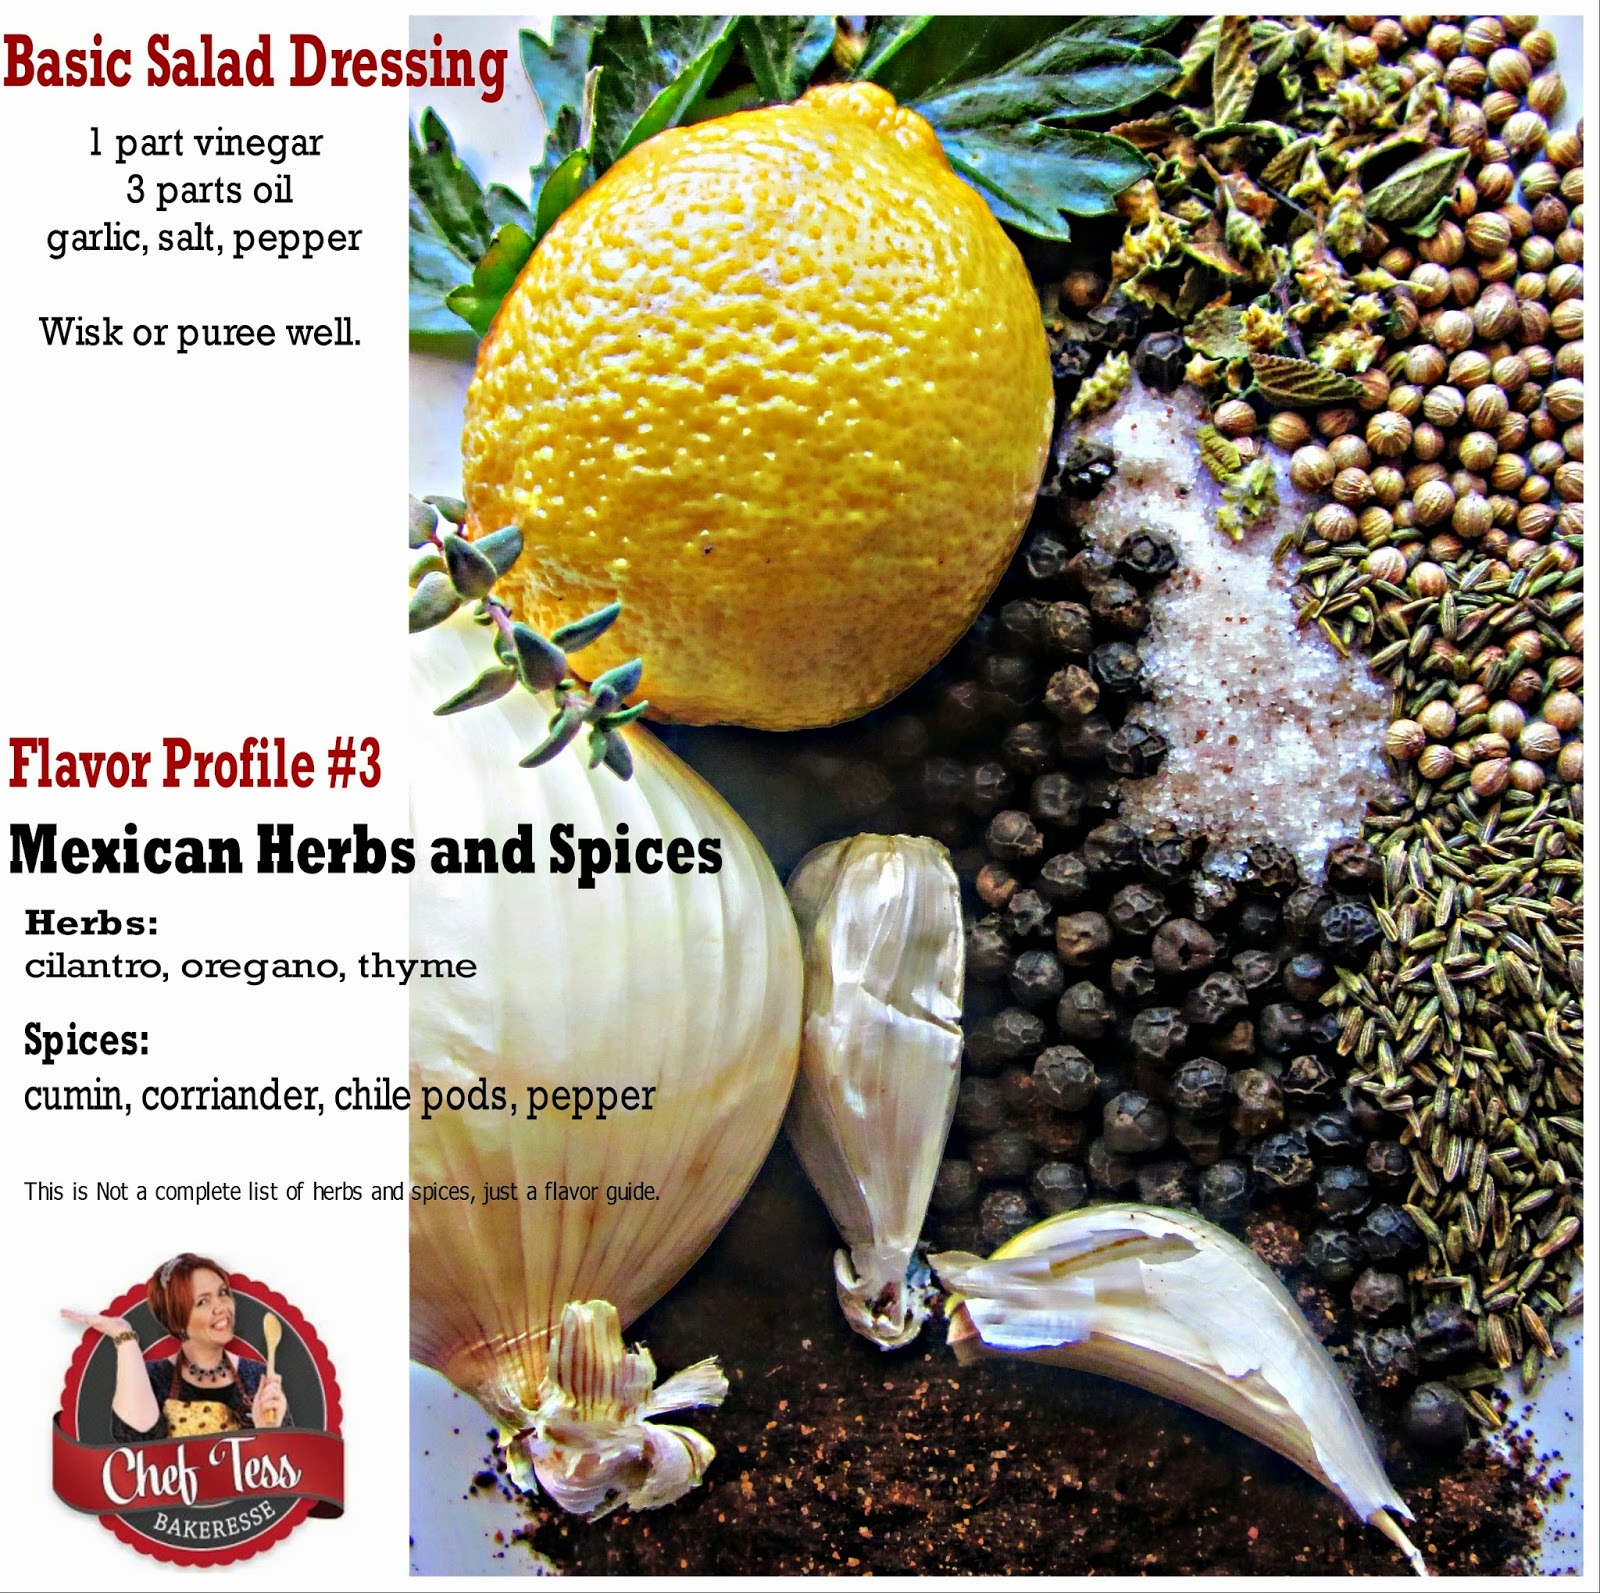
Mexican
Herbs: Cilantro, oregano, thyme
Spice: Cumin, coriander, chile pods, black pepper, allspice
Flavoring: Lime zest, roasted corn, green onions, radish, black olives


Asian
Herbs: Cilantro, mint, lemon grass, sesame oil (use 2 tsp. in place of some of the oil)
Spices: Cumin, chile paste, curry paste, fennel, ginger
Flavoring: Lime zest, soy sauce, hoisin sauce, citrus zest, peanuts or cashews

©Chef Stephanie Petersen. 2011. All rights reserved. Copies are NOT permitted without written consent from the author even for personal or church use! Chef Stephanie Petersen can be contacted at Stephanie@cheftessbakeresse.com and is Chef Tess on Facebook and Twitter. www.cheftessbakeresse.com 


There you go darlings. Begin learning some flavor profiles. I'll be posting more in the future! I promise.

Always My Very Best,
Your Friend Chef Tess


Saturday, September 16, 2017

Rambling Review: Isopasta High protein Low-Carb Pasta


Remember the day I promised you guys that I'd only review on my blog the stuff I liked, because I'm classy that way? Well. Here's a good one.

I recently found a low-carb pasta that is based on protein...and it's really good.

 I didn't get paid to do this post. 
They didn't send me any free product. 
This is just my own  experiment and observation because I thought it sounded too good to be true! 


 It's called IsoPasta
photo courtesy of Isopasta 

Things to note:
  • At first, the price threw me. I'm admittedly a cheapskate and I'm used to the normal pasta prices at the grocery store, but then I did the math. For low carb, what I'd pay for a protein supplement or protein bar anyway, I could actually eat a rather filling and tasty meal. 
  • It makes a lot of pasta!  One bag of their pasta along with vegetables and lean beef, made about a half gallon of finished fusilli. They called this 5 servings, but the pasta is so filling, it was really more like 8. Plus the calorie count was 170, including only 7 net carbs and 30 grams of protein. 
  • Cooking time is real.   The package actually says to cook it for 30 minutes. That threw me off too. I'm a chef. I like a good texture to my pasta, but on this one they aren't kidding. 30 minutes and it is the texture of regular pasta. 
  • It's really filling.  I can eat this at noon and not have a hunger pain until six hours later. Not many protein bars can offer that.
  • It's so much like pasta, it's scary.  Like really scary. For those missing pasta in their life, it's a real blessing!


There you go. Just a quick review of something yummy!  Have an awesome Tuesday my darlings!


Thursday, August 3, 2017

The Best Gourmet Frozen Lasagna!


Happy Freezer Friday!  We love Freezer meals and this is the ultimate freeze lasagna of all time in the history of forever. Well. If I had a dollar for every blog post that ever claimed it was the "best ever"------ whatever it is...I'd have a bazillion dollars. However, in the case of this lasagna, it's a recipe that I've used in catering large weddings as well as bottomless pit feeding-frenzied teenage boys.  Okay, I say boys, but Little Man just turned 18 and is just about finished with his college degree...so he's man--ish. As for the Lasagna recipes, this one is pretty legit. It's loaded with vegetables and flavor.  

If you notice, there's not a Cooking with Chef Tess video with this one, I've taken a step back from the network TV show for a while. My producer said that I'm welcome back anytime, so don't think this is forever y'all.  It's a long/short story mainly having to do with choosing between something "earthly important" and something "family eternal"...and I picked the eternal. I'd hope everyone would respect my privacy on this one and just know that I love you all dearly and will still be posting frequently here as well as keeping my family on track, together, and focused on keeping the main goal the main goal.  So, dinner together with this righteous lasagna is probably a fantastic idea! 


Homemade Gourmet Freezer Lasagna

This recipe makes 16 very large servings, so feel free to make 2-4 casseroles, depending on the size of your family. Today, we’re making 4

This recipe I have tweaked quite a few times to find just what I liked, nice tender pasta that is still a little firm with just a great amount of sauce and meat (or veggies) to hold the layers apart and keep its shape. I hope you enjoy it.

Sauce:
  • 2 Tbsp olive oil
  • 2 medium onion, chopped
  • 2 stocks celery, sliced thin
  • 2 cup shredded carrot
  • 1/4 cup minced garlic
  • 2 lb lean turkey Italian Sausage
  • ½ cup teff seed (optional)
  • 4 quarts (16 cups) tomato puree 
  • 3 Tbsp. Chef Tess Italian
  • 1 Tbsp. Red Pepper Flakes


Directions: put the oil in a large dutch oven on the stove. Saute the vegetables and the meat until the meat is cooked and the vegetables are tender.  Add tomato puree. I used 4 quarts of my home canned tomatoes, but you can totally use the store cans. It take 4-28 0z cans of tomato puree, or if you like a chunky sauce, use two 28 oz can of tomato puree and 2-28 oz cans of diced tomatoes.
Simmer on low for 10-15 minutes.


 Okay. Let’s talk about that sauce. If the sauce seems a little thin, keep in mind that I don't cook my noodles first, so there needs to be a little extra liquid for the noodles to cook properly. So, let’s get the cheese filling put together and build this awesome lasagna.


Cheese filling:
  • 2 lbs ricotta cheese 
  • 2 cups Parmesan cheese
  • 1/4 cup fresh chopped basil, or 2 Tbsp dry basil
  • 2 Tbsp. Chef Tess Romantic Italian Seasoning 
  • 2 eggs
  • salt and pepper (about 1 teaspoon each)


Combine well in a large bowl. 


Noodles:

24 oven ready lasagna noodles (dry)
2 lbs mozzarella cheese, part skim is okay
1 cup Parmesan cheese


Decide the size casserole you will make:
  • 8 inch by 8 inch yields 4 casseroles
  • 9 by 13 inch yields 2 casseroles
  • 16 by 11 inch yields 1 casserole

Be sure to use NON aluminum pans, as they will have a reaction to the tomato products. Just as a general rule, tomato products should not be stored in aluminum.

To assemble:
8 inch use: 1/2 cup tomato sauce, 3 dry noodles, 1/3 cup cheese filling per noodle.
9 by 13 use: 1 cup sauce, 4 dry noodles and 1/2 cup cheese filling per noodle.
16 by 11 use: 2 cups sauce, 8 dry noodles, and 3/4 cup cheese filling per noodle.

Spread the tomato sauce on the bottom of your pan, avoiding large chunks of meat, lay noodles down across the bottom of the pan on top of the tomato sauce.
Spread the cheese filling over the noodle.
Top the cheese layer with some tomato sauce
8-inch pan: 3/4 cup tomato sauce

For the third layer, top with noodles and then the remaining sauce. Top with mozzarella and Parmesan cheese. You know, I say three layers, but it just depends on how big the pan is. I always end up with more layers on the smaller pans than the large ones. Especially if I use a loaf pan instead of an 8 by 8-inch casserole. So... you know. 5 layers or so for the small pans. 


·       
      Freezer Precautions: Okay, we’ve made our casseroles, so now we’re ready to freeze them. Cover with plastic wrap and then foil, as we don't want any tomato to meet foil.

    Label clearly with cooking directions:  Defrost in fridge 24 hours, or microwave defrost. This is the best way to cook frozen lasagna. By far. I've tried straight from the freezer to the oven and I don't like how uneven it cooks, even with the store purchased lasagna. I'm weird that way. I'm okay with that. 

      Slow Cooker Lasagna?  One more thing. If you measure the inside of your crock pot and can find a plastic container that fits it and goes about 4 inches up the sides, you can put all these layers of cheese, sauce and noodles in the container and freeze it. When you want lasagna, you simply invert the container under hot running water until the lasagna cube comes out. Place it in your crock pot on low 6-8 hours OR on high 4-5 hours.
·


To Serve: Adjust oven rack to middle of the oven. Remove foil, remove plastic. Spray side of foil that meets cheese with a non-stick coating of your choice. Replace foil tightly sealing edges. Place on oven rack (Usually put it on a sheet pan on the oven rack).

Bake times 400 degrees:
8 inch: 25-30 minutes, remove foil and bake an additional 15-20 minutes, until hot throughout and the cheese is browned in spots. Let cool for 10 minutes before serving.
9 inch by 11: 30-40 minutes, remove foil and bake additional 25-30 minutes until hot throughout and the cheese is browned in spots. Let cool 10 minutes before serving.
11 by 16 inch: 40-45 minutes, remove foil and bake additional 30-35 minutes until hot throughout and cheese is browned in spots. Let cool 10 minutes before serving.

There you go. Make frozen lasagna.


Always My Very Best,
Your Friend Chef Tess
Yum


Tuesday, August 23, 2016

Chimichurri and Roasted Garlic Mac-n-Cheese


I shared Twisted Mac and Cheese of the Day Base Recipe earlier.  If you are looking for a perfect macaroni casserole style recipe, here's my family favorite. It freezes beautifully. It works perfectly. Every. Single. Time. Just remember the secrets for success ( here ).  

Over the next few weeks I'll be sharing some of my favorite twists on this base that will make your life simple!  

Enters...the Chimichurri!  This is just a twist that will rock your world! I adapted this recipe from  a Bon Appetit Chimichurri Recipe that I loved for beef. 


 If you're not familiar with it...Chimichurri is a sauce that is traditionally used as a marinade for meat in Central and South America. I almost want to call it a vinaigrette based pesto if I over simplify what it is.  I fell in love with it the first time it's flavors were unleashed on my pallet! It really lends a powerful punch of flavor and there are hundreds of variations on the internet.  This one is special because it is what I use for meat, but also for vegetarian dishes like this twisted macaroni.  I simply stir 1 cup of the prepared sauce into the base recipe and top it with roasted garlic.  Suddenly, everyone can't stop eating the pasta!

Here's my recipe for the sauce...


Chef Tess' Chimichurri Sauce


1/3 cup red wine vinegar

2T fresh lime juice
1/2 tsp kosher salt
4-5 cloves garlic
1 shallot 
1/2 jalapeno, seeded
1 cup minced fresh cilantro
1/2 cup minced fresh parsley
1 cup extra virgin olive oil
1 tsp dry oregano
1/4 tsp ground cumin


Combine all ingredients in a covered food processor and pulse until smooth.

For the mac-n-cheese, scoop one cup of chimichurri in the base mixture and bake according to the original directions.  Top with roasted garlic, lime, and spices to taste.  We serve it with Sweet and Hot Slow Cooked Pork...


There you go darlings! Fast and easy delicious additions to your freezer meal collection!

Always My Very Best,
Your Friend Chef Tess


Wednesday, August 17, 2016

Crab Rangoon Mac-n-Cheese


One of my favorite Mac-n-cheese recipes that we still serve often at my house, even after leaving the Bistro has been this Crab Rangoon version.  I use the cream cheese crab filling that I use for a delicious crab Rangoon appetizers to complement the salty-nutty semi-spicy macaroni.  I haven't really shared the variations "twists" or the exact recipe that was the base for what we used in the Bistro, but they are not using my recipes anymore for the twisted pasta so I'm not breaking any rules by sharing this twist here on the blog. Even then, it still isn't the exact recipe I used at the restaurant, but it is darn close. 
 I shared Twisted Mac and Cheese of the Day Base Recipe earlier.  If you are looking for a perfect macaroni casserole style recipe, here's my family favorite. It freezes beautifully. It works perfectly. Every. Single. Time. Just remember the secrets for success. 

My Tips for success:

  •  Slightly undercook the pasta.  I generally only cook it about 7 minutes. It will be a little crunchy, but the sauce is a little loose and the noodles will absorb the extra as they bake. This ensures you have a great texture on the pasta, even though it is baked later. 
  • Use subtle spices in the sauce to add depth.  My secret is the mustard, cayanne and a hint of nutmeg. Don't use too much nutmeg or it will taste like pudding. You want it to be subtle, yet enough of a nuance that people beg you for your secret ingredient. I use fresh grated, about 1/16 of a tsp. Just a hint. 
  • Watch the heat when you add the cheese to your sauce. I take my white sauce off the stove, let it cool about 5 minutes, and then add the real cheese. Real cheese in creamy sauces will tend to get a "grainy" texture if it is heated too high, so this step keeps it creamy-luscious.


Chef Tess Make-Ahead Mac-n-cheese
yield: 8 1 cup servings

1 lb elbow macaroni, cooked about 7 minutes (slightly undercooked)
1/2 cup butter
1 clove garlic, minced
1/2 cup all purpose flour
8 cups milk
1T dry mustard
1/4 tsp cayanne pepper
pinch of nutmeg
1 lb sharp cheddar cheese, shredded
1/2 lb Monterrey jack cheese, shredded

Directions: 

  • In a gallon sized saucepan, melt the butter over medium high heat. Add the minced garlic and saute about 3 minutes until tender, but not burned. Add the flour and stir well with a whisk, about 4 minutes.  Add the milk and remaining ingredients gradually, while whisking and bring to a boil over medium heat, then simmer about 10 minutes.  Be sure to stir every 2-3 minutes so the milk doesn't burn on the bottom of the pan.  
  • Remove the pan from the heat. Allow it to cool about 5 minutes then stir in the shredded cheese.Smooth perfect cheese sauce can't be done if you cook the cheese on the stove, it will get a grainy texture if the cheese gets too hot...and you want it to be creamy smooth right?
  • In a large 9inch by 13 inch deep casserole pan, lightly grease the pan. Pour the cooked, drained pasta into the pan and season well with salt and pepper.  Pour the cheese sauce over the noodles and stir to combine.  
  • Top with breadcrumbs or twisted variation of your choice (see twisted ideas above). Usually just a drizzle of savory sauce and a different crumble of bacon or cheese on top will kick it to the next level of awesome!  I have so many more flavor variations to make it is sometimes scary how my brain works!

To Bake Immediately:
Bake the casserole at 400 degrees until sauce is bubbling and the topping of choice is crisp, about 20-25 minutes. 

To save for later: Cover casserole with foil and place in the fridge. May be kept up to 5 days. Ready to heat and eat. Bake, covered with foil, 400 degrees 25-30 minutes. Remove foil and allow to bake 10 minutes more, until topping is crisp. 

To make into a freezer meal:  Cover with foil, label and date and transfer to the freezer. 
To prepare: Thaw the casserole in the fridge for 24 hours and follow the directions for the refrigerator version. OR bake from frozen, covered with foil 1 hour 20 minutes. I recommend thawing first. It just gives your sauce a really great texture.  


 Crab Rangoon Version

Combine:
8 oz chopped crab (fresh or a combination of imitation and real)
8 oz softened cream cheese
1/2 cup minced green onion
1 tsp black pepper
1 tsp minced garlic
1/4 cup fresh lemon juice

Fold the rangoon mixture into the macaroni casserole before baking.

At service, top with fried wonton wrappers or  fried won-ton salad strips.

There you go! Make some twisted mac-n-cheese tonight.  There will definitely be more versions to follow on the blog soon!


Always My Very Best,
Your Friend Chef Tess


Sunday, December 14, 2014

Twisted Bistro Make-Ahead Mac-n-Cheese


One of my favorite dishes to create daily at  Bistro 'A la Mode is the Twisted Mac-n-Cheese.  It is all from scratch and the flavor of the day changes depending on what I want to do, so it has been a good comfort food creative outlet.   I make a base recipe that is the best make-ahead macaroni and cheese recipe I have ever created for a baked casserole-style Mac. Once the macaroni canvas is made, then I twist it...

This week we did: 


Obviously I won't be sharing the exact recipes I use in the Bistro here on the blog, but if you are looking for a perfect macaroni casserole style recipe, here's my family favorite. 

My Tips for success:

  •  Slightly undercook the pasta.  I generally only cook it about 7 minutes. It will be a little crunchy, but the sauce is a little loose and the noodles will absorb the extra as they bake. This ensures you have a great texture on the pasta, even though it is baked later. 
  • Use subtle spices in the sauce to add depth.  My secret is the mustard, cayanne and a hint of nutmeg. Don't use too much nutmeg or it will taste like pudding. You want it to be subtle, yet enough of a nuance that people beg you for your secret ingredient. I use fresh grated, about 1/16 of a tsp. Just a hint. 
  • Watch the heat when you add the cheese to your sauce. I take my white sauce off the stove, let it cool about 5 minutes, and then add the real cheese. Real cheese in creamy sauces will tend to get a "grainy" texture if it is heated too high, so this step keeps it creamy-luscious.


Chef Tess Make-Ahead Mac-n-cheese
yield: 8 1 cup servings

1 lb elbow macaroni, cooked about 7 minutes (slightly undercooked)
1/2 cup butter
1 clove garlic, minced
1/2 cup all purpose flour
8 cups milk
1T dry mustard
1/4 tsp cayanne pepper
pinch of nutmeg
1 lb sharp cheddar cheese, shredded
1/2 lb Monterrey jack cheese, shredded

Directions: 

  • In a gallon sized saucepan, melt the butter over medium high heat. Add the minced garlic and saute about 3 minutes until tender, but not burned. Add the flour and stir well with a whisk, about 4 minutes.  Add the milk and remaining ingredients gradually, while whisking and bring to a boil over medium heat, then simmer about 10 minutes.  Be sure to stir every 2-3 minutes so the milk doesn't burn on the bottom of the pan.  
  • Remove the pan from the heat. Allow it to cool about 5 minutes then stir in the shredded cheese. Smooth perfect cheese sauce can't be done if you cook the cheese on the stove, it will get a grainy texture if the cheese gets too hot...and you want it to be creamy smooth right?
  • In a large 9inch by 13 inch deep casserole pan, lightly grease the pan. Pour the cooked, drained pasta into the pan and season well with salt and pepper.  Pour the cheese sauce over the noodles and stir to combine.  
  • Top with breadcrumbs or twisted variation of your choice (see twisted ideas above). Usually just a drizzle of savory sauce and a different crumble of bacon or cheese on top will kick it to the next level of awesome!  I have so many more flavor variations to make it is sometimes scary how my brain works!

To Bake Immediately:
Bake the casserole at 400 degrees until sauce is bubbling and the topping of choice is crisp, about 20-25 minutes. 

To save for later: Cover casserole with foil and place in the fridge. May be kept up to 5 days. Ready to heat and eat. Bake, covered with foil, 400 degrees 25-30 minutes. Remove foil and allow to bake 10 minutes more, until topping is crisp. 

To make into a freezer meal:  Cover with foil, label and date and transfer to the freezer. 
To prepare: Thaw the casserole in the fridge for 24 hours and follow the directions for the refrigerator version. OR bake from frozen, covered with foil 1 hour 20 minutes. I recommend thawing first. It just gives your sauce a really great texture.  

There you go darlings!

Come and see me at the Bistro. I'd love to give you a big hug!


Our Menu PDF


Follow our daily Twisted Mac updated on our page:
 Palm Street Culinary on Facebook


Always My Very Best,
Your Friend Chef Tess