Showing posts with label vacuum packing meals. Show all posts

Monday, June 10, 2013

Weight-loss Stuffed Cabbage Soup in a Jar ( The 52 method continues)

 Monday I usually share something new and gourmet for food storage convenience meal making! Today is no exception! Thanks to all of you The Gourmet Food Storage Handbook is already in its second printing! Waaawhoooo!!  My second book, The Meal in a Jar Handbook: Gourmet Food Storage Made Easy  went to the publisher last week. Pending some edits and the actual printing, it should be available by November...

That being said, the jar recipes will still continue here. We'll always be exploring new ideas and making delicious meals. Always. That's how we roll! 

The  90 day weight loss challenge continues!  How is everyone doing?  Summer is upon us here in the valley-of-the-sun and that's not something I normally associate with a warm soup.  However...Rachael Ray makes this really delicious stuffed cabbage soup that I could eat all year round.  I love it so much that I wanted to convert it to a shelf stable meal in a jar that I could have and make anytime and also make it a little more healthy and low fat.These will be shelf-stable up to 15 years!    I made 24 meals in 30 minutes (eat your heart out Rachael).  I also wanted it to be full of low-impact carbohydrates from vegetables instead of white rice. 

This is low-fat, grain-free, gluten-free, and simpleSummer is not usually the time I think of making soup. Cabbage soup however is another story.  I heat it up just a bit on the stove and I'm good to go!  I eat it a lot when I want to be healthy and lose weight. Make up a full jar, it will make 12 cups of soup. One 2 1/2 cup serving is packed with flavor and will really satisfy you. Not to mention, it is right at 202 calories! 

Weight Loss Stuffed Cabbage Soup in a Jar

1 cup freeze dried ground beef
1/4 cup Tomato powder
1 tsp dehydrated minced garlic
2T parsley flakes
 1 1/2 tsp Chef Tess Big Dill Seasoning
1/4 teaspoon allspice
1  teaspoon ground coriander
1 teaspoons smoked paprika
2 tsp beef bouillon (optional)
1 bay leaf

To prepare jars: 
If this is your first visit to my blog and the 52 method jar packing, you'll need to read:
Layer ingredients in a quart sized jar. When all jars are filled, top with an Oxygen absorber.  Screw the lids on tightly, being sure that no part of the oxygen absorber is overlapping the lid.  You can also use these jar packing methods:
To prepare Soup: Remove oxygen absorber and discard.  Pour jar contents into a gallon sized pot.  Add 10 cups water and simmer medium high 7-10 minutes until vegetables are hydrated and tender. Yields 12 cups soup. 

Nutritional information for 2 1/2 cups prepared soup:
202 calories, 1 g fat, 34 g carbohydrate, 5 g fiber, 13 g protein
Each quart sized jar will yield 5 servings prepared soup.

There you go my darlings! Easy and delicious soup that will help you lose weight and keep you feeling full! Win!!

Always My Very Best,
Your Friend Chef Tess


Monday, February 18, 2013

Cajun Red Beans, Sausage and Rice Meal in a Jar (The 52 method continues)


Welcome to another food storage Monday!


By and far the most requested meal in a jar to date has been a good recipe for Red Beans, Sausage and Rice. You know...the basic Cajun dish that is used as a staple all over the southern USA...a basic.  Gourmet we do...basic...we do every single day. It wasn't a surprise when I posted the Louisiana Gumbo Meal in a Jar  recipe that the requests for the RB&R started pouring into the e-mail. So, I've heard your cries. I've gone with a basic recipe description from one of my friends here on the blog. She described her recipe as follows:

"The basic recipe I use has a pound of sausage (I use all beef kielbasa since Andoui is hard to find here in the wilds of West Texas), the trinity of onions, celery and bell peppers, and cajun seasoning. I saute the veggies in the fat leftover from cooking the sausage - don't know how you'd get around that in a 52 method recipe. Then I add a can (or two depending on how many I'm feeding) of red beans and the cajun seasonings. I do the rice separately. I have a favorite brand of red beans that I use and wondered if I could just dehydrate those since I like their flavor. I use the "goop" and all since it's flavored too."

All right. Here's what I came up with. Sausage being the main issue as far as I'm concerned it will be as close as you can get without using sausage in casing, but using the same seasoning as andouille sausage  in the beans. This is also a lower fat recipe the the typical pork sausage traditionally used in this dish.  You may need more spicy-heat or to tweak it as desired to your family's likes, but so far so good!  We have kids, so we have to make it a little milder than I think a few of you may be used to doing. Make it your own and enjoy! I get my ingredients for this dish from two sources.

  • Special thanks to Chef Tess Thrive Life for the freeze-dried sausage, dehydrated celery, quick cook beans, rice and dehydrated celery. 
  • Special thanks goes out to my friends at Firehousepantrystore.com for the special powdered ingredients and dehydrated bell peppers and minced garlic.

Cajun Red Beans,Sausage, and Rice

Bean mixture:
½ tsp black pepper
1/2  tsp thyme
¼ tsp  dry rubbed sage
1 tsp No MSG Chicken bouillon (autolyzed yeast extract is used)


Rice baggie (if you want to cook the rice separate from the beans):
1 cup long grain rice
2 T  Powdered butter (optional)
1 tsp salt

Jar directions:
Combine the sausage, garlic, pepper, hot sauce powder, thyme, paprika, sage, smoke powder, onion, bell pepper, celery, beans and bouillon in a quart jar. Top with a oxygen absorbers (learn all about oxygen absorbers) or seal with a Food Saver Vacuum Packing Jar Attachment).

Product details:
Firehousepantrystore.com has been a really great company to work with on getting specialty powdered items I can't find anywhere else. If I list something here on the blog for meals in a jar and you can't find it anywhere else, you can usually find it from them. They ship really fast as well!
 Chef Tess Thrive Life  is my favorite for bulk items.  Their quick cook red beans cook in 20 minutes and have an outstanding 10-15 year shelf life.

I prefer using the real freeze-dried sausage  .
I like to use the dehydrated celery in this meal. The price is right and the longer simmer gives it enough time to hydrate correctly. 

The find of the week has been this awesome Hot Sauce Powder! I also love sprinkling it on popcorn and homemade potato chips...but I digress. 


To prepare: Combine bean ingredients with 3 1/2 cups water and simmer on low 20-25 minutes until cooked and tender. In a separate pan combine rice ingredients with 2 cups water and simmer low, covered pan 20-25 minutes. OR if you cook the whole thing together, omit the use of the bag for the rice. Cook all ingredients together with 5 1/2 cups water for 20-25 minutes over low heat, covered. 


There you go. Our family's favorite red beans and rice.  Adjust as needed for your family's favorite flavor.


Always My Very Best,
Your Friend Chef Tess


Monday, October 15, 2012

Food Saver Vacuum Packing Meals in a Jar Tutorial and New Louisiana Chicken Gumbo Recipe


I shared my favorite  Paula Deen Gumbo Recipe a little while ago here on the blog as I visited my son's 4th grade class and taught some Regional foods of America. That lead to me searching the world over for some freeze dried okra so I could convert the recipe into a shelf-stable meal! Yup. I found it! Now, mind you, you don't need to use the okra. I think that it is remarkable. I've heard both sides of the okra debate. Some can't live without it. Some think it is "of the Devil." I'm with the former in my gumbo. I think it adds just a really cool depth. The freeze dried version of this gumbo cooks in 5-7 minutes. I've added instant rice to the mix so it will be thick. You can adjust the heat according to your family's tastes but I like mine hotter than my kids so this is a mild recipe and I just keep some hot sauce around for me.  I've included the links to ingredients in the recipe so if you're not sure where I normally find some specialty items, click on the ingredient. Most of my powdered sauces come from Firehouse Pantry. They're really fast with shipping and excellent with customer service. 
 Chef Tess Louisiana-Style Chicken and Rice Gumbo with Okra
1 cup Freeze-dried Chicken (one can make 12 quart-sized meals)
1 cup instant rice
1 cup  freeze-dried Okra(optional)
1/3 cup  Freeze-dried sausage (optional)
2T  cornstarch
1/3 cup dehydrated onion
1/2 cup Freeze-dried bell peppers
1/4 cup tomato powder
2T powdered butter
2T Worcestershire Sauce Powder
2T dehydrated parsley flakes
1T  dehydrated minced garlic
1 tsp Buffalo Wing Sauce Powder
1 1/2 tsp chicken bullion powder (optional)
1/2 tsp Hickory Smoke Powder

To prepare meal: Add 4 1/2-5 cups boiling water to the meal mix. Simmer 5-7 minutes until rice and vegetables are tender. Yield 6 cups prepared gumbo. 

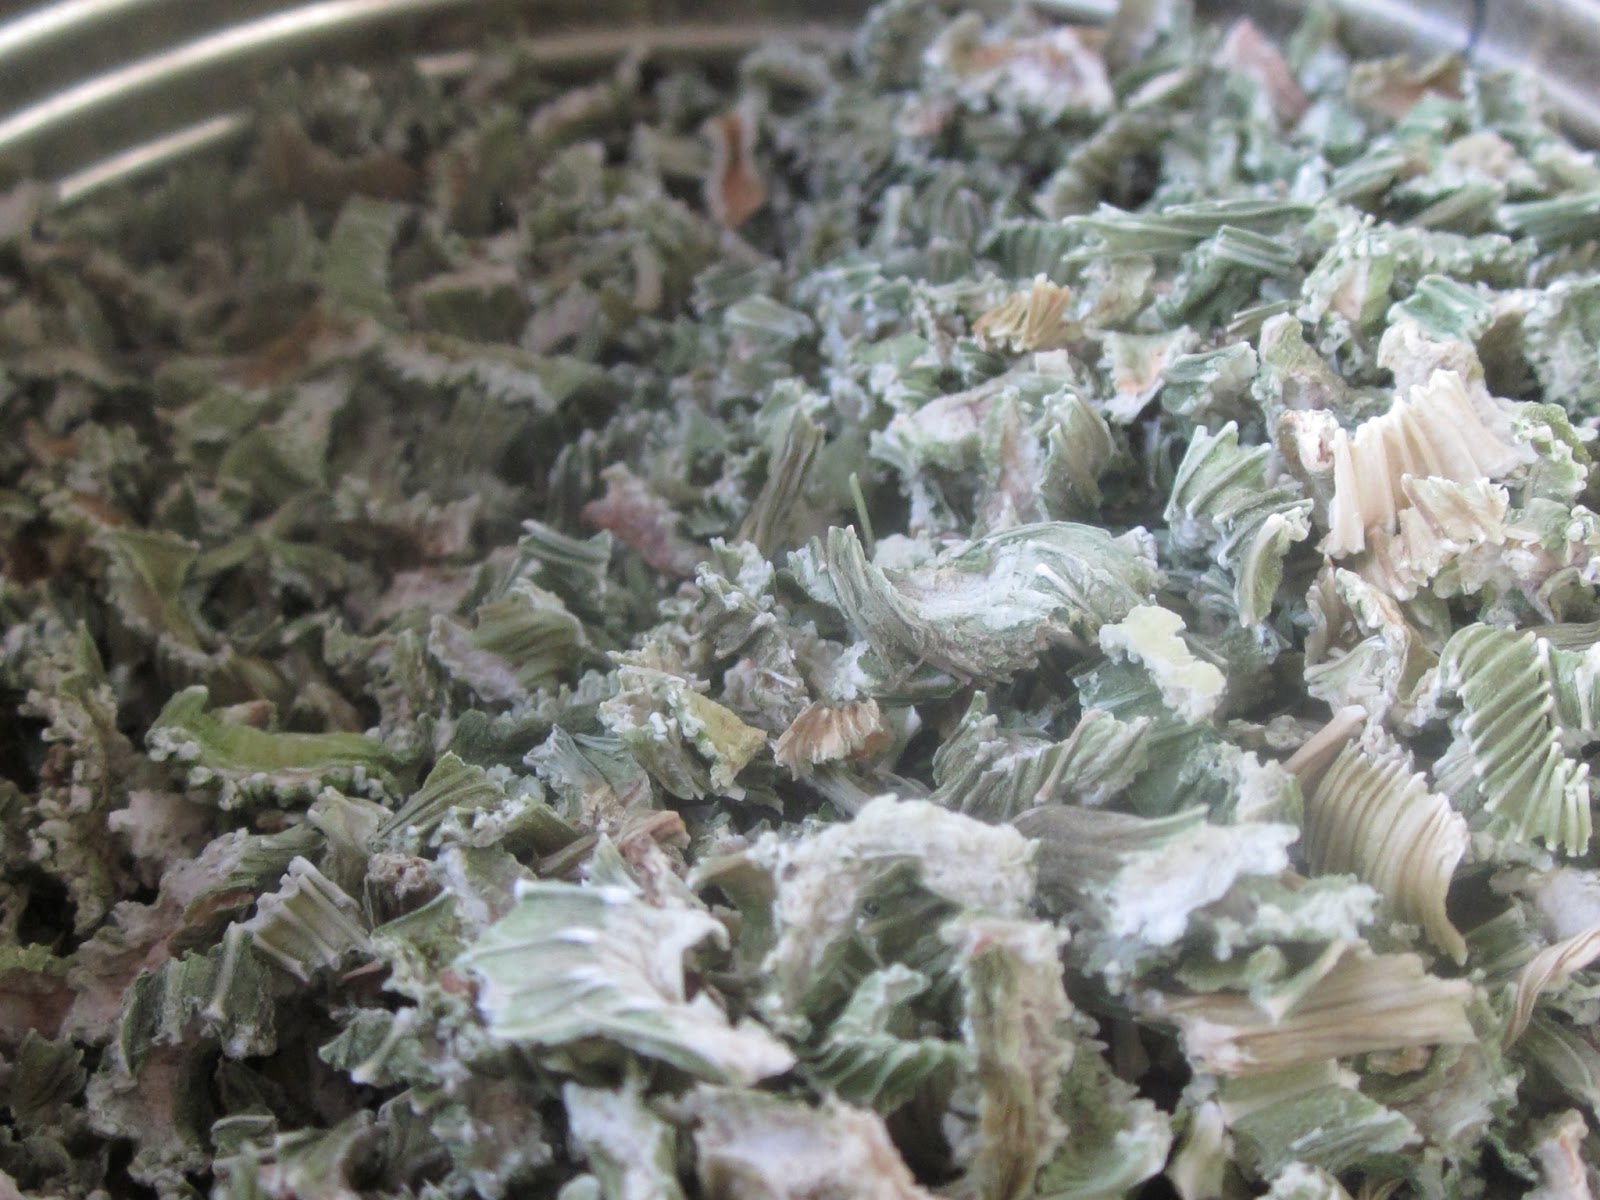
Yes...this is what the freeze-dried Okra looks like! Isn't that just crazy?! I had to stop myself from eating it just like popcorn! Love it. Love. 
 Special shout-out to North Bay Trading for this one! I ordered it and got it within 3 days so it was a really fast turn-around on the shipping. I got the 1 lb bag...and it was about 2 gallons full of okra. I always forget how lightweight freeze-dried food is!
 Vacuum Packing meals:
In the past, as today, I've been very frank about the food safety of these meals. Please be very careful to use an oxygen absorber for these jars OR a vacuum packing machine. With the use of the freeze dried meat they are not optional. They are for your safety.  Now... the Oxygen Absorber is a one time use. I've given tutorials for using those in many of my posts. Wikipedia says: "An oxygen absorber is a small packet of material used to prolong the shelf life of food. They are used in food packaging to prevent food color change, to stop oils in foods from becoming rancid, and also retard the growth of oxygen-using aerobic microorganisms such as fungi... Oxygen supports the growth of microorganisms and causes changes in color and rancid odors in packaged foods. Plastic packaging is less able to exclude oxygen from packaged foods than are the older glass and metal containers. Oxygen absorbers absorb oxygen and effectively reduce the aerobic environment to 0% oxygen. Therefore aerobic bacteria and fungi are unable to grow in this environment. This will extend the shelf life of a food product for years. The advantages of oxygen satchels versus vacuum packaging are that the food products are not crushed or squeezed, as some products are of high value and are fragile, and its simplicity of use."


Many people have asked about using a Food Saver Vacuum Sealer. In the past I've said that this is a good idea but not really gone into the simple basics on how to use this machine. You can thank The-Mega-Mom and the Pansy Man  (aka my mom and dad) who sent me this new FoodSaver® V3835 Vacuum Sealer Kit for Christmas last year. I don't know why it took me so long to post this tutorial. Forgive me. It is a really easy tool. 

 The FoodSaver comes with a retractable hose attachment that can be used with their jar attachments. 
 Do FoodSaver® Jar Sealer attachments work with all mason jars? Food Saver Vacuum Sealer  Jar Sealer is designed for Ball® and Kerr® brand wide-mouth and regular mason jars. Wide-mouth Jar Sealers can only be used with wide-mouth jars. Regular Jar Sealers are only for regular mason jars.
They have a Lid Sealer Accessory Kit that has attachments for both wide and regular mouth jars as well as stoppers for bottles. 
The rubber seal on the inside looks like this...
 The retractable hose fits in the top of the attachment.
 Put your mason jar lid on top of your jar (not the ring, just the metal lid),

and then fit the entire vacuum lid unit over the top of your jar lid.
Obviously this isn't a picture of the Gumbo...but this is how it works.

 Turn on the sealer using the "attachment" mode. It will vacuum all the air out of the jar and shut off automatically when all the air is out of the jar. Label the jars clearly with cooking instructions. I personally prefer to tighten the metal ring onto the jars after they are sealed. This just makes them more secure for transport. 
 If a meal has a lot of powder ingredients, you can still use the jar attachment. 
 I personally prefer to cut a coffee filter down to fit inside the jar or you can also use a cupcake liner. 

This Food Saver Vacuum Sealer is really simple to operate.  There are many different models. Just make sure that the one you use for meals in a jar is designed to use the hose attachments.  

There you go! Make some gumbo!

Always My Very Best,
Your Friend Chef Tess