Showing posts with label The Missionary Cookbook. Show all posts

Saturday, September 16, 2023

Easy Homemade Banana Bread Granola


Hello, my darlings! Welcome back to my homemade everything series. I swear I've made everything from Homemade cottage cheese to homemade veggie dogs. Those who have been on this journey with me for the past 15 years of blogging saw a ton of the homemade stuff when I started. Back then, I was a full-time stay-at-home mom with two small children. They are both fully grown adults, and I am happy that we often still make homemade Breakfast cereal.
 My two sons are now full-time missionaries (for missionary and college student cooking; see  posts). It has been one of my favorite experiences in my life having this happen! 

Back to breakfast cereal. It's a food group among college kids...well, any kids. My guys will eat a couple batches a month. I like mixing it with cornflakes or bran flakes for added staying power.

If you’ve been paying attention to baking trends, you might have noticed the advent in popularity of the spice blend known as Speculaas. Speculaas Spice Mix is often used in the Netherlands and Dutch cuisine during Autumn and Winter. Holiday baking and cold weather bring a full spectrum of delicious recipes calling for Speculaas spice blend. Though most often associated with the Netherlands, it is also a blend of spices used throughout Europe, though known by other names in different countries. In Germany and Austria it’s called Spekulatius, and in Belgium and France, it’s called Speculoos. It is similar to the American Pumpkin Pie Spice mix but is a lot more complex in flavor. Generally, all Speculaas include cinnamon, nutmeg, clove, aniseed, white pepper, and coriander. Next to that, people add ginger, cardamom, and sometimes mace. I have included the recipe for speculaas below, in case you'd like to try to make it from scratch. 


In its origin, Speculoos spiced baked goods in the shapes of animals were offered to the gods as a supplication for good harvests. As Christianity rose in popularity, the cookies and baked goods took on the shape of beloved patron saints like the bishop of Myra AKA Saint Nicholas. This tradition continues even in our age as Speculaas spiced goods are still served on Saint Nicholas Day. Traditionally, every baker had their own unique blend of Speculaas. At one point, there was even a custom of giving a male or female-shaped baked good to a suitor or lover as a token of your affection. We love it in our baked goods no matter what they are intended to represent, as long as they are delicious!

This whole-grain granola is just such a treat. Adding this complex spice gives it a unique and divine flavor, and will surely become one of your favorites.


Banana Bread Speculaas Granola

Ingredients

¼ cup Coconut Oil or olive oil
½ cup Coconut Sugar or Brown Sugar
1 Tbsp. Vanilla, pure extract
2 Medium ripe Bananas, mashed
4 cups  Rolled Oats
¾ cup Whole Almonds, raw, chopped
¼ cup Teff, Chia Seeds, or Flax seeds
1 Tbsp. Dutch Speculaas spice or Cinnamon
½ tsp salt

Directions:

    • Wash and sanitize all work surfaces and tools.
    • Preheat the oven to 325°F.
    • Line two baking sheets with parchment paper.
    • Combine coconut oil, sugar, vanilla, and mashed bananas in a large bowl. Add remaining ingredients and stir well.
    • Bake the granola by dividing it between the two baking sheets. Bake for 35 minutes, stirring halfway through baking. Remove from oven and cool completely. Yield 20 1/4 cup servings.

Estimated Nutritional Information: 144 cal, 7 g fat, 18 carbohydrate, 3 g fiber, 3 g protein.


Speculaas Spice blend

3 Tbsp. ground cinnamon
1 tsp. ground nutmeg
1 tsp. ground cloves
½ tsp. white pepper
½ tsp. ground ginger
½ tsp. ground cardamom
Directions: Combine all the spices well. Transfer to an airtight spice jar. Yield approx 1/4 cup.
There you go, darlings! Make some homemade granola!


Always My Very Best,
Chef Tess


Wednesday, June 29, 2022

The Missionary Cookbook Chapter 4: Pasta Profiles 4 amazing Pasta Salads from one basic recipe


It's time for a little update on the mission of my amazing son Elder Luke Petersen. For those who have been following his adventures with us. We've had a change in location happen recently that was unexpected but necessary for his health. We are excited to share that Luke was transferred to Salt Lake City, Utah to finish his missionary service staying with his grandparents (my parents). He is still away from home and still a full-time missionary. He is what is called a Service Missionary.

He is now working with the horticultural department and plants that will help make beautiful church Temple grounds, at our church headquarters, conference center, and visitor center. The grounds are extensive and full of gorgeous areas that need a huge amount of work. This is an amazing opportunity for someone who loves plants like Luke does! People come here from all over the world to feel the love of God and learn about Jesus Christ. It's Luke's way of spreading the seeds of the gospel. I ❤️ him for being willing to serve in this way. I am also so excited to see his love of God's creations in action.


He has also been working with my parents fulfilling humanitarian efforts at Welfare Square to feed the hungry worldwide. My parents have been full-time service missionaries at the Bishop's Storehouse at welfare Square for the last year. Welfare Square is a landmark location for The Church of Jesus Christ in its efforts to care for those in need. The square hosts various employment services, food production, and storage facilities, distribution centers, and training facilities. The services housed here are provided free of charge.

We believe in following the example of Jesus Christ to feed the hungry, clothe the naked, and lift up the downtrodden. In the 1930s, many people in the Salt Lake City area were struggling as a result of the Great Depression. In 1936, the Church formalized a welfare program to provide for basic needs and give opportunities for employment. Two years later, in 1938, Welfare Square was created.

Welfare Square resides on its own campus and includes a 178-foot grain silo, a milk and cheese processing plant, a cannery, a bakery, a market-style grocery, a clothing collection warehouse, and employment assistance offices. Services on the square are operated by volunteers and employees of the Church.


I love that God knows our hearts. He knows how much Elder Petersen has always loved working with plants and the peace that he feels when he is surrounded by God's creations. I know that the Lord's creations testify in their own way that God is real and so does my sweet son. I don't doubt that he is working with these plants because he is learning some lifelong lessons to lead people to Jesus Christ. 

It is a wonderful experience so far and one that he is growing from immensely. No pun intended. Okay. Maybe a little pun intended. 
Look how awesome he looks in his official uniform. My heart. Xoxo! I'm just a little bit bursting with momma pride. Only because I saw my own father wear this same uniform for forty-five years of my life. I know what kind of a dedicated Christ-like man my dad has always been, and it takes a giant to fill these threads. Luke's calling is for the next eighteen months. Time is going to fly! 
So, I know that even though my son is staying with his grandparents and serving a service mission now, he is still making meals and taking his own lunches to the temple grounds in Salt Lake City. 

So here's the premise. One salad to rule them all. 


The original post for this was called the profile of a Killer Salad on this blog and something I taught my kiddos early on was how to step into the kitchen and know what flavors worked together. So this is something I wanted to share today with this chapter of The Missionary Cookbook for those who are looking for beginner simple recipes to make life easier for those first starting lives away from home. 

Herb Alchemy 101 Cooking Without a Recipe

How many just read the words "herbs and spices without a recipe" and panic set in? I can hear you saying, "I don't cook like that! I need a recipe.” If that is you, then this post is for you. I want you to try to let go of your cooking inhibitions and think with your heart. If my 5-year-olds could do this, you most definitely can do it now! I believe in you!

So to begin with a basic explanation, herbs are the aromatic leaves, flowers, and stems of plants and spices are seeds and the bark of aromatic edible plants. Fresh or dry herbs and spices will work in cooking applications, but make sure you smell them inside the jar. If it smells like a spice or herb, then the stuff inside is still full of flavor. Most spices will need to be in an in-ground or grated form for cooking or baking. If you don't have a spice mill (not many people do), then just buy them pre-ground. 

Below is the basic outline of some flavors that work together well. Follow the steps and you will find success.   

Step 1: Begin with the pasta salad base.

Chef Tess’ Pasta Salad 101

Basic Pasta Salad

Ingredients:
1 lb. pasta of your choice, cooked al dente according to package directions and seasoned well with salt and pepper
1 cup chopped bell pepper
1 cup carrots, shredded or chopped
1 stalk celery, sliced thin
½ medium red onion, sliced thin or chopped fine

Mix together all ingredients in a large bowl. 


Step 2: Make one batch of basic vinaigrette.

Basic Vinaigrette for Pennies a Jar! 

Ingredients:
¾ cup olive or vegetable oil (flavored oils are great)
¼ cup red wine vinegar or cider vinegar
1 tsp. fresh pressed garlic
Herbs and spices (see below for variations)
Salt and pepper

Directions: 
  • Whisk oil and vinegar with other ingredients in a bowl. 
  • Start with a half teaspoon at a time of the herb or spice you want to add and then sample. 
  • Adjust flavors according to your taste. 
  • For one batch of salad, you will need one batch of salad dressing. 

Step 3: Add flavor profile to dressing & mix salad. 

Dressing Variations 

These herb and spice suggestions are to be used in the basic vinaigrette recipe to customize the recipe to fit your need. Add the flavor combinations directly to the basic pasta salad recipe. Come up with your own and try mixing and matching fresh veggies as they are in season. You can even add seasonal fruit you like. For hearty dinners, add some roasted chicken, beef, fish, or tofu. Try marinating your meat in the vinaigrette to save a lot of money instead of buying those fancy bottles of pre-made stuff. You can do this! It can be very liberating, but for you folks who just want a grab-and-go dressing fix, just use the pre-made spice blends.


These are lists of flavors that work together for the cuisine you want to create they are not a complete list. They are intended to get you started

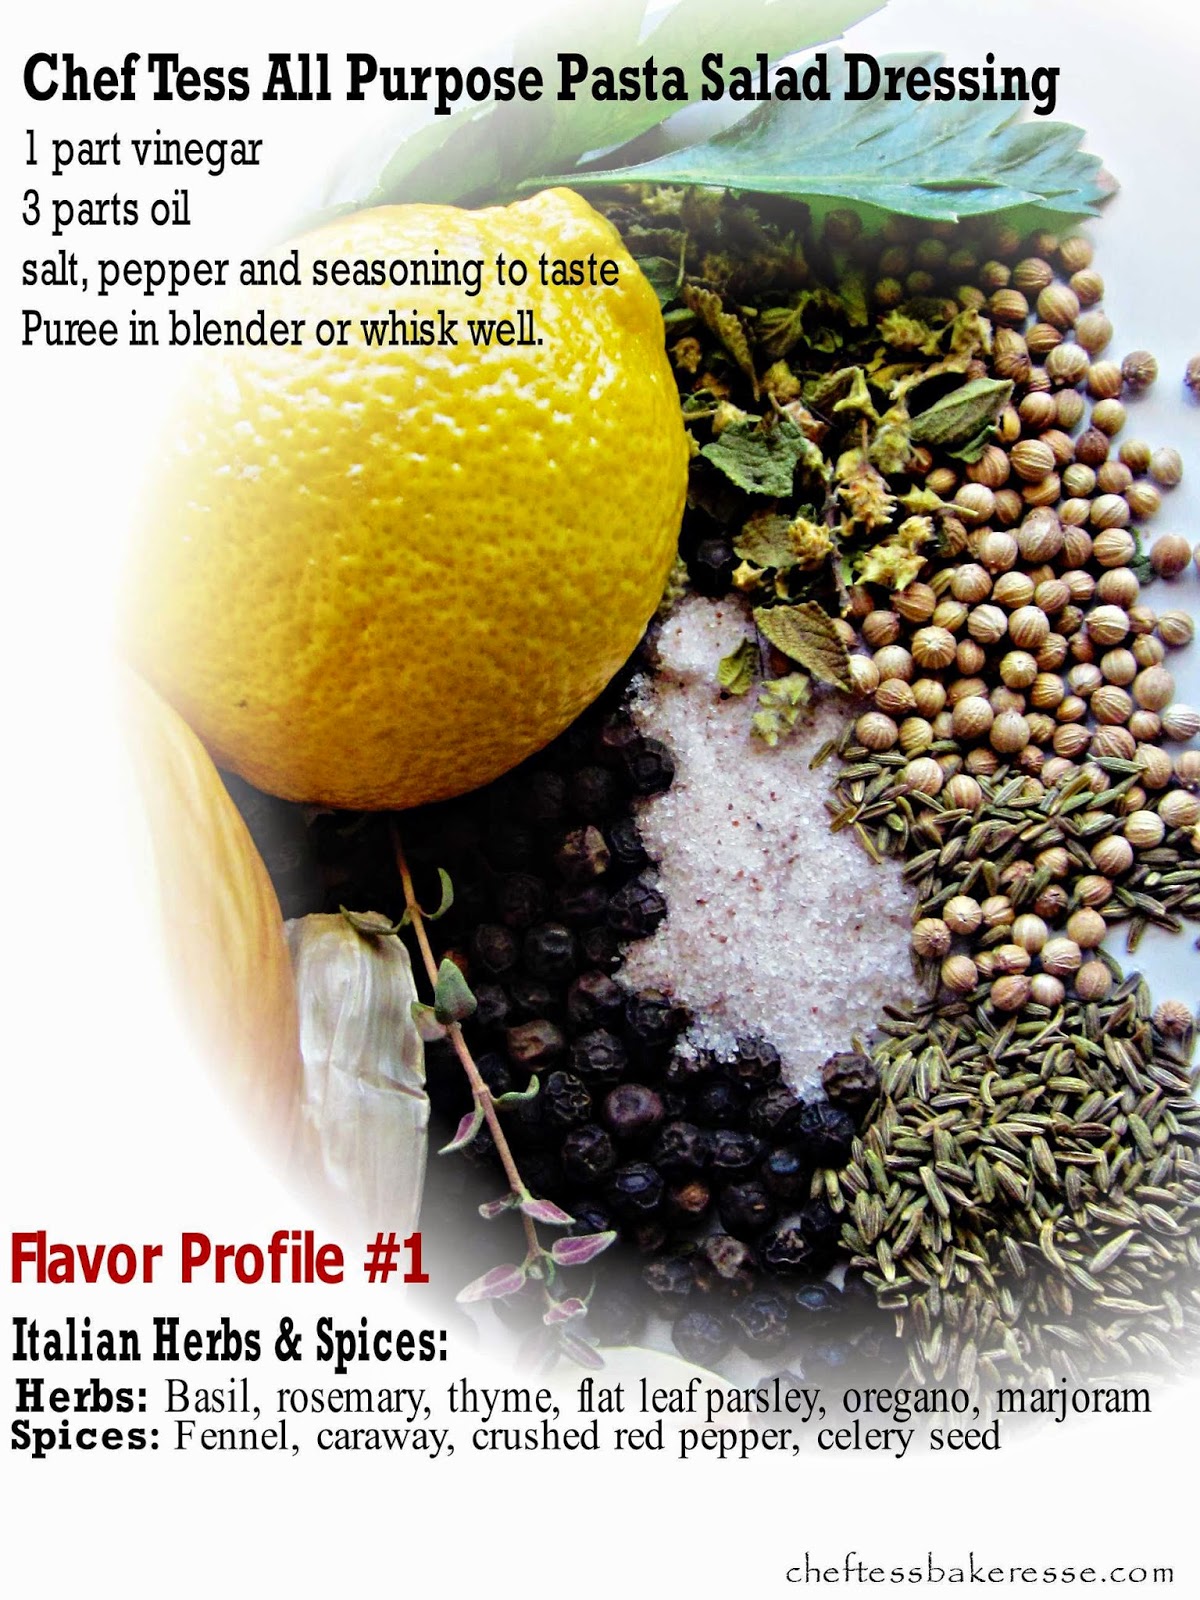
Italian
Herbs: Basil, rosemary, thyme, flat-leaf parsley, marjoram
Spices: Fennel, caraway, crushed red pepper, celery seed
Flavoring: Hard cheeses like parmesan, asiago, olives, roasted peppers, citrus zest, capers


Greek
Herbs: Dill, oregano, rosemary, mint, parsley,
Spices: Fennel, anise, black pepper, dill seed
Flavoring: Feta cheese, olives, pickled peppers

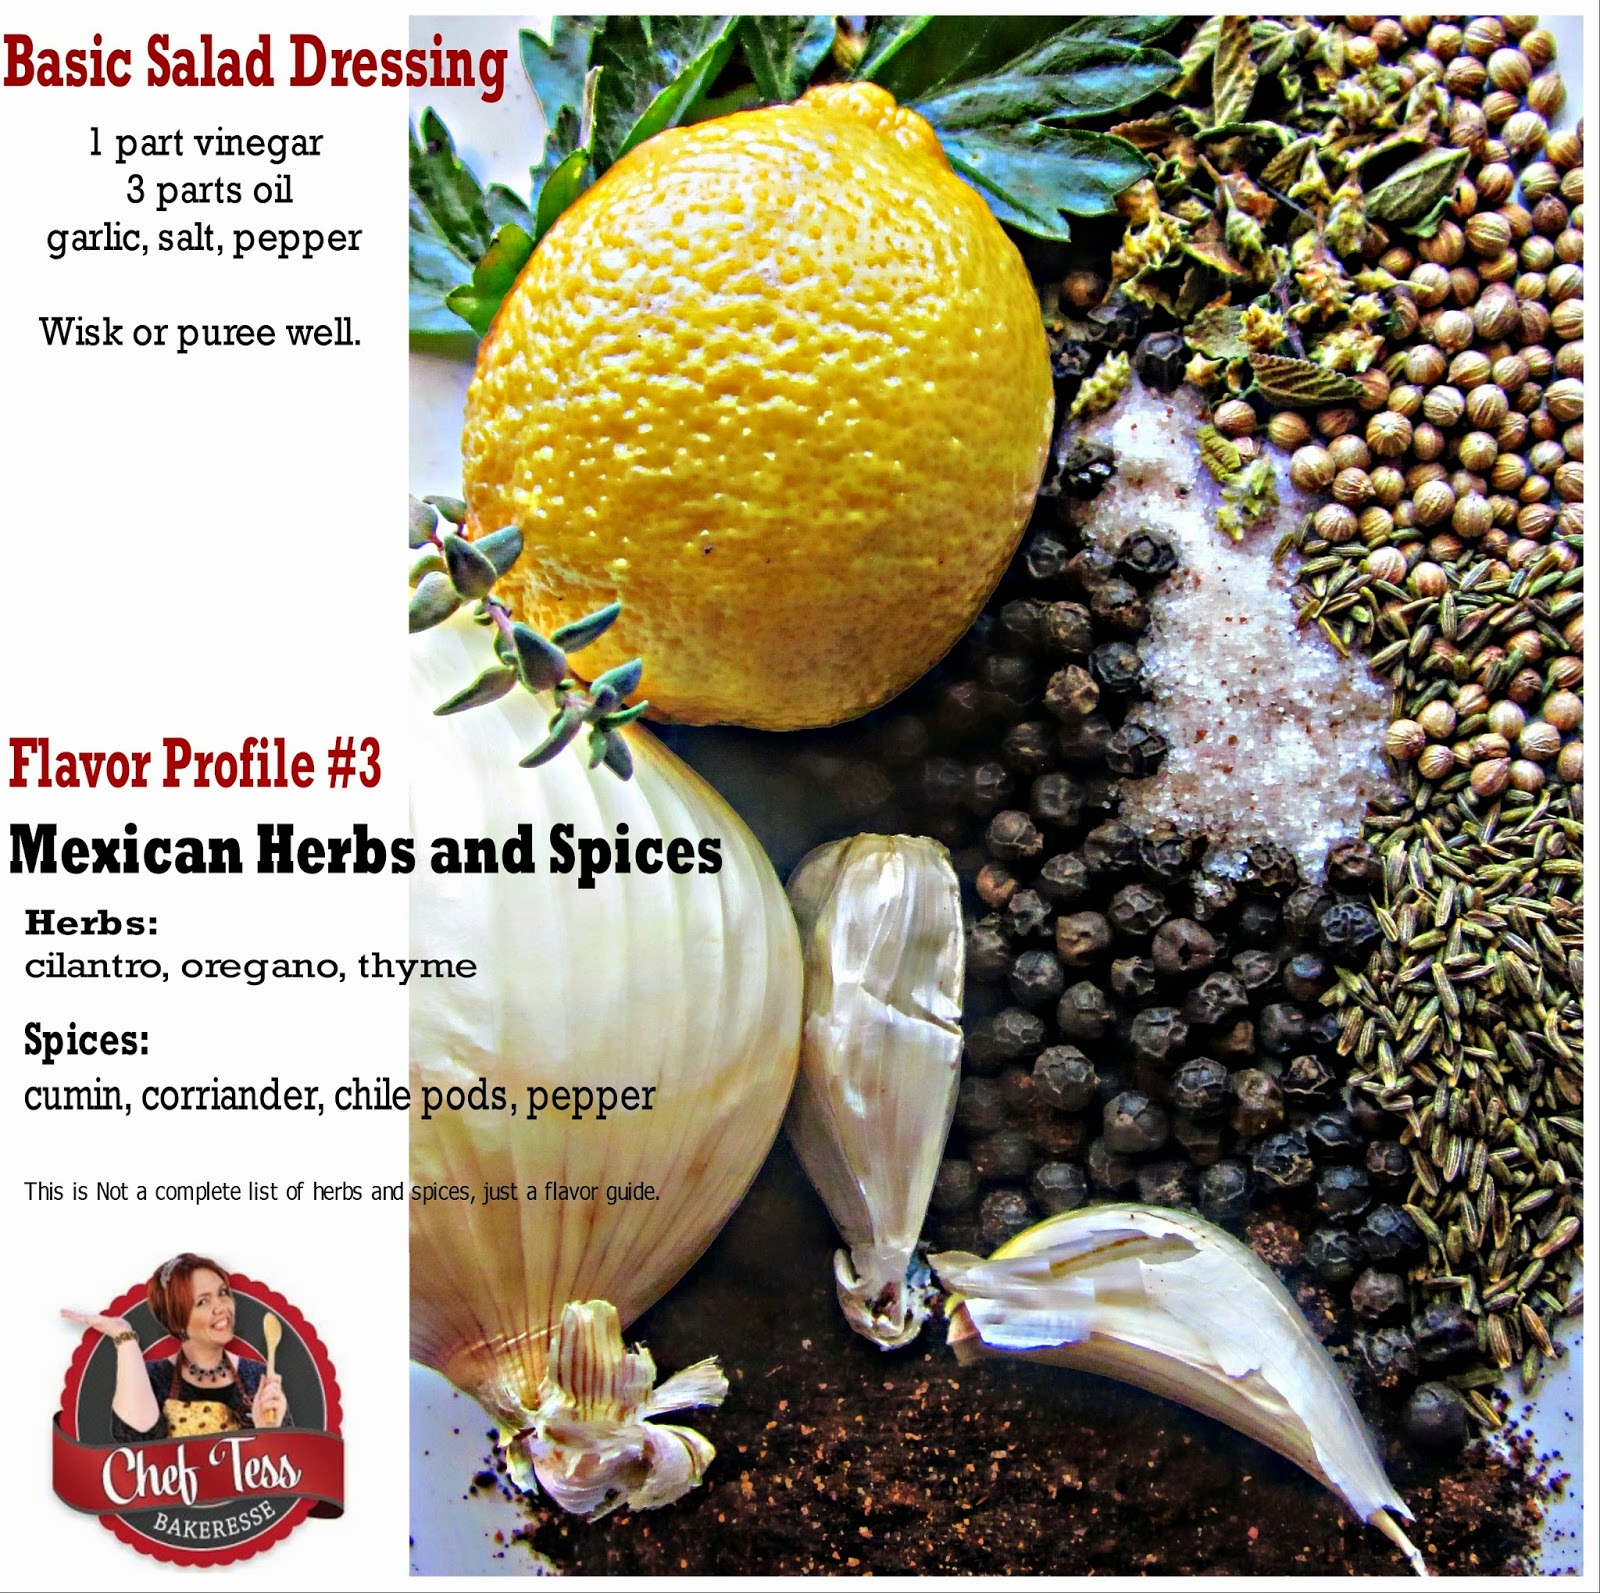
Mexican
Herbs: Cilantro, oregano, thyme
Spice: Cumin, coriander, chile pods, black pepper, allspice
Flavoring: Lime zest, roasted corn, green onions, radish, black olives


Asian
Herbs: Cilantro, mint, lemon grass, sesame oil (use 2 tsp. in place of some of the oil)
Spices: Cumin, chile paste, curry paste, fennel, ginger
Flavoring: Lime zest, soy sauce, hoisin sauce, citrus zest, peanuts or cashews

©Chef Stephanie Petersen. 2011. All rights reserved. Copies are NOT permitted without written consent from the author even for personal or church use! Chef Stephanie Petersen can be contacted at Stephanie@cheftessbakeresse.com and is Chef Tess on Facebook and Twitter. www.cheftessbakeresse.com 


There you go darlings. Begin learning some flavor profiles. I'll be posting more in the future! I promise.

Always My Very Best,
Your Friend Chef Tess


Monday, March 28, 2022

The Missionary Cookbook Chapter 3: 9 Easy Egg Recipes for Beginners


For those who have been following the joyful journey of this family, you know that my youngest son Luke (pictured above on the far right) is now a missionary and away from home. I know I'm not the first mom who's had a child leave home and want to be sure they eat healthy easy meals. 

Missionaries for our church are not paid to serve, for those who don't know. They actually go on a volunteer basis and pay their own way. Their food allowance is meager. So, I decided to send my son a monthly recipe book with several new easy meals and recipes to try out.

Not every missionary has a chef for a mom. Luke told me he has several with him who have no idea where to begin. So here's where to begin. This stuff. The basics. I hope this helps you and your loved ones as much as I hope it helps him. This is the 3rd chapter, so please feel free to go back and check out the earlier ones. We'll sometimes have a theme. Sometimes not. This just worked out with Easter.        

April means Eggs! Easter there are always eggs on sale and these are a good source of protein. They're easy to cook and usually something that can be made pretty quickly. So this month we've got 10 recipes for easy eggs that these guys and gals can do. 
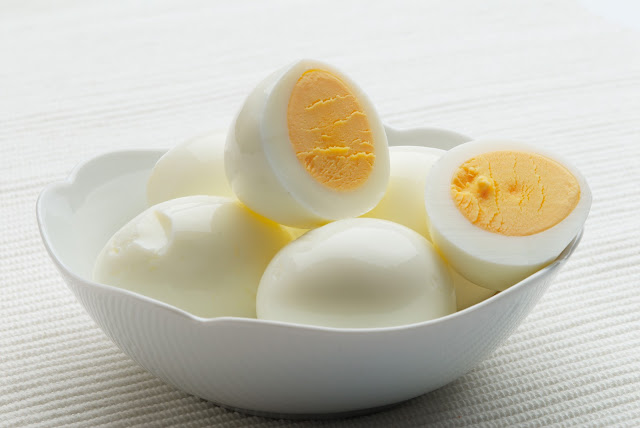
Perfect Hard-Boiled Eggs

Ingredients

6 to 12 large eggs, straight from the fridge

Directions:

 Add the eggs to a saucepan and cover with water:

Fill a saucepan about a quarter of the way with cold water. Place the eggs in a single layer at the bottom of the saucepan. Add more water so that the eggs are covered by at least an inch or two of water.

The more eggs that are crowding the pan the more water you should have over the eggs. 6 eggs should be covered by at least an inch, 7 to 12 eggs, 2 inches.

Bring to a rolling boil: Leave the pan uncovered. Turn the heat to high and bring the water to a rolling boil.

Turn off the heat, cover, and let sit: Depending on how cooked you like your hard-boiled eggs, the eggs should be done perfectly after sitting for 10-12 minutes. That said, depending on your altitude, the shape of the pan, the size of the eggs, and the ratio of water to eggs, it can take a few minutes more. Or if you like your eggs not fully hard-cooked, it can take a few minutes less. When you find a time that works for you, given your preferences, the types of eggs you buy, your pots, stove, and cooking environment, stick with it. I also find that it is very hard to overcook eggs using this method. I can let the eggs sit, covered, for up to 15-18 minutes without the eggs getting overcooked.

SIMPLE TIP!

Adding a teaspoon of vinegar to the water may help keep egg whites from running out if an egg does crack while cooking. Also, some people find adding 1/2 teaspoon of salt to the water helps prevent cracking as well as makes the eggs easier to peel. If desired, add either or both of these ingredients as the water begins to boil.

If you live at a high altitude, let the eggs sit in the hot water longer or lower the heat and maintain a low simmer for 10 to 12 minutes.

Mom’s Baked Southwestern Chorizo Scotch Eggs

4 large eggs, hard-cooked and peeled

4 oz. good quality turkey sausage

4 oz. chorizo or soy-Rizo meat replacement

Home-made dry breadcrumbs or a good quality crumb such as Panko

Vegetable oil for brushing onto eggs.

Directions:

Heat oven to 350°F.

Place the sausage meats in a large bowl and mix thoroughly.

Divide the sausage meat into 4 equal portions.

 Form each meat portion into a flat cake large enough to fit around the egg. 

Work the sausage meat around the egg as evenly as possible whilst working hard to keep the egg shape and making sure there are no cracks. 

Place the meat-coated eggs in the fridge for 15-20 minutes.

 Roll the sausage-coated eggs into the crumbs and press lightly to ensure a good coating.

Mist generously with a spritz of vegetable oil, or coat lightly with oil using a pastry brush. Place on a cookie tray and pop into the preheated oven for 15 minutes or until golden brown all over.


Buffalo Chicken Eggs-n-Bacon Salad

4 hard-cooked eggs, peeled and coarsely chopped

1 cup diced cooked chicken

¼ cup cooked diced bacon crumbles

½ cup low-fat mayonnaise

2 Tbsp celery, chopped

¼ cup blue cheese crumbles, optional

hot wing sauce (to taste)


Directions:

·        In a medium bowl, combine all salad ingredients.

·       Serve on fresh buns or salad greens drizzled with more wing sauce.

Cupcake Quiche Cups

8-10 oz cooked turkey or ham, well-seasoned

8 slices of bacon, sliced into 3 pieces (total of 24 small pieces)

6 eggs, beat well

1/4 bell pepper, chopped fine (optional)

1 cup chopped fresh spinach (optional)

12 1-inch squares of Havarti or Swiss Cheese

Directions:

·       Spray the inside of 12 muffins well with a non-stick coating (or line with a cupcake liner). 

·       Put pieces of bacon, spinach, and a few chunks of turkey or ham in each muffin cup.  Fill cup 2 Tbsp. scrambled egg. Put a nice little cheese on top of each cup. Bake 425°F for 13-15 minutes. Serve warm. Any leftovers need to go in the fridge. 

Variations of Flavors: Change the seasoning using your favorite variety of fajita seasoning for a Southwest quiche, French herbs de Provence for a more classic flavor, cooked potato or cooked rice can replace the bell pepper if desired. Play with these! 

Easy Ham and Egg Casserole

6 eggs, beaten

½ cup milk

1 cup ham or turkey ham, chopped

1 cup cheese, shredded

1 cup chopped tomato or cooked potato

¼ tsp. salt

¼ tsp.  ground pepper

2 Tbsp.  butter, melted

1/2 cup Bisquick or pancake mix

Directions:

·       Mix everything together and put in a well-greased 9x13 cake pan.

·       Bake at 350° degrees for 40 minutes or until the knife inserted in the center comes out clean.

·       Let sit for 5 minutes before cutting.

2-Ingredient Fried Rice Patties (AKA Rice Patties)

These rice patties taste a lot like fried rice but hold their shape and are a great way to use up leftover rice. The rice must be cold and best if it is the next day. We love them made with rice-a-roni too. Yes, very fancy-schmancy. Yes, you can use brown rice or pretty much any cooked grain. Barley is amazing. My mom uses cold cooked cracked wheat. Yea, those are good too.

You will need:
2 cups cooked cooled rice (leftover in the fridge)
2-3 large egg

Directions:

Mix the rice and egg.

In a large skillet with a heavy bottom, cook over medium heat. Make sure you use a non-stick pan or one you have oiled well.

Scoop them into little patties, about ½ cup of rice at a time. 

Cook 3-4 minutes on one side and then carefully slide a spatula under the patties and turn over gently. Cook 3-4 more minutes. We also like them with a slice of cheese.

 Top with butter while hot and season well with salt and pepper. They are delicious with soy sauce, sweet and sour sauce, or anything Asian. Hello daddy. There you go. Simple, comforting, and easy. What a wonderful world.

Mom's Gourmet French Toast

4 thick slices of day-old brioche or Texas Toast

2 eggs

1/3 cup whole milk, (80 ml)

1 tsp vanilla extract, (5 ml)

A pinch of nutmeg or cinnamon

2 tbsp unsalted butter, (28 grams) for the pan

powdered sugar, to garnish

maple syrup, to drizzle on top

Directions:

·       To a medium, shallow bowl, add the eggs, milk, vanilla and spice, and granulated sugar. Whisk to combine and break up the eggs completely. 

·       In a medium pan over medium heat, melt 1/2 a tablespoon of butter, moving the pan from side to side to evenly distribute the melted butter.

·       Use a fork to dip a slice of brioche or bread into the liquid batter, dipping both sides of the brioche. Place the brioche into the prepared pan, cooking each side for approximately 1 minute, or until it's golden brown and crisp. Repeat this step for the remaining brioche slices, melting a 1/2 tablespoon of butter in the pan before frying each piece of bread.

·       Drizzle maple syrup all over, then dust with powdered sugar.

Easy Scrambled Cheese Eggs

Ingredients

4 eggs

½ cup cheddar cheese, grated (or Monterey Jack)

1 tsp butter

Salt and pepper to taste

Directions:

 Put a frying pan on medium-low heat and put in the butter or oil.  

Break the eggs into a bowl and beat quickly with a fork.

Grate the cheese and have it ready.

 Tip the beaten eggs into the frying pan. Layer the cheese on top. The eggs will start to solidify almost straight away – as soon as they do use a spatula and ‘pull’ the eggs in from the side to the middle. Repeat the pulling in several times.

  It doesn’t take long, the idea behind this is you’ll have soft, lightly cooked fresh eggs. It’s hard to undercook an egg really, but very easy to overcook. 2 – 3 minutes of cooking time is all you’ll need. When the egg has no ‘watery’ bits left, you’re done! Add some salt and pepper to taste. Done! Quickly remove from heat and transfer to plate – preferably on top of some lovely, hot, buttered toast.
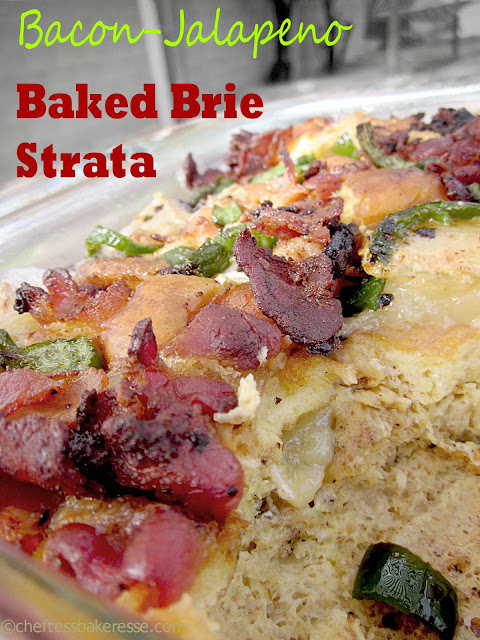

 Cheese Strata

This is a totally delicious, simple, make-ahead heaven of a dish that anyone could do in minutes and could not mess up!   It's bread cubes combined with an egg and milk batter topped with cheese or having the cheese folded into the bread mixture. It's then good for keeping in the fridge and baking at dinner time or baking ahead and reheating individual servings in the microwave or oven.  Usually, we omit the bacon and Jalapeno if we’re trying to save money since the bacon is just getting expensive, but that’s totally up to you!

 Ingredients

 5-6 cups of bread cubes
6 oz brie, sliced (or any cheese of your choice)
 3 eggs
 2 cups milk or cream
 1/4 lb. bacon, diced (optional)
3 jalapeno peppers, seeded and diced (optional)
Salt and fresh cracked pepper to taste
butter for coating the baking dish

Directions:

  •  Butter the inside of an 8X8X4 inch baking dish and fill with bread cubes topping with brie slices. Crack fresh black pepper over the mixture and fold them together. 
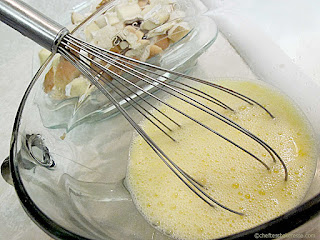
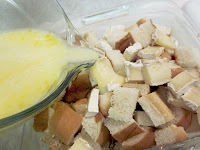
  •  Combine the milk and eggs. Add salt and pepper to them. Whisk well. Pour the egg mixture over the bread and brie mixture. Allow to sit awhile. Now for the bacon and jalapeno. Heat a large skillet over medium-high heat 3-4 minutes. Add the bacon. Cook until almost crispy then add the jalapenos.  Cook 2-3 minutes more.
  • Distribute the bacon mixture over the bread-brie mixture, leaving most of the bacon on top...meaning seriously don't mix them up. Do you know why? Because when you bake it, the bacon will stay crispy.
  • At this point, you can either put the unbaked strata in the fridge and chill for up to 1 week or bake for dinner/breakfast right now.  We usually opt for baking it right away. 350 degrees 20-25 minutes until bubbly and delicious. 
  • You'll have this thick rich layer of cheese strata topped with a crispy bacon jalapeno layer that will seriously rock the universe. Most of the time we drizzle it with maple syrup or a simple apricot jam for a savory-sweet yin-yang magical experience. 
 

There you go! Happy Egg cooking!

Always My Very Best,

Your Friend Chef Tess