Monday, May 31, 2010

Zucchini Pancakes made with whole grains of wheat and a blender...

Tutorial Tuesday! It is my job to make things taste so amazing that the kids don't mind they are "healthy". Let's face it...how many whole wheat pancakes give you the chills in a good way? I've seen far too many that are more like hockey pucks than pancakes. So I wanted to share these. They have a full serving of vegetables and a full serving of whole grain, and yet somehow they still look like love...


I start with the whole grains of wheat soaked overnight originally here: blender pancakes , but I transferred the instructions to this post also.
Soaked wheat goes from this...
to these!

With your blender

...and some goodies.


The batter cooks up just amazing!


So another crazy thing I do...among other things, is make pancakes from the whole grains of wheat, without flour. You read that right too. We started soaking wheat for bread, but it takes 3-4 days before the bread is ready. Pancakes however are just around the corner. This one uses soft wheat, so that you get fluffy pancakes. It's worth trying at least once, but I think you will be pleased with how easily they come together.

Chef Tess
Blender Whole Wheat Pancakes
:

You will need:

1 cup soft wheat (red or white)

1 cup milk or soy milk

2 eggs, or 1/2 cup egg replacements

2 T cold pressed oil--or the oil of your choice

1T honey (or 2 T sugar)

2 tsp baking powder

1 tsp vanilla

1/2 tsp salt

dash of cinnamon, nutmeg, and orange zest

1. Soak 1 cup soft red or white wheat in 3-4 cups warm water overnight, about 8 hours.

Soft wheat has a lower protein content and will make light pancakes,while hard red works, but it is a little tricky to get a fluffy end result. I love these with soft white wheat if you can find it.

2. Drain wheat well. Don't soak longer than 18 hours, or it will be funky!

3. Put drained wheat and 1 cup organic vanilla soy milk (or regular milk works too!)

4. Blend 3 minutes on Liquefy setting Leave blender on, just open the little top thing (sorry this is so technical).

5. Add 2 eggs,2 T oil ,2tsp baking powder.1/2 tsp salt, 1T honey, 1/2 tsp vanilla, dash of cinnamon, nutmeg and fresh orange zest (micro plane)Continue to blend about 2 minutes. Total 5 minutes blending. If you don't blend long enough, the wheat will be chunky instead of a smooth batter.Pour right from blender onto a hot griddle. Yields about 12 4 inch pancakes.

For Zucchini pancakes add 1/2 cup shredded zucchini to the batter along with 1T fresh high grade ground cinnamon.
Do you know that the best way to tell when to turn over a pancake is when the bubbles look like this? They pop and stay open when cooked?


When done we also top with some other crazy stuff. For instance:
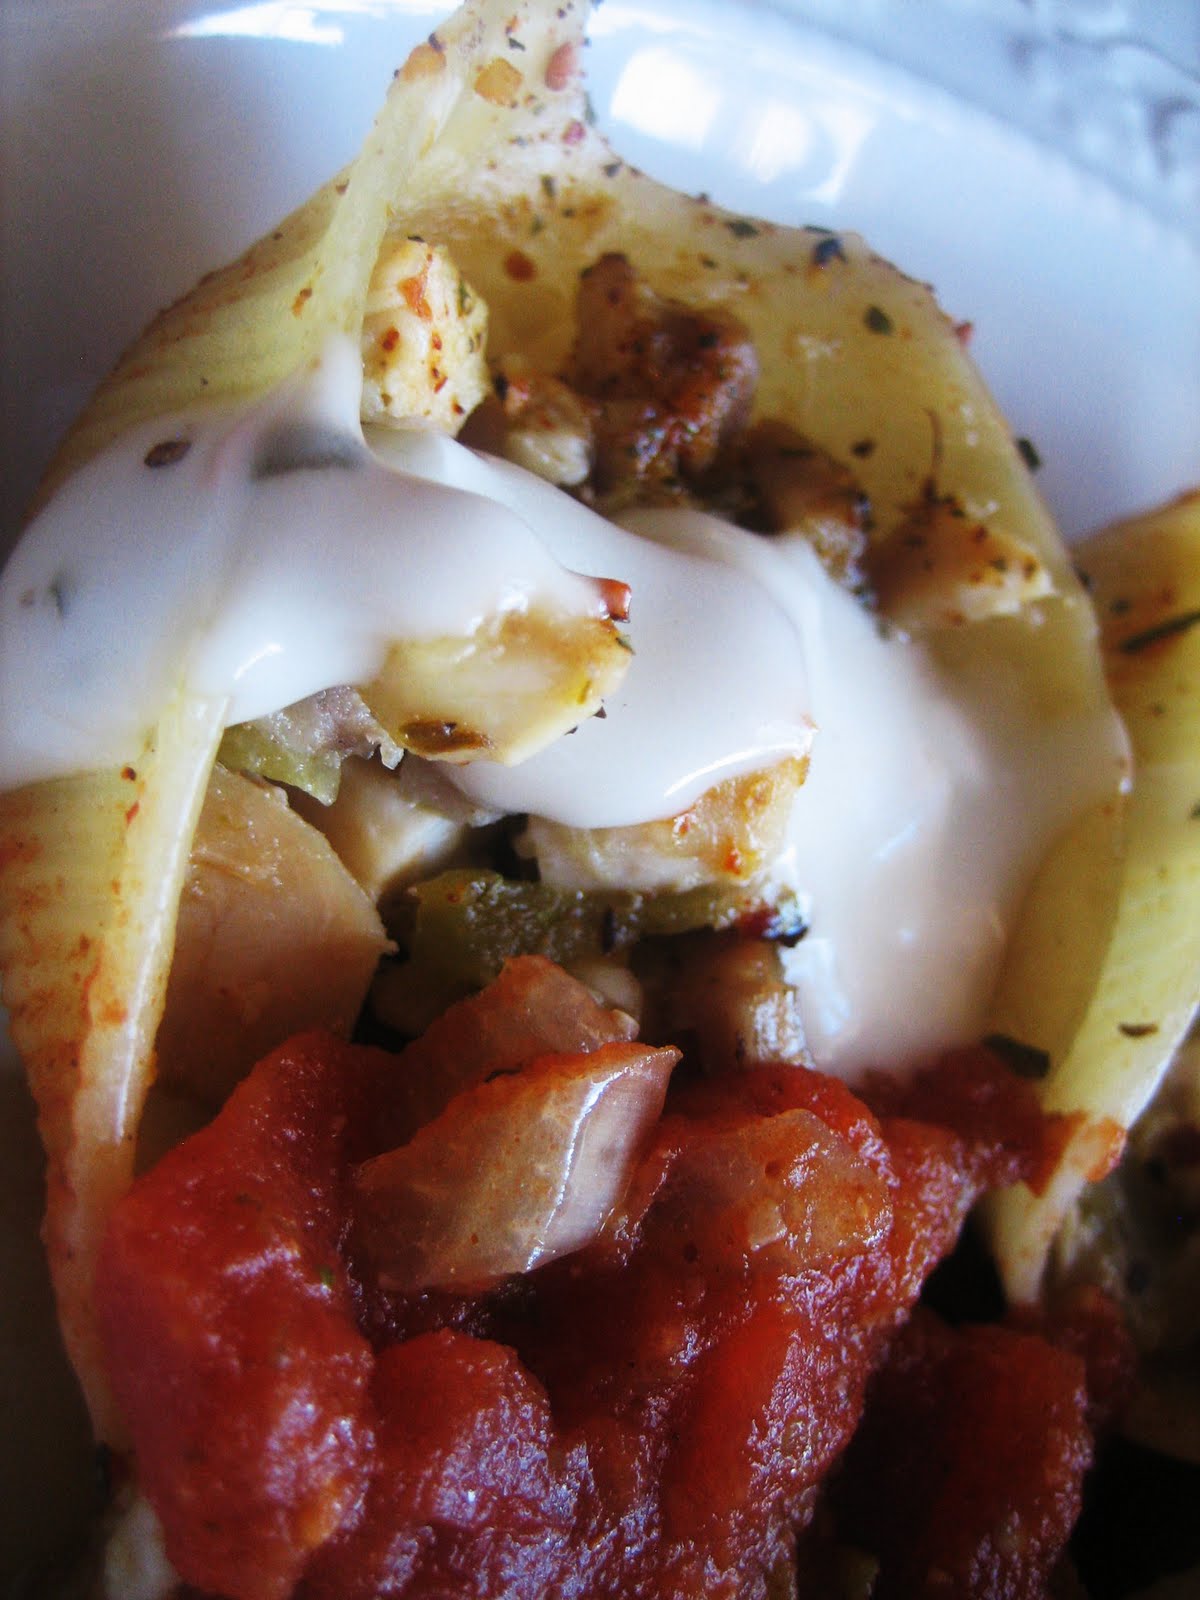
2T sugar free strawberry jam, heated 1 minute in the microwave with some sugar free chocolate shredded on top will look like this...


A few tablespoons of sugar free blueberry pie filling...


Or we also like a little honey. Oh dear...that may be a lot of honey.
Happy breakfast. There you go.

Gingerbread Mix

Mix Monday I wanted to share a favorite cookie and cake mix. It's a mix that will make gingerbread cookies or gingerbread cake, depending on what you add to the prepared mix.
I didn't have it perfected at Christmas time, and frankly it's something we enjoy year round. I'm not a spice snob.


It's been one of my long time favorites and though it is May and perhaps not a time people normally think of gingerbread, it is perfect timing for me on Memorial day, as it is the one cake I associate with my father's parents, and my loving grandfather Elmo, who was a veteran of WW2. He was of Swedish decent, but born in America and drafted into the war, leaving behind his wife and their young daughter Eileen. This one's for you grandpa. Rest in peace after living a noble life of love and service.


Chef Tess Gingerbread Mix
yield 2 mixes, 12 oz each

1 1/2 cups sugar (or granulated fructose) 8.7 oz
1/4 cup molasses, dark 2.1 oz
1/4 tsp orange brandy flavored LorAnne oil
2 1/4 cup cake flour (whole wheat cake flour works) 16 oz
1/4 cup buttermilk powder, 1.25 oz
1 tsp cinnamon (high quality Saigon cinnamon)
1 tsp ginger
1/2 tsp clove
1/4 tsp dehydrated lemon zest
1 tsp baking soda
1 tsp baking powder
1/2 tsp salt

Directions: Combine the molasses, sugar, and flavor oil until smooth.
Add all the remaining ingredients and stir well. There will be lumps.
I usually run the mix through a flour sifter. If you don't want to mess with all of the lump, simply omit the molasses, and add it when you make the cake or cookies.

Directions for 12 oz of mix (this recipe yields 24 oz mix, or two mixes)
For cake: preheat oven to 375 degrees. Grease an 8X8 inch cake pan. Combine the mix with 2 eggs, 1 1/2 cup water and 1/2 cup oil. Stir just until combined. Pour into cake pan. Bake 25-30 minutes.
For drop cookies: Preheat oven to 375 degrees. Combine mix with 1/4 cup water and 3T melted butter. Scoop by rounded teaspoon on to parchment lined baking sheet, two inches apart. Sprinkle with sugar in the raw if desired. Bake 8-10 minutes.
For Roll out cookies: Combine mix with 1/4 cup water and 3T melted butter. Chill dough in the fridge 1 hour. Roll out on floured counter tops to 1/8th inch thickness. Cut into cookies with desired cookie cutter (I preferAnn Clark ). Transfer to parchment lined baking sheet. Bake in a preheated oven at 375 degrees 8-10 minutes. Frost when cooled. I love the soft cookies with Maple peach glaze or made into whoopie pies using the white chocolate cream cheese frosting I use for the pumpkin whoopie pies.
The cake is also divine.
There you go.
Happy Memorial Day!

Sunday, May 30, 2010

Happy with a Box of Rocks

It's Sunday, my day to share a piece of my soul. Enjoy. A wonderful gal named Carol in rural Kansas sent my sons a box of rocks this week, along with a picture of her family farm that was sketched by her daughter Heather (I believe).
Over the course of my blog, Carol had been keeping up with me and she had noticed my boys particular love for gardening with their mom, and collecting rocks. One random day, she was bending over in her own garden and noticed some of the wonderful rocks that her own mother had gathered throughout her travels and then used to embellish their country garden. I'm so touched that she thought our home a worthy place to send these treasures. After careful examination, my boys joyfully washed each stone in the kitchen sink, dried them, and inspected the wonderful features of each one.

I was careful to notice their expressions. In my busy life, it had been a while since I had gleaned such unspeakable joy over a rock. Yet, here where my sons, gleefully giggling and smiling as they showed me the colors and textures of each one. Carol wrote, "Boys, you'll see that many of these rocks are course, uninteresting from the outside. Once a cut is made you see the true beauty within. A mix of chemicals and conditions influence the character of the rock. So too, it is with we humans. Beauty within is revealed upon closer examination. May your road to adulthood provide for strength of character." The crowning moment was seeing Face when he saw the quartz crystal Carol had included. He placed it on his pillow at bedtime, after saying his nightly prayer of thanks (and including the sweet thoughtfulness of Carol, who he had never met). I am filled with gratitude to a women who I've never seen, for her thoughtfulness in sharing her rocks. Carol and I love and adore the same "Rock". Now my question to all is this...do you share the Rock that changes lives?
In the course of our lives, there is one Rock that outshines them all for it's beauty, strength, catalyst for change, and power to heal. This Rock was also cut, broken, even thought to have been destroyed, it changed the world. I should say He changed the world. "And now my sons, remember, remember that it its upon the rock of our Redeemer, who is Christ, the Son of God, that ye must build your foundation; that when the devil shall send forth his mighty winds, yea, his shafts in the whirlwind, yea when all his hail and his mighty storm shall beat upon you, it shall have no power over you to drag you down to the gulf of misery and endless woe, because of the rock upon which ye are built, which is a sure foundation whereon if men shall build they cannot fall."Hel 5:12.


Friday, May 28, 2010

Chicken Cream Cheese Taco Shells

It's Freezer Meal Friday here on the blog and I wanted to do a follow up post on the original recipe that we did called Taco Shells. This Chicken version is every bit as wonderful, and I adore the reaction I get from my family when I say, "Taco shells for dinner!" They never ask, what the taco shells will have with them, usually because it is the main course.

If your a vegetarian you may substitute tvp for chicken or chopped mushrooms.

Chicken Cream Taco Shells (yield 2 casseroles, 6 servings each!)

2 pounds lean chicken breast, chopped (or vegetarian equivalent)
2 envelopes taco seasoning (or 4T Steph's taco seasoning. I make my own)
1 package 8 oz low fat cream cheese
zest of 2 limes
24 cooked jumbo pasta shells (under cook by 2 minutes for freezer meals so they don't get soggy)
1/4 cup butter, melted
1T fajita seasoning

Additional ingredients for each casserole:
1 cup each, salsa and taco sauce (I love greeen salsa!--or homemade from my tomatoes)
1 cup low fat shredded cheddar cheese
1 cup shredded Monterrey Jack Cheese
1 1/2 cup crushed tortilla chips (can use baked)
3 green onions, chopped

In an deep skillet, cook chicken over medium heat until no longer pink and drain. Add taco seasoning. Add Cream cheese and lime zest and stir until melted. Transfer to a bowl and chill in the fridge 1 hour.
Cook the pasta according to package directions but lower cooking time by 2 minutes. Gently toss with butter and season with fajita seasoning. Fill each shell with about 3 T meat mixture. Place 12 shells in a non-aluminum freezer container You are making 2 casseroles. Repeat and put the remaining 12 in another casserole. Spoon half of salsa over one casserole and half over the other, repeat with the taco sauce. Do the same with the cheeses, tortilla chips (you may keep the tortilla chips separate if you want a crunchy topping and put them on just before you bake it) and onions. Freeze covered with plastic then foil, up to 3 months. To prepare. Defrost overnight in the fridge. Bake 350 degrees 35-40 minutes covered, then 15 minutes uncovered. top with sour cream at service. It is possible to make one casserole now and one for the freezer! Just bake one and put one in the freezer for later!

To bake in a solar oven, uncovered bake 1 1/2 hours full sun if defrosted, 3-4 hours from frozen.


We like to drizzle our pasta with a little low fat blue cheese dressing when it's ready to eat. We're weird that way.


There you go.

Wednesday, May 26, 2010

Cinnamon Swirly-Whirly-Girlie Bread

I rarely blog about white bread. So, be impressed. I'm a cracker white patty girlie girl, so you would think I'd have white bread on the blog right? Little Man asked if I could possibly make white bread for his birthday breakfast with some cinnamon swirled in it for French toast. How can I say no for the birthday breakfast? It's like the one day a year that the kiddo gets to pick all the food...all day. Even if he's laying on the floor tomorrow with skittle colored pupils...birthdays are special. Am I right? Wouldn't you ask for cinnamon swirly whirly bread? Yes... I suppose it can be made with whole grain as well...but today we're doing white bread. Just this once. With how I preach whole grain, I bet there are some of you who wonder if I even know they sell white flour. My giant brain figured out the aisle number and everything. Now you're really impressed with my skills and magic right. Wooosh! Look what we made...

Swirly-Whirly-Girlie bread heavily laced with this delusciousness-ism powder of spice. What is it about cinnamon anyway? What does it have that makes it so appealing? I don't know. I just know I never want liver swirly-whirly bread. Not a fan of Vegemite either, now that I think of it. This stuff however...I could sniff it all day. It's the "crack" of spice. I'm a sniffer. Wouldn't you like to be a sniffer too?


I used the 5 day bread dough made with white flour. Scary simple as it may seem, I took half the dough and made two loaves...so they where honkin' huge. Lightly lightly flour the counter top and have 2T of high quality sniffing cinnamon on hand for the sprinkle fest.

Shape the dough into a rectangle, as you would for loaf molding. Sprinkle with cinnamon.
Fold into thirds, like so...
With your fingertips press the dough down until it is roughly as wide as the loaf pan.
Tightly roll the dough so it is a short wide snail.
Pinching seams together like auntie Bertha grabs your cheeks at a family reunion.
Pinch ends of the loaf closed. Place in a greased 9 by 5 inch loaf pan. Cover with plastic wrap and allow to raise 1 1/2 -2 hours until doubled in bulk. Bread will be just over the top of the pan. Make sure oven is pre-heated! 400degrees. Bake at 400 degrees for (12-15 minutes for over 3000 feet altitude) 20 minutes, then lower the temperature to 350 degrees and bake an additional 15- 20 minutes (I use a meat thermometer. At 170 degrees the bread is baked through). Remove promptly from pans and transfer to a cooling rack. Cool completely before putting in storage bags. Do not store in the fridge...but do make French toast if you want. It's quite the perfect bread for it.
There you go.

Tuesday, May 25, 2010

Back To Basics...Beans 101

It's Tutorial Tuesday, and a gal named Nanette wrote me, asking how to cook a good pot of black beans. This one's for her and anyone who has ever wondered how to cook beans. So...lets talk about magical food. Beans. I teach basic cooking skills as well as advanced culinary arts. That's what I do. I'm a firm believer in the fact that if you may never know when you will be called upon to cook a staple food, or a fancy dish. Knowing the basics of something as simple as beans is something you will never regret. You may know how to make painted breads, but honestly, that isn't a daily need unless you run a bakery. You will always have to feed yourself or your family. Sometimes things may be financially tight, or you may be looking for a lean nutritional main dish. Food wise, you can't go wrong when it comes to beans. Their nutritional data can't be beat, especially fiber and calories when it comes to filling up hungry bellies and staying full! One really great article was published by Joey Bruno over at Thrive Cuisine. Check out Thrive Cuisine's Bean Article . It includes all the scientific research on the subject. Pretty great stuff!

Beans are amazing food...unless of course, you don't cook them correctly. Then you have these crunchy bean shaped things in sauce...that frankly aren't very appealing. It reminds me too much of eating bugs. Yes, I also ate bugs as a kid. I know that explains a lot. As for beans, what you really want, is this...
Basic Bare Bones Boiled Beans
You will need:
1 lb of dry beans (pinto, black, white, black-eyed peas, kidney...)
water
1T baking soda (optional)
Flavor Options I use:
pepper, bay leaf, seasoning, garlic, onion, 2 roasted diced green chiles, and salt
Step 1:
Wash and soak* beans. Rinse with hot water and make sure there aren't any rocks or foreign matter in with your beans. Let's face it, they come from plants...there might be dirt. Clean it up. I soak my beans in a gallon of water with 1T of baking soda. I have found this step most useful in helping to break down the acids in the bean skins. They cook softer. After 8-24 hours of soaking, I drain the water, rinse again and put in a crock pot or the pot for my solar oven. Either one works, but most people don't cook solar. *Note, you don't have to soak beans, but it does help shorten the cooking time, as well as help with digestion "issues"...if you know what I mean. I think you do. You can "quick soak" beans by pouring boiling water over the beans and soaking one hour.
Step 2:
Place drained beans in 4 quart crock pot or stove top 6 quart pot. Cover beans with 6-8 cups very hot water and simmer. No salt is best at this point. No tomato products either. Salt added at this point will make it take longer for the beans to cook. Acid products like tomatoes will make it hard to cook period. To be sure, use just the water and the beans. If you use chicken stock to cook beans it adds flavor, just be sure it's low sodium. Okay...I say that and then I realize I use black pepper and bay leaf at this point as well. Okay...so it's okay to add Spanish seasoning like whole cracked black pepper, bay leaf, ground cumin, dry oregano, ground coriander (about 1/2 tsp each)...just not the salt until the end. Fair? You can also add a whole onion, with the "paper" skin removed. Just whole in with the beans. It sounds strange, but a Mexican gal I love showed me that trick and it's great for adding onion flavor without adding any chunks of onion...if you don't want chunks. Just remove the onion after cooking, and discard. I've also done this with a whole carrot and a whole celery stalk when I just want to add the flavor. You can also just add the dry onion, garlic, or dry vegetables, again being sure there isn't salt. A little won't hurt, but it again, will take longer to cook the beans. Yes...I know there are a lot of people who add pig to the beans. Salt pork, bacon, ham...all add salt and a nice smoky flavor. Do what you want, it will take a little longer (by 1-2 hours) if you add a lot of the salted meats. Add 3-4 drops of liquid smoke and you don't have to add meat at all. For black beans, I also add a dash of allspice, believe it or not, I really like the flavor in black beans.

Step 3:
Simmer 1 1/2 hours on stove top or 2 1/2 hours on high in the crock pot (3 hours in the solar oven). If you cook them on low temperature, it will take 4-5 hours. If you cook stove top, you may need to add additional water, be sure it is very hot, or the cooking time will increase. Yes you can pressure cook beans...they take 20 minutes that way, but that's another lesson.
Step 4:
Season. When cooking time is up, check to see if beans are soft before you add the salt and any additional seasoning blends that may have salt in them. This is also where I add roasted chopped green chiles to my beans. 2 large fresh roasted, peeled, seeded and chopped add immense flavor. If you can only find the cans of chiles, use one-2 small cans of diced green chile. If you want to add tomato products, now you may do so if the beans are tender.
Continue to simmer a few minutes.
Now this next part is me. Totally me. I love garlic in my beans. I love a very pronounced flavor of garlic in my beans, so I add it last. Fresh pressed, two cloves in my pot at the end of cooking. If you want a hint of garlic, but not a bold statement, then you can add fresh pressed at the beginning of cooking.

This is what we end up with.


Homemade beans on a homemade tortilla...is dinner for pennies. It's not fancy, but it may not be fancy you need. It may be just making it to the next paycheck without feeling deprived of good food. This my friends, is my gift to you. Enjoy a few more dollars back in your pocket. Fire up the crock pot or Solar Oven.
Oh, and one last note. Because beans are so high in protein, at the right temperature they are the perfect breeding ground for food born illness. Please be sure to cool them quickly. I put my beans in smaller bowls and leave the top vented when I cover them with foil so they will get cold quickly in the fridge. If you freeze, be sure to cool them in the fridge first and then transfer to the freezer, as to not overwork your freezer, and keep the beans at a safe temperature. One pound of dry beans will usually yield about 7 cups of cooked beans! That's enough for a family easily! Serve that with homemade rice-y-roni or regular rice...and you've done it. Dinner on the cheap.


There you go.

Friday, May 21, 2010

Women's Aprons from Recycled Cargo Pants (Part 3 of the Recycled pant apron series)

I made this khaki cotton apron from a recycled pair of women's cargo pants.
This khaki one reminds me of "The Sound of Music". The Chef's Von Trapp.

My personal favorite by far is the chocolate brown corduroy apron. It looks so rustic and swanky. Again, made from women's cargo pants.

I made them the same way I did theRecycled Cub Scout Pant Aprons for Boys. (Part 2 o...
but I used women's pants instead and made sued-ed waist straps.
Just another great idea. I will be posting a few of these to my Etsy website in the near future. Be excited...I'm expanding my inventory. Hopefully they become so popular with the ladies, I won't have to get a real job. Wouldn't that be nice. That's all I have to say about that.