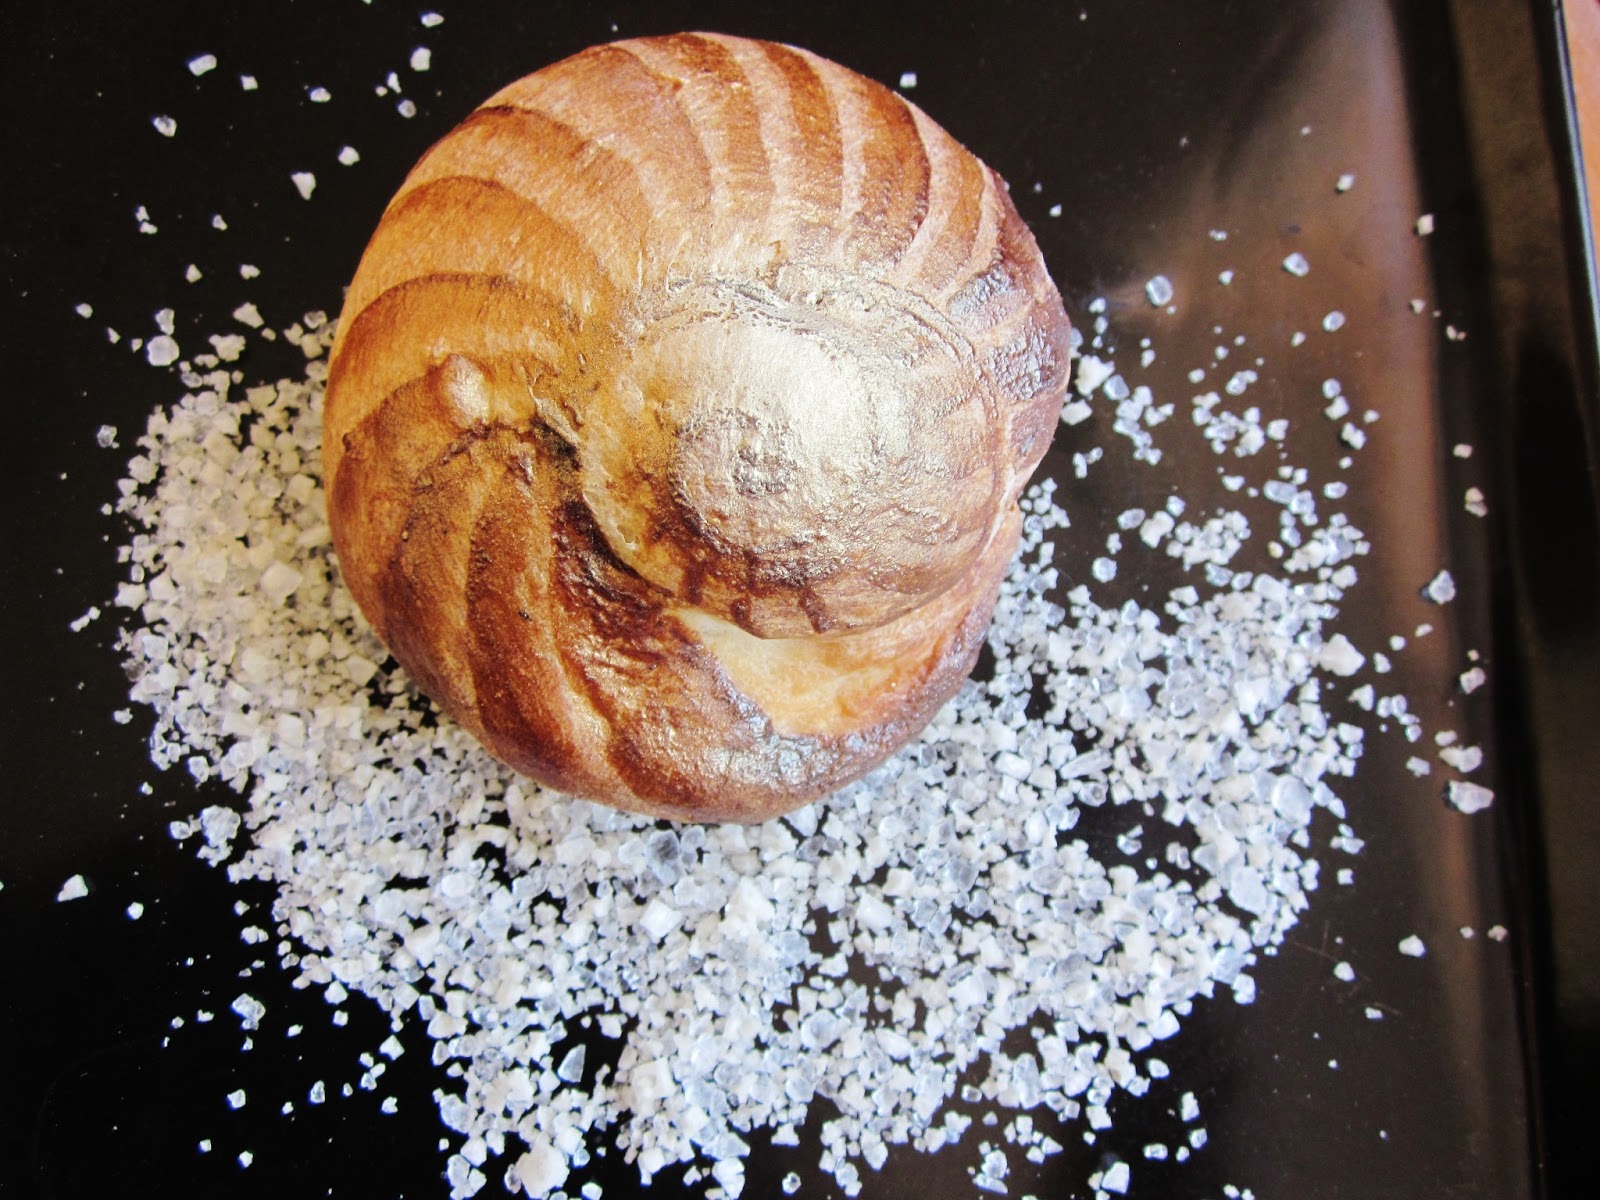
Grain embedded in the dough of an already chewy and satiating loaf of bread is probably one of the most satisfying of all the meals on earth. Here it sits. Glory and praise resound for the 9 grain Ciabatta!

True confessions...this may be one of my favorite breads of all time. It's light and fluffy. It's got chewy little grain nugget-lets in the dough...and it's hearty and filling as heck-fire. I couldn't ask for a better deal when it comes to whole grain bread. I'm going to use some pretty gold stuff in my bread too.
Today I'm using this gorgeous 9 grain cereal mix. It looks like it should be priced by the ounce and sold in little pouches. Well, it is...kind of...

Honeyville Farms Nine Grain Mix has become a fast favorite in our home. It's not priced like gold, but it tastes amazing!
Why?
Well, this cracked cereal mix contains hard red wheat, soft white wheat, barley, rye, oats, corn, millet, buckwheat and flax seeds. All of the grains have been milled to a nice, course consistency, that is very similar to most commercially cracked wheat. The texture is even and consistent. This mix is a good source of fiber, protein and iron. This cereal will store for 7-10 years sealed in the #10 can. However...it makes a magnificent breakfast cereal...or an even more beautiful bread. I'm totally hooked. That being said, I'm gearing up to teach a whole grain bread class at the Honeyville Farms store in Chandler, Arizona this coming Saturday morning at 10 AM. One of the things I teach is how to make bread with a bucket instead of a mixer. It's a little odd to some, but it's a lot less expensive than buying a mixer...and it's a lot more practical for larger quantity bread making. I have a method to it though...and that's what we'll be covering here.
First you'll need my recipe. I give it out freely, but I also give it out with very specific directions. Don't change the directions and the recipe and tell me it "doesn't work". Follow what I say and do...and I think you will find joy in your bread. That being said, here's the recipe:
Chef Tess 9 grain Ciabatta Whole Grain Bread
Sponge:
1 cup Honeyville Farms Nine Grain Mix (uncooked)
1 1/2 cup high gluten whole wheat bread flour
1 1/4 cup water (no hotter than 95 degrees)
1T active dry yeast (.3 oz)
Dough:
3 cups high gluten whole wheat flour
1 cup water
1T salt
2T olive oil
To make the sponge: Combine the sponge ingredients until it is a batter-like consistency. It will be pretty loose.

In fact...I did a video so you could get a better idea of what I'm talking about.
After 4 hours, it will look very bubbly and gorgeous like this...

When you reach in the bucket you will find some very strong gluten strands developed. It's remarkable!

In with the gluten development, there will be soft pieces of whole grain.
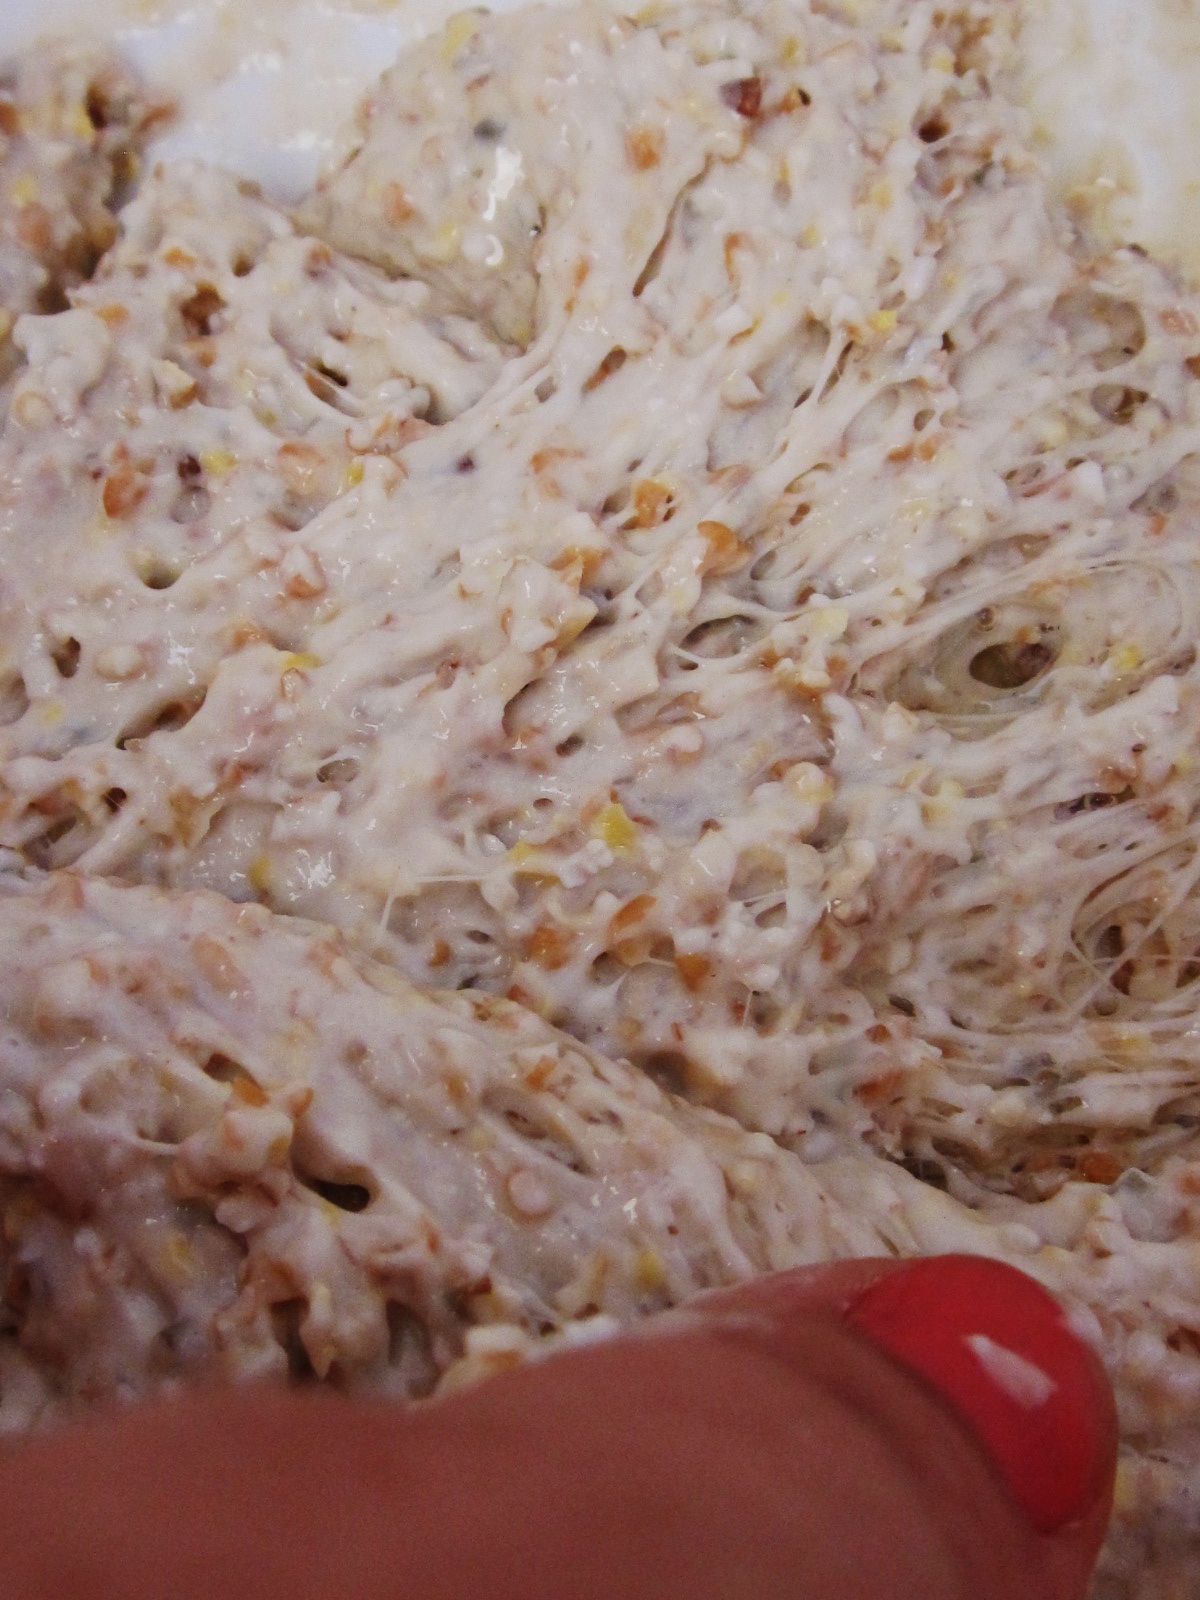
Add the water and mix up the sponge. Add the oil, salt, and 3 cups of flour. You will not need much more flour. I keep the dough very moist. Again, this helps you have a nice tender whole grain bread.

More of me talking and saying things that make sense...
After kneading...it will look like this...Oh wait. Watch the video...
Fold it over until the rounded part is up.
It will look like this first...again, with all those gorgeous grains just hanging out all over like jewelry. Bling. Bling.

It won't touch the sides of the bucket.

After 1 1/2 to 2 hours, it reaches the edges and is very spongy.

Now, get some whole wheat flour...

Spread a generous amount on a counter-top or table. Emergency situation, just lay your bucket on it's side and cover the inside with flour.

Lay out the dough in an 8 inch by 12 inch square, but DO NOT expel air. Now, that's totally opposite of any other bread I make so that might through you for a loop. Don't be thrown. Just follow what I say and you will be happy. Ahh. Trust is good. Trust Chef Tess...{mind control complete...}

Top the dough with a good sprinkle of flour.

Take out a sharp serrated knife and slice the dough into 4 strips, long wise.

OH mercy...look at that grain! Are you happy yet? I'm getting so giddy!

Lightly oil 2 sheet pans and lay 2 loaves on each pan.

OH have mercy! Are you happy now?!
Allow to raise, uncovered for 1 hour. Preheat your oven to 425 degrees.

When the loaf is fluffy enough to pass the edge of the pan...

Bake it! 20-25 minutes. It will get all golden and awe inspiring.


We topped it with some gorgonzola lemon herb butter. It was totally wicked...you should eat it everyday.

Then, to make my hum-drum life complete...I topped out the day with Pesto. The heavenly green gloop of happiness. He sounds like a magical elf who lives in the ceiling huh? Nope...He lives on my pasta.

Low carb be dang-tootin' banished to another side of the universe!

We are living it up! Okay...and believe it or not, that's all whole grain, low glycemic index and low fat food...so my body is happy. I'm full...and I'm feeling great. Weight loss update...down 45 lbs. So...you know it's not just in my mind, right?!
There you go. Make some Ciabatta! Want the printable?
Always My Very Best,
Your Friend Chef Tess
Always My Very Best,
Your Friend Chef Tess