
 You know, when I stared my little garden I had visions of big veggies and luscious herbs just bounding out of the ground. When the two zucchini plants started I was so giddy. They where so strong.
 Then, they started taking over. I lovingly refer to them as the "Rebel Alliance". I was out of the loop for a few minutes and suddenly everyone has delusions of grandeur. I have two plants the size of a small rhino filling the upper half of the garden. They are producing elite lovely squash.
Every now and then some of them get cocky. I'm happy to report that the rebel base has been discovered and the mutants dealt with.

The head squadron leader who flew the Millennium Falcon has been to the carbon freezing chamber and is now beautifully displayed in my kitchen hutch.
 Drizzled with orange brandy honey glaze.
 What pray tell, am I talking about? It's zucchini bread my friends. It's the perfect way to store extra zucchini. Make a few loaves and put them in your freezer. They hold really well for 4-6 months if you wrap them in foil and then place them in gallon size freezer bags. This recipe uses about half the sugar of most zucchini bread recipes. You can use Splenda or Xylitol in place of the sugar or granulated fructose if you are wanting a sugar free bread. I prefer the flavor of whole wheat cake flour (I mill my own :Flour making day...flour power.) , but you can use regular all purpose flour. I'm not checking your cupboards. I'm just sharing how I do it.

Directions: Once the butter and egg mixture is smooth, add the zucchini and cinnamon.
 I was out of eggs today. Did you know you can use unflavored gelatine in place of eggs in baking recipes? One packet equals 3 eggs if dissolved in 3/4 cup luke warm water for 5 minutes stirring well.
 Less calories than eggs, and no cholesterol.
 In a separate bowl, combine the dry ingredients well. Pour them into the wet ingredients.
 Mix the wet and the dry until combined, about 1 minute.
If you use cake flour it is easy to keep the right texture for the batter. All purpose flour, be careful not to over mix.

I use a stoneware loaf pan, but regular loaf pans work just fine. Remember on stoneware to add about 5 minutes to the baking time. Make sure to grease the pan well with nonstick cooking spray. The ones with flour added are especially nice for baking. Or you can line you pan with parchment paper.
 The sun was rather accommodating today, so I used the solar oven.

 Cool in the pan at least 5 minutes.
 Invert pan onto a serving tray or cooling rack if you don't plan to honey glaze it.
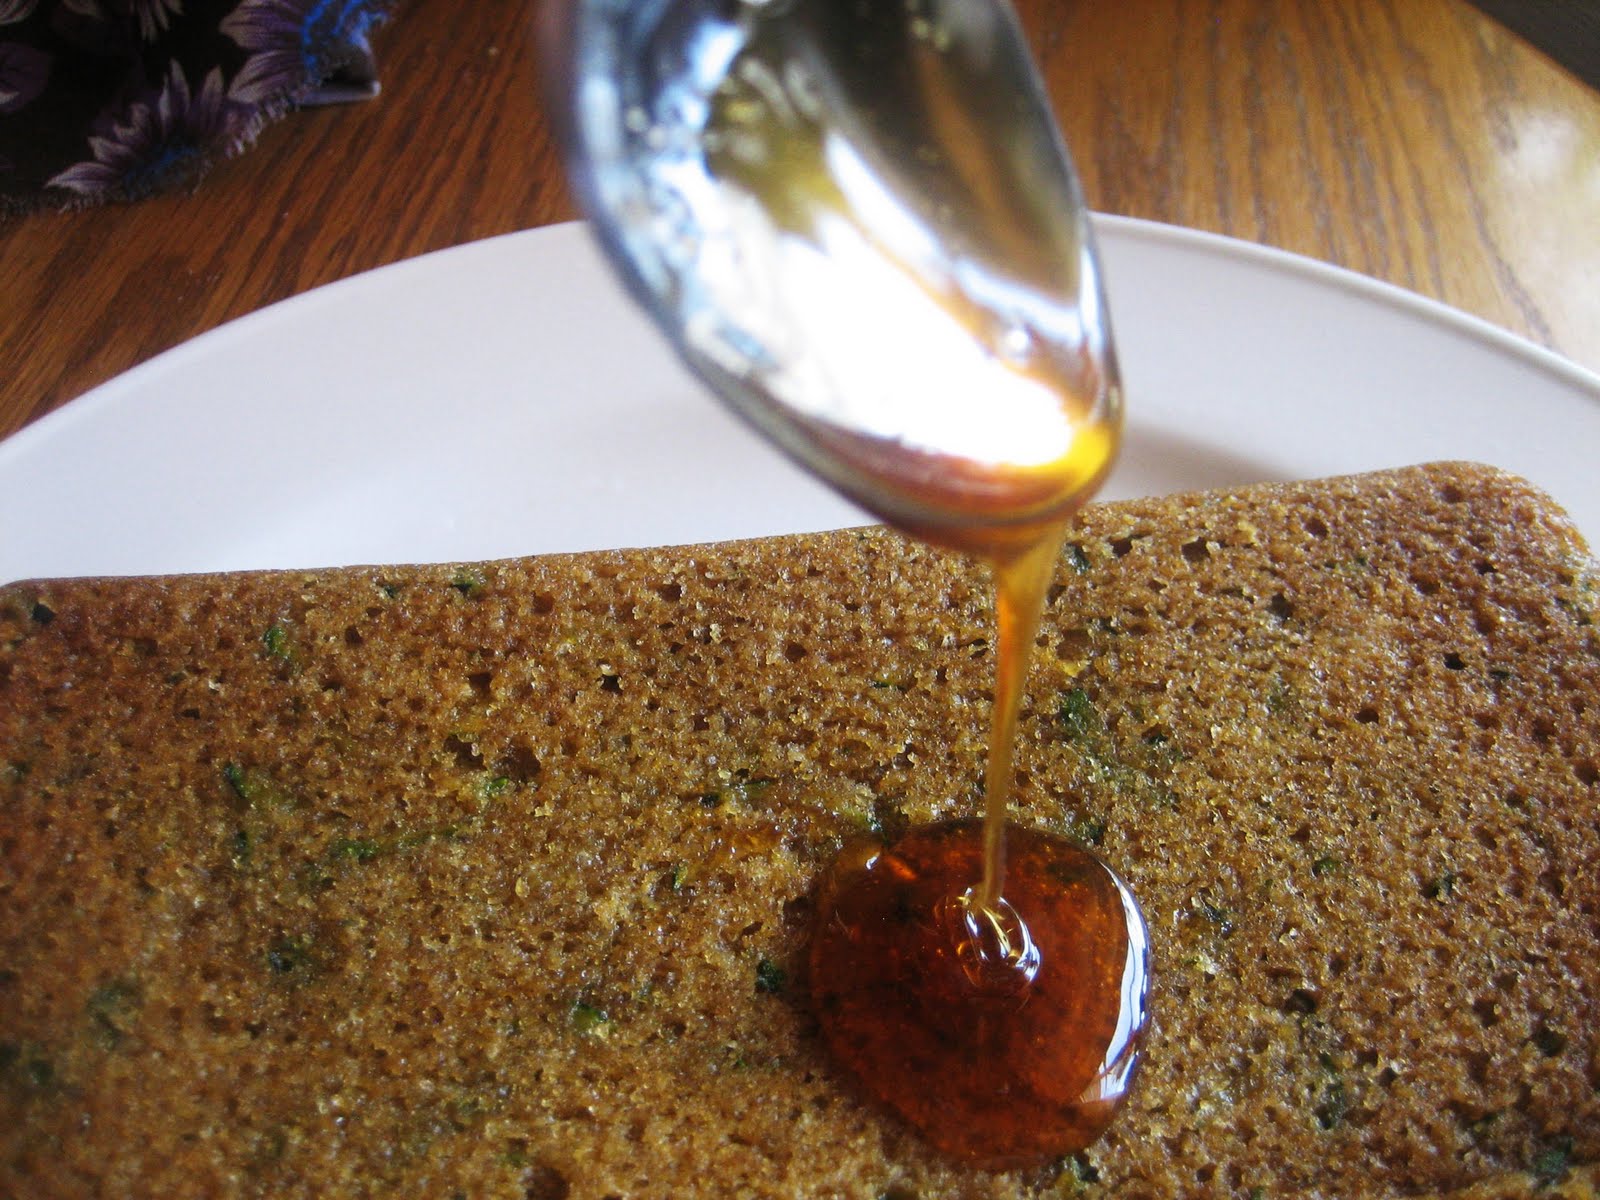
 Combine honey with brandy or brandy extract.

Drizzle over the warm loaf. Try not to drool.
 I sprinkle the glazed loaf with more cinnamon (okay it's really my Wise Woman of The East Spice Blend ) and serve it warm.
 The honey seeps into the bread in a most pleasing fashion.
 "Where are your rebel friends now?" Evil grin.

 Drizzled with orange brandy honey glaze.
 What pray tell, am I talking about? It's zucchini bread my friends. It's the perfect way to store extra zucchini. Make a few loaves and put them in your freezer. They hold really well for 4-6 months if you wrap them in foil and then place them in gallon size freezer bags. This recipe uses about half the sugar of most zucchini bread recipes. You can use Splenda or Xylitol in place of the sugar or granulated fructose if you are wanting a sugar free bread. I prefer the flavor of whole wheat cake flour (I mill my own :Flour making day...flour power.) , but you can use regular all purpose flour. I'm not checking your cupboards. I'm just sharing how I do it.
Tess Orange Brandy Zucchini bread
yeild 1 large 9 by 5 inch loaf or 3 small loaves
3/4 cup melted butter (or Lucero Crushed Mandarin Orange Certified Extra Virgin Olive Oil)
3/4 cup granulated fructose or sugar
1 tsp double strength vanilla Or 1/2 tsp vanilla bean paste
1/4 tsp Brandy oil
1tsp orange zest
3 eggs (or 3/4 cup water with 1 packet unflavored gelatine dissolved...about 5 minutes)
3/4 cup granulated fructose or sugar
1 tsp double strength vanilla Or 1/2 tsp vanilla bean paste
1/4 tsp Brandy oil
1tsp orange zest
3 eggs (or 3/4 cup water with 1 packet unflavored gelatine dissolved...about 5 minutes)
2 cups shredded fresh zucchini
2 cups whole wheat cake flour (all purpose works)
1 tsp baking soda
1 tsp baking soda
1 tsp baking powder
1 tsp cinnamon (I use Wise Woman of The East Spice Blend)
1/4 tsp salt
1 cup chopped toasted pecans or walnuts (optional)
1 tsp cinnamon (I use Wise Woman of The East Spice Blend)
1/4 tsp salt
1 cup chopped toasted pecans or walnuts (optional)
1/4 cup dark honey
1/2 tsp brandy flavor or 2T real brandy (if you prefer)
Directions:
Combine the melted butter, sugar, and eggs, vanilla, zest and flavored oil whisking well until the sugar seems dissolved. I use the flavored oil. It lends a nice complex flavor to the loaf.
 Once the butter and egg mixture is smooth, add the zucchini and cinnamon.
 I was out of eggs today. Did you know you can use unflavored gelatine in place of eggs in baking recipes? One packet equals 3 eggs if dissolved in 3/4 cup luke warm water for 5 minutes stirring well.
 Less calories than eggs, and no cholesterol.
 In a separate bowl, combine the dry ingredients well. Pour them into the wet ingredients.
 Mix the wet and the dry until combined, about 1 minute.
If you use cake flour it is easy to keep the right texture for the batter. All purpose flour, be careful not to over mix.

I use a stoneware loaf pan, but regular loaf pans work just fine. Remember on stoneware to add about 5 minutes to the baking time. Make sure to grease the pan well with nonstick cooking spray. The ones with flour added are especially nice for baking. Or you can line you pan with parchment paper.
 The sun was rather accommodating today, so I used the solar oven.
Bake at 350 degrees 9 by 5 loaf pan 67-75 minutes.

It will look dry on the top of the loaf. Check to see if it is done by inserting a toothpick into the bread. If you pull it out and it isn't covered in slime, but clean, it's done.

It will look dry on the top of the loaf. Check to see if it is done by inserting a toothpick into the bread. If you pull it out and it isn't covered in slime, but clean, it's done.
 Cool in the pan at least 5 minutes.
 Invert pan onto a serving tray or cooling rack if you don't plan to honey glaze it.
 Combine honey with brandy or brandy extract.
Drizzle over the warm loaf. Try not to drool.
 I sprinkle the glazed loaf with more cinnamon (okay it's really my Wise Woman of The East Spice Blend ) and serve it warm.
 The honey seeps into the bread in a most pleasing fashion.
 "Where are your rebel friends now?" Evil grin.
There you go.


