Monday, May 28, 2012

Moist Whole Wheat Bread 5 Minute Tutorial Video


This week I'm going to be talking about bread! Whole grain is amazing! I will be sharing a few other no-knead breads as well. So, today I wanted to share a very cool video! This is my bare bones basic whole wheat bread recipe tutorial video. You can use any hard white or red wheat flour but I really like  Mountain Mills Flour. In this video I show how to make it without a mixer! I'm a big believer in learning how to make bread the old-fashioned way. The original recipe post is Here.


This week I'll be sharing a few more easy bread techniques! Yes! I'm so excited!


Always My Very Best,
Your Friend Chef Tess


Sunday, May 27, 2012

Walking You Through the Night

Sunday is the day I share a little of my soul. Enjoy.

Today is Little Man's birthday. He's officially a teenager. You know what that means right? I was 10 years old when he was born.  I'm a freak of nature. Okay. That may not be the whole truth. The whole truth is that this boy came to our home after years of wanting a child and not knowing if that day would ever come. We have been blessed and honored to have him around. He is an amazing, thoughtful, kind, tender, witty, and generous person. He has a heart of gold and is quick to laugh and find the good in others. It is an honor to be his mother.


 The whole truth is that despite my efforts to keep him from ever growing up and leaving home, it will eventually happen. I've been struggling with this immense and overwhelming feeling of joy at his amazing growth and development combined with a feeling of intense sadness that he will someday no longer be home. I imagine there are millions of women who have felt this way about raising their children but...it is completely real. You know how it goes? I bring the tender little angel into the world as co-creator with the Lord and I see this child grow and increase in wisdom and stature. I see him becoming a remarkable human who treats others with love and I just want to hold his hand everywhere we go together. Thankfully, even though the teen years are here, he still holds my hand in "public". Please tell me that he will always want to do that. Chances are...he'll go through that phase where it isn't cool to be hanging out with his mama. Hopefully we're still tight through the growth that is sure to come as he enters this new world.


I know that the Lord has a wonderful plan for all of His children. I'm glad to be part of it and I'm overwhelmed by the feelings of tender mercy that He gives me. Today most of all...I'm thankful for the chance I have to be a mother to this dear Little Man...who frankly, isn't so little anymore. I just want to squeeze the life out of the time we have together.


I think this song just completely captures how I feel today. Mom, listen with a box of Kleenex. 


There it is.


Always My Very Best,
Your Friend Chef Tess

Thursday, May 24, 2012

Chef Tess Bakeresse™ Instant Marinara and Meatballs from Food Storage


 Today I want to share a simple and easy dinner that is ready in 30 minutes or less using just food storage.  Freeze Dried Ground Beef is interesting stuff isn't it? The Benefits of Freeze Dried Meat are pretty amazing and the shelf life is 10-15 years if kept in a cool dry place. I cook with it a lot more than I ever thought I would just because it is so convenient and I love developing recipes that people can really use. I had a gal ask me what I do with the ground beef if I wanted to make meatballs or a meatloaf and I wanted to share my simple method for that.  I've also got some great tips on How to Use Tomato Powder to make an Instant Marinara sauce with excellent flavor and a 10-15 years shelf life! That's awesome right?! Usually a good marinara takes a long time to develop that flavor. It's especially amazing if you can a make it so delicious your family won't mind eating it any night of the week.

Chef Tess Bakeresse™ Instant Marinara
 and Meatballs from Food Storage
Ingredients:
Meatballs:
2 cup Honeyville Freeze Dried ground Beef
1 cup whole wheat bread crumbs
1/4 cup Honeyville Freeze Dried Onions
1/2 cup Honeyville Whole Egg Powder
1 tsp Chef Tess Romantic Italian Seasoning
1 tsp garlic powder
Sauce:
1/2 cup Honeyville tomato powder
1/4 cup Honeyville freeze dried onions
1/4 cup Honeyville freeze dried bell peppers
1/4 cup Honeyville freeze dried mushrooms
2T Honeyville dehydrated honey
2tsp Chef Tess Romantic Italian Seasoning
1/4 cup Ultra Gel (modified corn starch) available in Honeyville retail stores

To make the meatballs, combine the meatball dry ingredients in a quart size bowl mixing well. Add 1 1 1/3 cup hot water (not boiling but very hot). Stir the water into the beef mixture and then allow the mixture to sit 10 minutes to fully hydrate and becomes a workable mass. Mmm. Meat moosh.
Form into 18 small meatballs and place on a lightly oiled baking sheet about a half an inch apart.
Now...bake them 15-20 minutes at 350 degrees until firm to the touch. I like to lightly tent aluminum foil over the sheet pan, as this helps the meatballs to steam and keeps them tender.  Remove from the oven and serve hot or cool and place in a fridge (covered) for later use.

To prepare the instant sauce:

Combine the dry ingredients in a half gallon size pot.
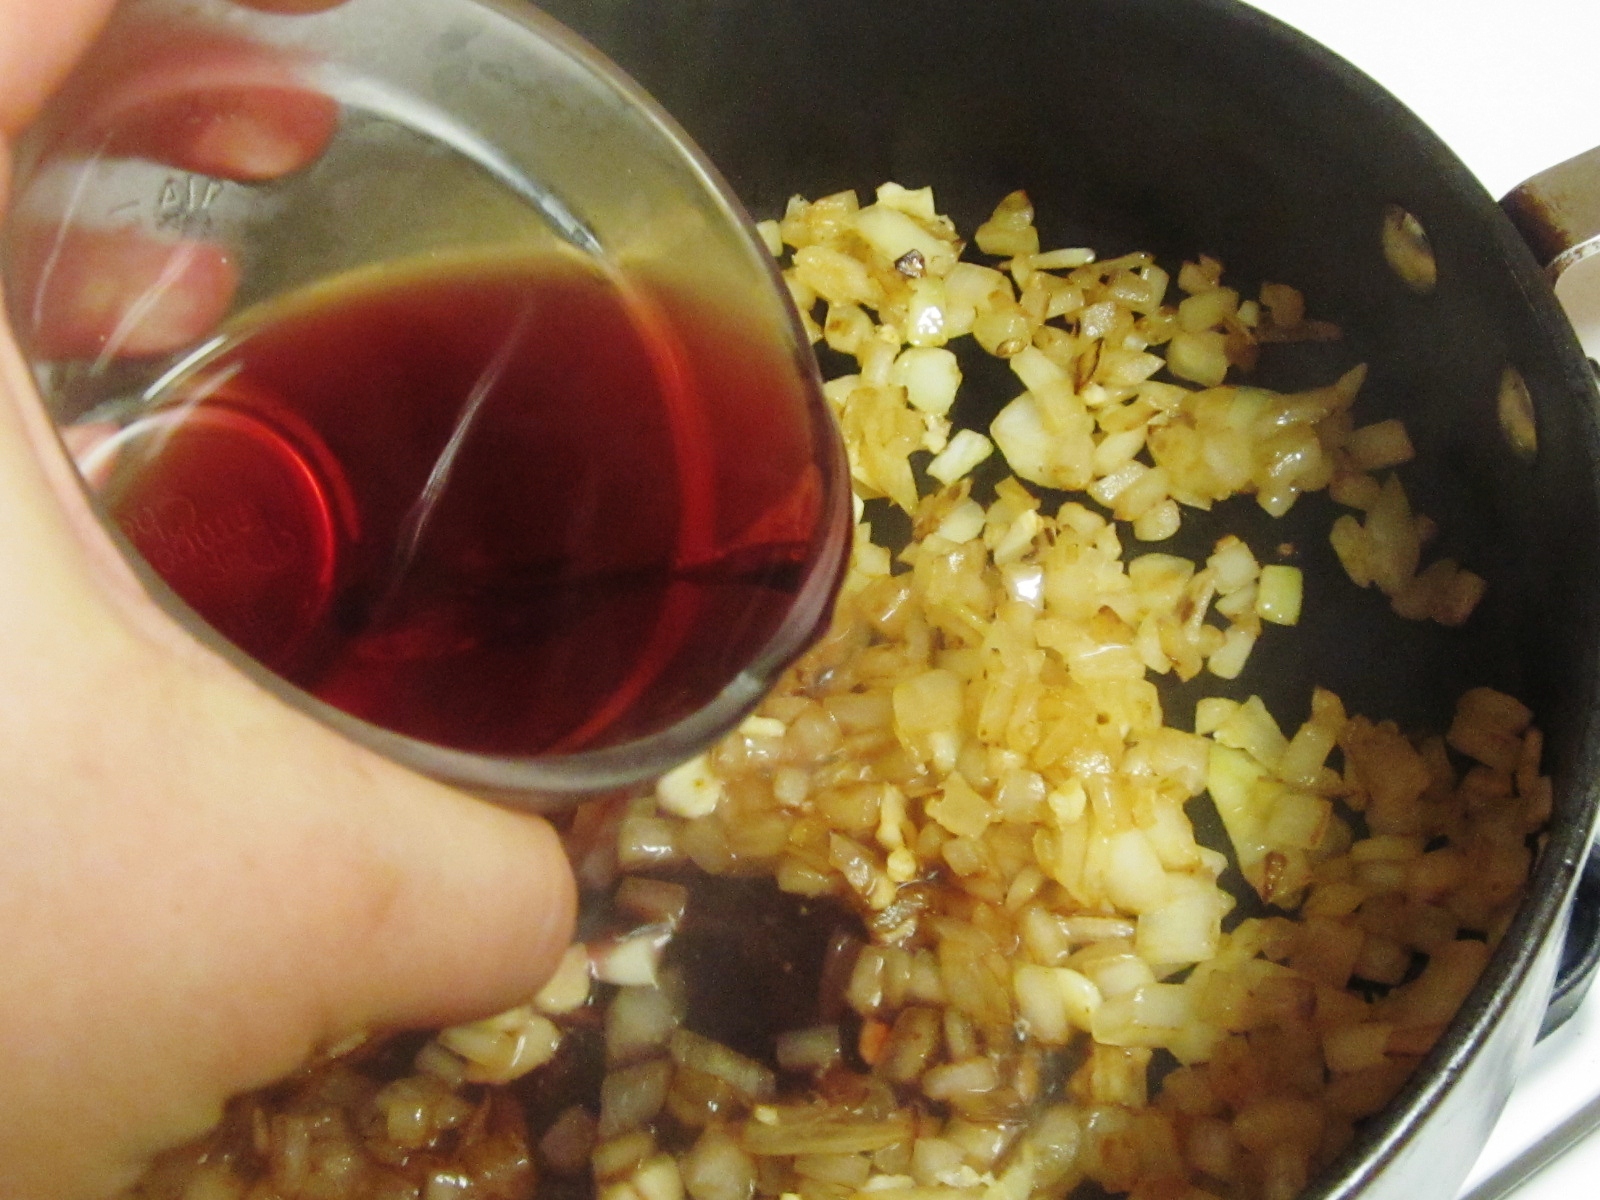
Add 3 1/2 -4 cups warm water (depending on how thick you want your sauce) and stir well. Stir over low heat. Cooking the sauce is optional, by the way.  If you are just wanting a fast pizza sauce or bread stick dipping medium this stuff will make you happy! I usually do the sauce heating while the meatballs bake. This is also the time I start the water boiling if I'm serving the sauce and meatballs with pasta. Usually I just hide somewhere with a steaming pot of liquid happiness and a spoon and hide. Try not to think about how weird I am. Weirdness is a gift that I will always claim...(said as I strap on my moon-boots and rick-rac embellished pocket protector).
Stir sauce until heated through and vegetables are tender. Add the meatballs to the sauce and serve over steaming hot pasta.
You know what else? This magical marinara sauce is great for long-term food storage, unlike canned sauces. Plus you control all the ingredients! Combine the dry ingredients in a half pint jar with a tightly fitting lid and an oxygen absorber and it is good 10-15 years if kept in a cool dry place. Now that is amazing!

There you go. Make some beautiful meatballs and marinara with your food storage. It's sure to impress your mother-in-law.

Always My Very Best,
Your Friend Chef Tess

Wednesday, May 16, 2012

Homemade Quinoa-Amaranth Mango Blueberry Granola-of-Glory

This week for our Wednesday 5 minute Grain Surgery™ 
I thought I'd show you how to make multi-grain super granola. What do you think? It's a fun way to use a lot of grain and completely cool for being creative with grain. Use the recipe as a guide for the quantities of rolled grain to go with honey and play! I want to hear what you make. 
 A week or two ago, when I showed you how to roll your own oats and quinoa, my son Face had rolled about 3 lbs of oats. It was fun...but I have to say we had a lot of extra oats just laying around. Mind you, I could say right now, "Hey Face, go roll me some oats!" and he would run out to the roller and happily crank that thing. He loves it! To my credit (and this doesn't happen every single day), I remembered to have him roll some extra quinao as well.  Then we went ahead and  popped amaranth on the stove and make use those beautiful grains to make granola. I decided that I needed to make more granola after making all the pints and quarts of Homemade yogurt that were then piled in my fridge needing some assistance. I don't think my husband can safely resist granola and yogurt together...especially when the yogurt has been converted into his favorite flavors. So far he still begs for the lemon chiffon and the pina colada. That being said, he'd eat yogurt all day in that condition. So...there it is. Waste not, want not. Time to make granola. I like my granola a little less sweet than most folks. Keep that in mind when your making this. 

Quinoa-Amaranth Mango Blueberry Granola-O-Glory
6 cups rolled oats or 6 grain rolled cereal
1/2 cup amaranth (popped to equal 2 cups)
1/2 cup quinoa (rolled to equal about 1 cup. See tutorial here.)
1/4 cup chia seed (see my post on why I use it here)
1T Wise Woman of the East (cinnamon spice and floral blend)
1 1/2 cups pomegranate honey
1/2 cup extra virgin coconut oil or olive oil of your choice (lemon or orange infused rock!)
2 T vanilla
1 1/2 cup freeze dried mango
1 1/2 cup freeze dried blueberries
1 cup almonds (whole or chopped)

Directions: Pop the amaranth. Heat a large deep pan on the stove, medium heat for 2-3 minutes. Pour the amaranth into the hot pan and stir until the grain pops and turns white. Pour out of the pot when all the grain is white. {The full tutorial on popping amaranth is in the chocolate amaranth bread tutorial.}
Combine the honey, coconut oil and vanilla. This pomegranate honey is really a pretty shade of pink. The flavor is totally unique and just beautiful for granola. If you don't have flavored honey, you can use regular honey instead.
In a 2 gallon large bowl, combine the grain, nuts and seeds and spice blend. 

Another shameless plug for the beautiful Chia

Stir the honey mixture into the grain and seed mixture. 
Preheat oven to 350 degrees. Divide granola mixture between two large sheet pans, preferably one with an edge. Bake 15 minutes. Take pan out of oven and stir. Return to the oven and bake 15 minutes more. 
Remove from the oven. Add the freeze-dried fruit (or you can also use any dehydrated fruit of your choice). 
There you go! Make some fantastic granola!  

Always My Very Best,
Your Friend Chef Tess

Monday, May 14, 2012

Chef Tess Bakeresse™ Instant Fiesta Enchilada Sauce Mix for Food Storage


Monday is the day I usually share some money saving delicious recipes for food storage and everday meal convenience. Enjoy!

Enchilada sauce from a can is usually flat and bland. It also costs from 2-4$ depending on the brand. I've struggled with that as I try to explain to folks that the sauce will make or break your Mexican dishes. This is a great sauce made from food storage powders that you can make and store 7-10 years and cost less than 25 cents to make 4 cups! It's a longer shelf life, cheaper, and tastes better. Um...win, win, win!!! I served a version of this at my Cinco De Mayo class. For those in the class who I told, "I'm not giving out this recipe ever." Just know that this is not my gourmet recipe. This is a milder version with a few different twists. It is still wonderful, but I do have some core recipes I don't share. I don't share my spice blend recipes. I've never shared my "real" sauces. I share close versions but not the actual ones.  Yes, for the same reason I haven't given out my spice line recipes. I'm allowed to have something that I hold sacred right? I'm actually pretty much full-disclosure on recipes in general. This version is close, with some minor adjustments. Most of the adjustments are in the seasoning...but this sauce will still knock your socks off! I also need to say "Thank You" to Honeyville for the food storage ingredients they provided for this post! You guys are the best! I have loved writing their food storage cookbook! If all goes well, by the way, that should be out before Christmas. EEeee! So excited!!
My enchilada sauce is actually a cross between a Mole Sauce and an Enchilada sauce. It's pretty unique. I don't use fruit or nuts that are usually found in mole, but I do use some hints of cocoa, sweet spices and hot beautiful Ancho Chili peppers. My husband Ace drinks this stuff like a smoothie. I'm not claiming he's all that bright, but he's a die-hard fan of this stuff. He has it over his bean burritos "enchilada style". It's evil delicious. Do you want to make it with us? Okay. The funniest part of this recipe is really convincing folks that the dry stuff will really be amazing! But I promise...even if it starts looking like this:

It ends up like this:

It spreads on like this:
Usually I will fresh grind all my dry spices, so the flavor is really pronounced and fresh. This is actually what will set your enchilada sauce apart as remarkable! If you use the pre-ground spices, take the time to smell your spices and make sure they smell very fresh. If the containers smell "dusty" instead of the smell of the ground spice, then no amount of simmering will make that spice taste like a spice. It has lost its essence. Throw the bottle away and get a new one. This recipe will make enough for one mix. Each mix will make 4 cups of sauce, equal to 2 (15 oz) cans of red enchilada sauce. Do the math. It's much less expensive! Yes, initially I did have to invest in the powdered tomato and onion and seasonings. If you want the orginal recipe not for food storage go here.
Chef TessBakeresse Instant Fiesta Enchilada Sauce Mix
1/4 cup Honeyville all purpose flour
3T Freeze Dried Onion
1/4 cup tomato powder
3T -4T ground ancho chile powder(this is from 1-2 dried poblano chilies and is not chili powder)
2 tsp ground cumin
2 tsp ground black pepper
1 tsp dried Mexican Oregano
1/4 tsp Chef Tess Wise Woman of The East Spice Blend ( or Saigon cinnamon)
1T Chef Tess Fajita Seasoning
1T baking cocoa (not hot chocolate)
1T plus 1 tsp chicken bouillon (I like the no msg versions)
1 tsp lime juice powder (optional but really adds some good depth)

Directions:  Combine all ingredients well.
 The mix will fit in a half pint mason jar. If you use a 50cc oxygen absorber and home vacuum-seal the jars, they are shelf stable 7-10 years. If you don't use an oxygen absorber, and just hand seal them, they are still good up to 2 years. You can also just put the mixes in sandwhich baggies and put the bags in a larger rubber-maid style storage container with the directions for use on the container.  I'm not checking your cupboards. Do what you want. I already have a bazillion jars so it's a no-brainer for me to make the mix and keep it on hand for when I want to make enchiladas.
To prepare sauce:
In a gallon size pot, combine the enchilada sauce mixture with 4 cups of  cool water. Whisk well. Simmer 10-15 minutes until the sauce thickens and lightly covers the back of a spoon. I don't make my sauce super thick because well...who likes enchilada pudding? Yikes.  Use right away for homemade enchiladas.
To make into enchiladas using only food storage you will need:
2 dozen corn tortillas (you can make your own with my homemade corn tortilla tutorial)
 2 cups freeze dried ground beef (or 1 lb fresh ground beef, browned and drained)
1/2 cup Freeze Dried Onion
2 tsp garlic powder
1T Chef Tess Fajita Seasoning
salt and pepper to taste
2 cups Freeze Dried Cheddar Cheese

Combine the beef, onion, garlic powder, and seasoning in a medium size bowl. Cover with 1 1/2 cup hot water and let sit about 5 minutes until beef is hydrated. Another fast favorite is to just use my favorite taco TVP for vegetarian husband...who frankly can't tell the difference between it and beef.
You will need a 10 inch skillet filled with water. Add 1tsp salt to the water. Here's the deal. I soften my tortillas in a simmering skillet of lightly salted water. This is not traditional, but there are some who use a hot oil to soften the tortillas. Frankly I need the lower fat version.
Put one cup of the prepared enchilada sauce on the bottom of a 9 by 13 casserole.
Soften a tortilla in the hot water, about 30 seconds. Don't go too long or it will get too mushy to work with.
Fill with some meat mixture and roll.
Put them in your pan seam side down and tuck them tightly together.
When all the rolls are done, top with the remaining sauce.
Lightly mist the freeze dried cheese with a little water. It will hydrate in 3-5 minutes. Water must be cold!  Sprinkle enchiladas with cheese (I used cheddar and some parmesan) and bake at 375 degrees 25-30 minutes uncovered.
Cheese will melt and get gooey. Use caution when scooping the molten cheese beauty into your mouth. Seriously. Dangling cheese from your lips is sooo unprofessional. Hilarious yes.
Scoop onto festive plates and drip any extra sauce from the pan onto the enchiladas.
Enjoy.
There you go! Make some crazy delicious enchiladas using your food storage!  Happy Monday!

Always My Very Best,
Your Friend Chef Tess

Sunday, May 13, 2012

A Mother's Heart


Sometimes when I'm making sculpted roses...I think of all the hours I used to play with my kids and the play dough. I remember making roses with them that I had learned in culinary school and made in the bake shop...and how very little they really appreciated those roses compared to the powerful way the garlic press made dough hair for their monsters. Somehow, it didn't seem to matter what what my skills were as a pastry chef. All that mattered was that I was spending time with them. We create beauty as we add petals to each of the Lord's little "roses". We are teaching line upon line what it will take to mold and form them into responsible, God-fearing, good men and women. I don't think that anything could have ever prepared me for motherhood. I remember crying bitter tears wondering when or if I would have children of my own and now that I'm in the middle of raising those children, it is like a forgetful veil sometimes covers those painful memories of when my arms were empty. I don't know how the Lord does that...but I know it happens. 
Mother's Day is not to celebrate one woman. It is to me,the celebration of women everywhere who do so much to love the children of the world! There's not blue ribbons large enough nor are there words meaningful enough to express what a woman with a true mother-heart can do. Any woman can have a mother-heart.  How the children come to your life is not important. I had a friend say it this way, "no matter how you hyphenate mother...you still are one!" Adoptive-mother, Step-mother, Grand-mother, Teacher-mother, Auntie-mother, (I'm adding insane-mother)...To all of you who lift the hands that hang down, wipe the tears, free the oppressed and bind up the wounded souls, you are doing the Lord's work. Today and always...I say thank you. You are changing the world every single day. Never underestimate your power to do good. Ever. To my own dear mother and all the ones who acted as mothers-in-spirit...Thank you for changing my life for the best! I can never repay you...but I can carry on your legacy of Love.   It seems almost daily I meet new amazing women who are changing lives and doing immense good...and it's a powerful thing to be part of a world where those who are willing to take up the fight for God...are doing it! 


Thank you sweet wonderful moms, sister, friends. Moms who are here, and moms who are watching us from through the veil of heaven...we are all united in one cause. All my love to all of you today and forever!
Happy Mother's Day!


Always My Very Best,
Your Friend Chef Tess

Saturday, May 12, 2012

The Tea Party...With Sweet Stops

 I'm seriously so excited that I got to spend the afternoon with Lin Sue Cooney and the amazing Cindy Leech, owners of Sweet-Stops. I first met Lin Sue while doing segments for Valley Dish and have loved her darling ideas...as well as her good loving heart!  Lin Sue is also an amazing newscaster there on NBC 12 and I wonder how she ever gets all her work done! Amazing!! The party was a wonderful gathering of ladies from all over the valley and I wish I had taken more photos! I do however have to share these darling cookies! Look how fun they are! They look like a little tea bag! Chocolate dipped shortbread never looked so adorable!


Thank you Lin Sue! Oh...and guess who else was there?! Yup...The amazing Lisa Schumacher, CEO of Lilynco. (I know I've talked about Lisa before but I seriously love all she does to bless the lives of so many!). Xoxo! There was a lot of love in that room!
Just had to share...even if it was just a quick note. Awesome event! Just awesome!

Always My Very Best,
Your Friend Chef Tess

Wednesday, May 9, 2012

Steel Cut Oat Risotto another 5 minute Grain Surgery™

5 minute Grain Surgery™

Welcome back to our continuing series on how to use grain. Wednesday is usually the day I just bust out a quick 5 minute challenge and hope you'll join me in the grand adventure that whole grain can bring into your life.

 Today I'm taking some whole oats...
that have been cut into what is commonly called Irish Oatmeal or Steel Cut Oats. They’re exactly what the name says, being whole oat groats that have been steel cut into smaller pieces. This shortens the cooking time, but keeps all the nutritional value of the whole oat groats. If you missed the class you can still see the  Oat-Standing Class Notes. 

The first time I had Irish Oatmeal for breakfast I fell in love. I'm an oat-tastic-freak anyway. Love them! Xoxo {heart}. Triple squeeze. Love. That's a lot of love right there. I love the way they keep their texture and still get creamy-divine. I love how they cook up faster than whole oat groats and I love how they taste so much like rolled oats but have a real beautiful mouth feel. I've talked in the past about my total disdain for glue-like oatmeal. That will never change. So, today I wanted to share how to make the steel cut oats for breakfast and dinner as well!
 This is how to cook them...for hot breakfast cereal. It doesn't take 45 minutes to get them cooked. Don't be concerned. Usually it takes 15 minutes for them to fully cook and be ready for breakfast.
Top the cooked steel cut oats with a drizzle of honey or pure maple syrup. Add chopped nuts and dried or fresh fruit. Rub them all over your face and...oh wait...don't do that. My kids used to do that. I miss those gooey oatmeal kisses. I really do.

What about dinner though? Can they really be a part of dinner too? Well, yes they can. Thank you for asking. Steel cut oats make an excellent side dish or even a main dish if you know some tricks. So far, my favorite use for the steel cut oats is in either a hearty beef-vegetable stew (instead of barley) or in a creamy, smooth, cheesy, tangy, savory, peppery risotto-style side dish. This is how I do it.
Chef Tess Caramelized Onion, Oat and Pea Risotto
 with Sharp White Cheddar Lemon, and Dill
You will need:
4 cups low sodium vegetable stock or chicken stock
2/3 cup red wine (or red grape juice for non-alcoholic)
1 cup of green peas
1 1/2 T extra virgin olive oil
1 cup diced fresh onion
2 cloves minced garlic
1/3 cup light cream cheese or homemade cream cheese
1/3 cup sharp white cheddar cheese
1T fine minced fresh dill (or 1 1/2 tsp dry)
zest of one lemon
salt and pepper to taste
 Get all your stuff together. Yupper. Those are the steel cut outs right out front.
In a 12 inch deep pot or skillet, saute the onions in the olive oil until they caramelize. The longer they cook the sweeter and deeper the flavor. It will just be a preference thing but I like them medium brown. At this point I add the garlic so the flavor mellows. If you add the garlic too soon, it will brown and get a bitter bite to it.
 For the record, I don't use wine on this website. I don't cook with it. I know that seems very non-chef of me, but I have actually never tasted the stuff (for religious reasons). Ask me how I survived culinary school? It was fun! They were actually very cool about it. Now I have a lot of folks who are associated with AA who use my blog for that reason. The mere taste of wine would not be good for those darlings. So I love you. If you cook with wine, you can use 2/3 cup red wine here. I used a nice non-vintage grape juice. It's all good.
 De-glaze the pan with wine/juice and stir in all the flavor that was collected on the bottom of the pan.
 Now, all at once, add the oats.
 Add the 4 cups of vegetable or chicken stock (make sure it's low sodium folks or it will reduce and be really salty). Cook over a medium heat 15-20 minutes, stir occasionally. This is different form traditional risotto that has to be constantly stirred for a full 20-30 minutes while slowly adding the liquid. You love me right now right?  After 20 minutes it will have thickened a little but not be too thick.
 While it cooks make sure your lemon and dill are ready.
Add the peas, cream cheese, dill and lemon to the thickened oat mixture.
 Stir until the cream cheese has dissolved.
 Turn off the heat. Eat the cheese.
The risotto-style oats will thicken a little more as they cool. Once the heat is off, stir in the cheese and let it melt. This will ensure that the final dish stays creamy instead of getting grainy-cheese. Serve this as a main dish with some crusty bread and some field greens drizzled with French dressing or alone. I think it's perfect with some grilled Salmon and hint of crispy bacon. Top each serving with some savory cheese and a sprinkle of fresh dill. It is delicious!
There you go! Now your challenge this week is to try steel cut oats a different way than you've ever had them before. If you've never had them ever...why not give them a try? Make them up and tell me all about it! I'm excited to here what you're making with whole grain.

Always My Very Best,
Your Friend Chef Tess