Tuesday, October 18, 2011

Giant Cherry White Chocolate Sweet Rolls the Size of A Dinner Plate (Tutorial)

 I've had a lot of requests...um...a SEA of requests for a tutorial on how to make the giant rolls the size of a dinner plate. I'm assuming that y'all are going to share these rolls with me right? I mean...if I share the secrets to perfect buns-o-glory I ought to at least get to sniff the frosting. Isn't that fair? Well. I'm sharing. I think it's an awesome skill. Let's face it...skills are good. Boys like girls with skills...and ligers. What's a liger? (Quick...name that movie...and then bust out your moon boots and dance for me. )
 Let's assume for just a minute that these are also some level and degree of almost healthy. Wouldn't that just blow your mind? Well...they're 100% whole grain and low fat. If that's a deal breaker...walk away now. I'm giving you some serious happy food. Glad all over food...even your bum will be glad you came to see me. Dang...did I just type that out loud? Well. I used half the dough from the 6 whole grain bread recipe. When it finished it's raising, I rolled it out like this...The full legnth of my kitchen table. Yup. That long.Flour the table pretty well there too. I'm not making them sticky buns. Um...sticky to the table buns...roll about 1/2 inch thick 18 inches wide and 4 feet long.
 Smear with a drizzle of honey caramel sauce, top with some Peaches and Cream Smoothie Mix (about 1/2 a cup) white chocolate chips and sun-dried cherries. I also sprinkled a light dusting of micro-fine lime zest and fresh ground nutmeg...just a kiss. Not a make out session. Just saying.

 Now...The secret to huge rolls...is to roll it the short way the full length of the table...instead of the short way the full length of the table.

 Keep your rolling pretty tight and pinch the livin' daylights out of the side seam so it doesn't fly open and spit it's gorgeous delicious innards out. How's that for a visual?
This makes 3 large rolls. 5-6 inches high and 10 inches wide when baked. You'll need to generously grease 3 10 inch baking pans and place the rolls in them. This helps the rolls keep a nice shape too.

 This pan is the pan that came with my Solar Oven . When the roll raises, it will peak it's beautiful glorious body over the top of the pan...as if to say, " I'm ready to meet my maker...or baker...or whatever a giant roll meets at the end of it's short life." Yes. It appears my rolls actually talk just like I do. Did I ever tell you my son's favorite muffin joke? "What did one muffin say to another muffin as they sat in the oven? 'Oh my crap! A talking muffin!" Yeah...I never claimed that it was a good joke. Golly. Look at that bun!
 I placed her...er...um...it. I can't call it a her. She would never forgive me for making her so fat. He on the other hand would stand in front of the mirror and say he was ripped. So...there it is. HE will be baking soon. Close the preheated solar oven. (Regular oven bake at 350 degrees 30-35 minutes.) Solar...45-50 minutes.

 Mmmmercy. HE is pretty hot. I must admit. I'm a little...flustered. 
There you go. Make some freaks of nature! Have fun...and don't forget to share! I love seeing your creations on my Chef Tess Bakeresse Facebook Page! I think every single freak need to be seen...at least a few seconds before it's destroyed by the family forks. Xoxo.
Always My Very Best,
Your Friend Chef Tess

Monday, October 17, 2011

Homemade Wheat-butter Club Crackers

Mondays I try to share a little something on cooking with food storage! Today is not an exception!

Previously I've posted on how to make homemade wheat-thin-type crackers . Today I wanted to share a variation using dehydrated butter that makes a really light crisp buttery cracker. They're like a buttery whole grain version of a club cracker. This is a follow up after our cracker class last week.  Those who are local can look at the Upcoming Classes for more detail on what's coming around the corner! I'm so excited!
 Chef Tess' Wheat Butter Club Crackers


3 cups Whole Wheat Pastry Flour
1/2 cup White Corn Flour
1 cup Powdered Butter (or 1 1/4 cup real butter softened)
1 tsp salt
1 tsp baking powder
1 1/4 cup water
Directions: Combine the dry ingredients well in a medium sized bowl. If you use real butter, work it into the dry ingredient mixture as you would for biscuits or pie crust.   Preheat oven to 375 degrees. Lightly oil a baking stone or large sheet pan. Roll crackers according to the directions in the tutorial for homemade wheat-thin-type crackers. Lightly mist with water and sprinkle with spices. You can also mix  a few tablespoons of 6 Grain Rolled Cereal into the dough before rolling it. I love how those whole grains make the crackers taste and add some hearty flavor.
 Another favorite thing to do...sprinkle the dough a light mist of water and then top with Whole Brown Flax Seeds. Lightly roll with a rolling pin into the dough and then cut as you would for the crackers.
White Sesame Seeds are also perfect for these little crisp wafers along with some natural sea salt.
Isn't that just beautiful?! You can make your own crackers too! I look forward to hearing your adventures in the kitchen. 
There you go. 
Always My Very Best,
Your Friend Chef Tess

Sunday, October 16, 2011

Perfect Practice in Trust

Sunday is the day I share a little of my soul. Enjoy


"Well, it's been an amazingly interesting week." That, of course, is the short answer I give when people ask how I'm doing. I'm quiet about a lot of things and I think that more often than not, I could probably be a little more open. I could share every challenge, stress, concern and frustration I face regularly... On the other hand...there are five fingers. Sometimes it's hard to find a balance of what I should share and what to just shut my pie hole about. However, today I wouldn't be amiss in saying that I've struggled with some new stress in my life. How's that for being ambiguous? I've found that more often than not when the battle seems to fierce...it's because I've been going to battle alone.  That's been the stress this week. I fell down a few times on my food. I ate junk that I knew I shouldn't and used the excuse, "I'm so stressed out!"...When in all reality I think I was being prideful.  I was wanting to deal with "things" all by myself instead of really inviting a mega-warrior to do the battle for me. The long and short of it...I forgot to practice complete trust in God's will.


A perfect practice of trusting God's will, always ends with a level of peace I've never been able to find in a plate of doughnuts...ever. So why would I ever turn back to a pastry for "fake" peace and fleeting comfort? Um...the short answer..."I'm not perfect." I'm also not above being able to have a weakness. Having weakness isn't a sin. Pride and not being willing to let go of my weakness...well that's another story.  Faith is letting go of fear. Fear that God can't heal us. Fear that we can't really find the peace or comfort we need in all our challenges. 


We inevitably must arrive at a moment in our lives when we are willing to practice Christ's complete trust in God's will, in order for us to experience his complete Peace. That peace that passes all human understanding is what I ought to seek out daily.  I must be willing to trust that Christ, my warrior, can help me see through the mist of what seems to me to be a triumph  of the adversary in my life and the lives of others, to the magnificent and inevitably glorious victory of Good and God. So...this week, starting afresh, I will be praying for that perspective that will give me power to let go. Starting afresh is a beautiful thing. Isn't that what the gospel of about? New powerful beginning?  


There it is.
Have a wonderful new week.
Your Friend,
Chef Tess

Saturday, October 15, 2011

Spider-Pan Dulce...Tutorial


With Halloween coming this next week, I thought I'd share how I make my Spider-Pan Dulce! Isn't she beautiful all perched on top of that loaf of bread? Well...she's also 100% edible! Isn't that crazy!


To make the loaves yourself, take one pound of bread dough. Today I used Sweet Potato Yeast Bread but you could easily use my 5 day bread dough as well. take a 2 oz ball of dough out of the loaf and set aside. Pull the rest of the dough into a tight ball. 


Place seam side down on a large sheet pan lined with parchment paper. Poke a hole in the center of the top of the loaf and form the 2 oz of dough into a spider, placing the legs down first and then topping with the body of the spider. 


Using a dough cutter, make deep cuts into the loaf in a diamond shape, leaving the spider on the top intact.


Allow to raise 35-45 minutes.  Preheat oven to 375 degrees. Bake 40-45 minutes until internal temperature of 165 degrees.  Follow my directions for the basic bread painting here.  To get the white, use edible white gel paste. I have other methods...but that one is the simplest by far. The gel paste colors are perfect for bread too!  


There you go. I'm sharing this on  this FaveCrafts Blog Hop post,. If you take a second and pop over to vote for my bread, I'd be most thankful! Xoxo!


There you go!
Always My Very Best
Your Friend Chef Tess

Thursday, October 13, 2011

Homemade Gourmet Cheese Crackers

Tuesday I taught a Cracker-lackin' Homemade Cracker Class at Honeyville Farms in Chandler. I promised everyone I'd post how I make my homemade cheese crackers. I'll be adding a few others too...but today this is the Cheesy tutorial. Be impressed. There's a reason the words "cheese-crackers" have "crack" in them. Just saying...totally addictive little crispy wafers of wholesome goodness. I could eat them all day if I didn't have cheese issues. Seriously. I have a mild milk allergy. Sometimes I break my own rule and eat a little nibble of cheese...and then my eyes swell up the next day and I look like a mole with cotton balls shoved under my eyelids. Why do I do it? I'm not sure. However, during the class I served them with some of the warm jalapeno popper dip . Totally evil. Don't make it if you're on a diet. It's powers are too strong...I'm totally not kidding.
 As for the cheese crackers. Let's begin. As a random fact, mine don't have any fake stuff in them so they're good that way. I also like to see the cheese...so if you like an orange cracker, you may have to melt your cheese more than I do. 


 Chef Tess' Homemade Gourmet Cheese Crackers


1 cup freeze dried cheddar cheese (or 3/4 cup sharp cheddar cheese)
1/2 cup warm water
2 1/2 cup whole wheat pastry flour OR 2 1/2 cup all purpose flour
1/4 cup Lucero Olive Oil (garlic or lemon are amazing here)
1/2 tsp baking powder
1/2 tsp salt


salt and seasoning of your choice. I use Chef Tess All Purpose Seasoning  


Directions: Preheat oven to 375 degrees.
In a bowl combine the flour, salt and baking powder. 


 Combine cheese and water. If you use fresh cheese, use only 1/4 cup water. The warmer the water, the better melted the cheese will be...but don't get it too hot or it will be gooey cheese. We want it to be able to blend. If using the freeze dried cheese, let it soak about 10 minutes.

Measure your pretty olive oil. I use Lucero Olive Oil because I adore the flavor. Make sure it's a good oil folks. 

 Combine the dry ingredients with the cheese mixture.


 Add the oil.


Mix until just combined. It only took about a minute.

Roll half of dough out on a lightly oiled baking stone. 


 Use a pizza cutter or a pastry cutter to cut the dough into squares.
 Prick with a fancy cracker making tool...like a fork.


I lightly mist the crackers with a little water from a spray bottle and then sprinkle with seasoning. Bake in preheated oven for 15-20 minutes until crispy. Mmm.
 I really love seeing the cheese in my crackers...but again, if you are more conventional...let the cheese melt a little longer.
There you go! Homemade cheese crackers. I'm looking forward to seeing all the ones you make!  Do you want the printable PDF for all the rest of the recipes for the class? Go here. Enjoy!


Thanks to Auntie Em!
 Get the printable of this tutorial:


cheese cracker tutorial PDF

Wednesday, October 12, 2011

Random Thoughts...Ace Day

Today is Ace's Birthday. So, I made pumpkin caramel sticky buns with toasted pumpkin seed that are the size of a full size dinner plate for him....
 True confession...I think he likes getting old.
I made a point to let the boys pick out some snazzy gifts. Knowing how sentimental and funny dad is, they asked to go to an antique store to find his "birthday treasures". Face found a "Fall Guy" metal lunchbox from the 70's...original. It was complete with battle damage from some little kid. When Ace opened it...he hugged it and almost cried. It's now in a place of glory displayed in our bedroom.  Little Man settled on a not-so-antique gift the next day. Yes, we found the first season of "Starsky &Hutch" on DVD...what can I say. It seems that my husband likes old car shows. Who knew that the driving Ace would like car shows?! Yikes.  

However, the biggest, coolest gift came after the actual gifts.  Little Man and Face made birthday cards.  To me, these were a priceless.  Why? Because at the store, my son Face turned to me and said, "It doesn't matter what we buy dad...he'll just want snuggles for his birthday. We might as well go home and only give him snuggles. He'd be happy." Anyone who know my husband will 100% understand that comment. The man absolutely adores his kids. 
So...Happy Birthday Ace.


That's all I have to say about that.

Tuesday, October 11, 2011

My Homemade Salad Dressing Segment from Fox 10

I had to add this to the blog since it's up on YouTube and I was excited to see it. It's one of my earlier videos from August of 2009 and I thought for sure it was long lost! I'm so thankful to Big C for posting this! At any rate, look at the original recipe post for this segment here. Honestly this was so fun to watch and look back at one of my early ones.  Xoxo! Big hugs Fox 10!


Always My Very Best,
Your Friend Chef Tess

Sunday, October 9, 2011

Get Ready to Watch the NBC 12 Morning Show Pumpkin Segment

Tomorrow, (Monday) at 6:45 AM on our local Phoenix NBC 12 morning show, I'll be making some amazing things with Pumpkin from our local Organic growers at  Love Grows Farms! I visited the farm yesterday and the pumpkins are beautiful! I adore their community supported agriculture program (CSA program ). It's an outstanding way to get organic veggies and not pay a ton of money.
One thing I found was their New England Pie Pumpkins (aka baking pumpkins) are amazingly sweet and wonderful for just what the name implies...baking. I popped the full size pumpkin, whole uncut, in my crock pot and let it go on low for 6 hours. After six hours I cut through the skin and scooped out the seeds, discarded...and had soft perfect pumpkin ready to bake with. No mess. It was awesome!
The smaller ones called Iron Man Pumpkins store up to 4 months and are great for pie too!
 This one is a classic Jack-o-Lantern Pumpkin...but will bake well too.

Pumpkin is also a Powerhouse of vitamins, minerals, essential oils and fiber that your body needs! It's considered a super food among plants! I bet you just thought they were good for baking right? Nope. The consumption of pumpkin provides you with potassium, magnesium, alpha and beta-caretenes and antioxidants like vitamins A, C, and E! They help provide a vast array of disease fighting nutrients. Plus, at 5 grams of fiber per 1/2 cup serving of pumpkin puree...they're an outstanding source for that too! 

Oh...and did you know that pumpkin seeds contain vitamin E, Iron, Magnesium, potassium, zinc, and are an outstanding source for plant based Omega-6 and Omega-3 fatty acids?!


That being said, here's what I'm making on the show.
  If you want the printable recipes go  Here
On the show I'll be starting with sticky buns...


There you go! Enjoy the magnificent fall pumpkins! 


Go visit my friends at  Love Grows Farms

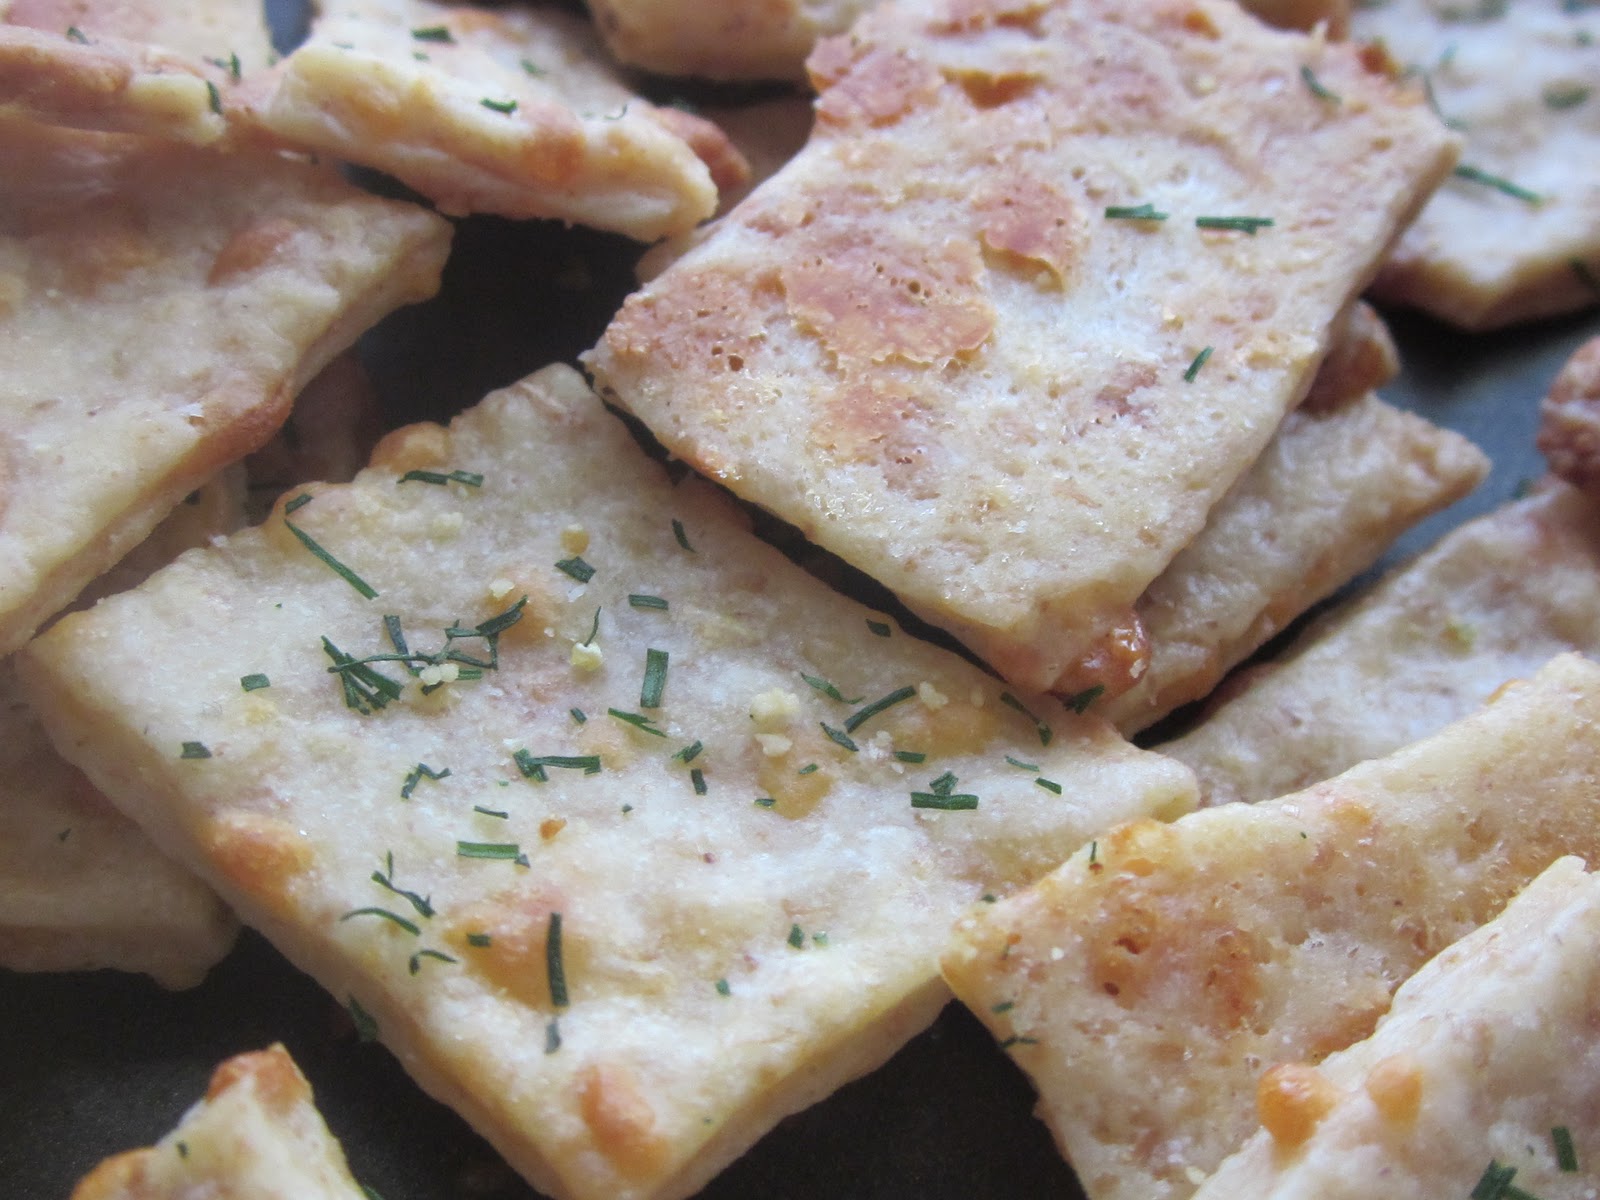
Remember my Free Cracker Making Class is tomorrow morning at 10 AM 
 Honeyville Farms Store
  33 South 56th Street Suite 1 


Chandler, AZ 85226

Phone: (480) 785-5210 


Always My Very Best,
Your Friend Chef Tess