Wednesday, February 29, 2012

Baking Basics and Beyond! Recipes and a Review!

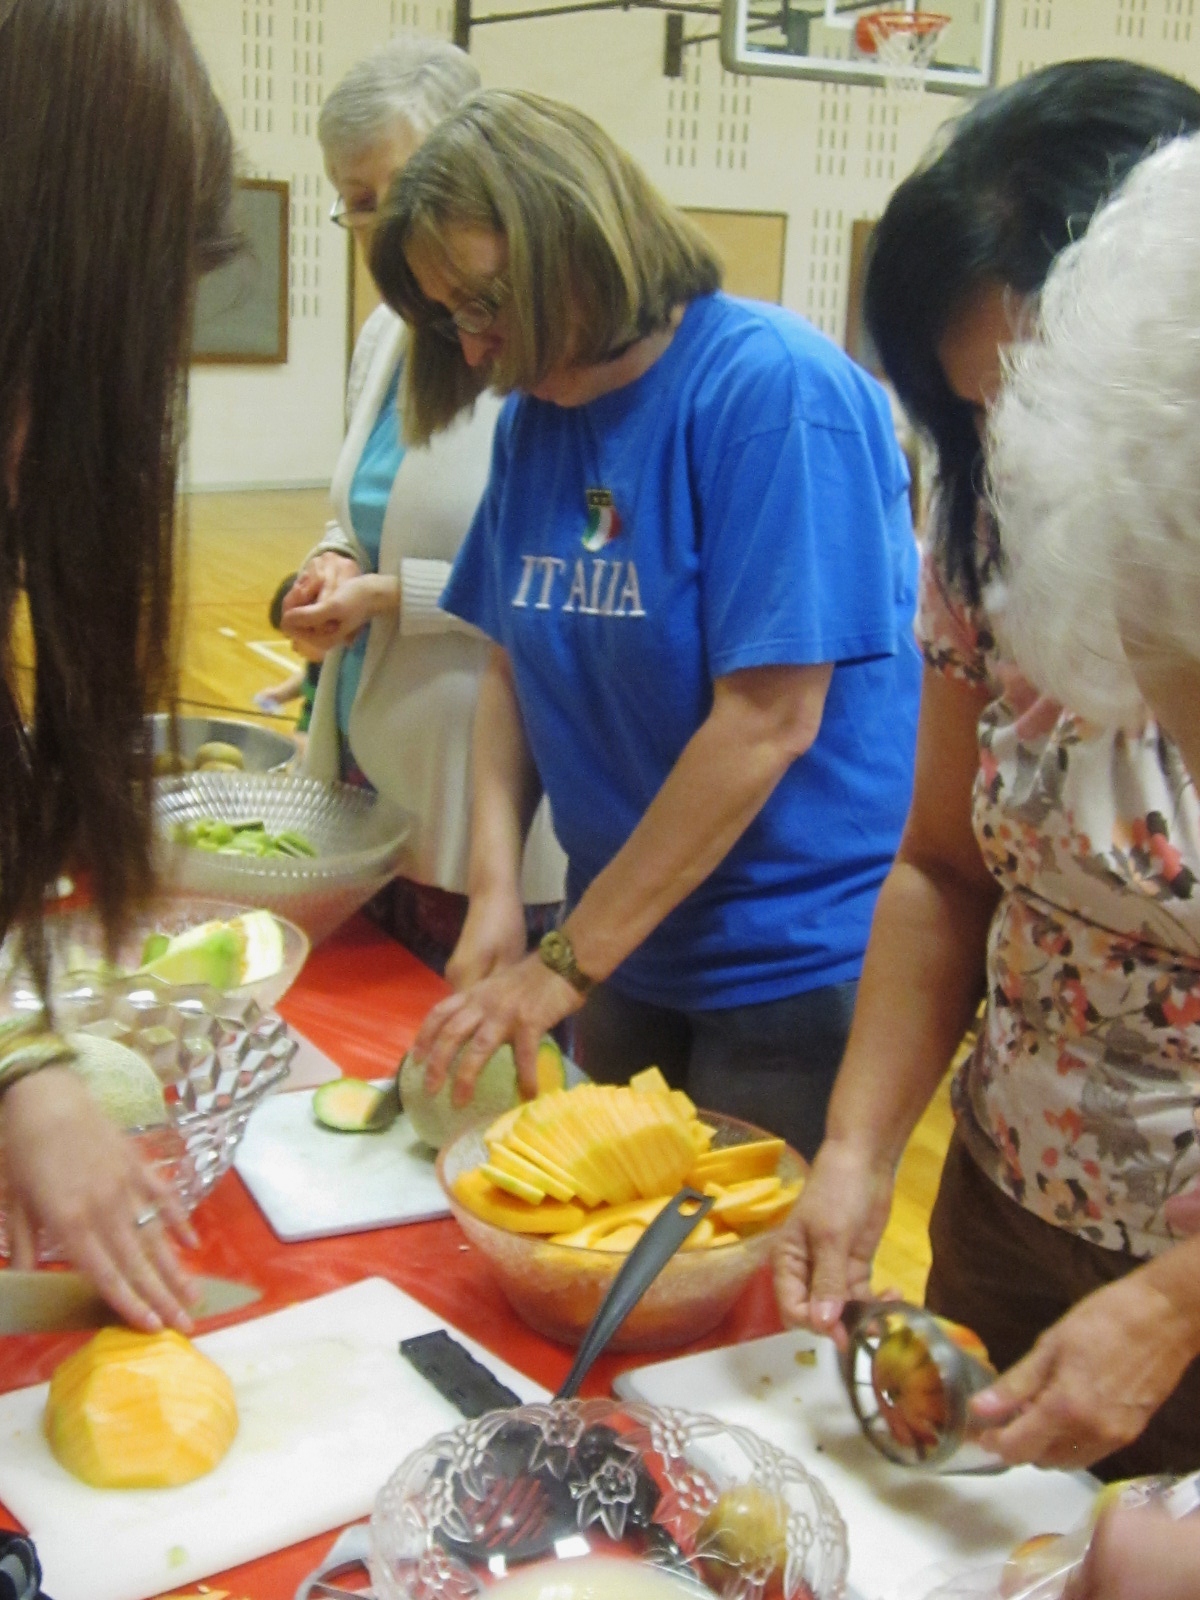
Recently my friend Pat Sinclair  sent me a copy of her outstanding second edition  Baking Basics and Beyond ! Literally  it's the ultimate baking guide both for beginners and bakers looking to perfect their skills. It has more than 100 classic and updated recipes. I'm a huge fan!  Pat is also the author who wrote Scandinavian Classic Baking I adore that cookbook! This second edition  of Baking Basics and Beyond was presented with the "Baking Cookbook Award" by the Cordon d' Or--Gold Ribbon International Annual Cookbooks and Culinary Arts Program.

So, when I got this book I jumped in! Her recipes were so beautiful that I had a horrible time deciding what to bake! Thanks a lot Pat. You speak to my Baker's heart!  I bookmarked 12 recipes and poured over the wonderful descriptive pages. She does such a great job of describing baking skills. Her tips were perfect not only for beginners, but seasoned bakers as well. Here recipes, as always, made me drool. I finally settled on two recipes to whirl around. The first was one of the final recipes in the book. It was an Onion, Fig, and Asiago Focaccia. She described it so beautifully I couldn't resist! " A traditional Italian focaccia is sprinkled with herbs, usually rosemary, and drizzled with olive oil, making it a nice addition to an Italian Dinner...the contrast between the sweet figs and the caramelized onion is outstanding."   What more can I say?! Well, I can say, "Wow! This really is amazing!"  
 Onion, Fig, and Asiago Focaccia
 by Pat Sinclair from Baking Basics and Beyond  

2 3/4 cup (333g) All purpose flour
1 T (15 g) sugar
1 (1/4 oz[7g]) package active dry yeast
1/2 tsp (2.5 mL) course salt
1 cup (236 mL) very warm water (120-130 degrees Fahrenheit [49-54 degrees Celsius])
1/4 cup olive oil, divided
1 cup (150 g) sliced onion (1 medium) {I used red onion}
1 cup (90 g) grated Asiago Cheese
8 dried figs, coarsely chopped
2 teaspoons (10 ml) coarsely chopped fresh rosemary
Coarse salt


Combine flour, sugar, yeast, and salt in large bowl. Add water and 2 tablespoons (30 mL) Olive oil and mix until a sticky batter is formed. 

 Cover bowl and let batter rise in a warm place for 30 minutes. Dough will have risen, but may not be doubled. Punch down, forcing out any large air bubbles. Cover loosely and allow dough to rise 15 minutes. 
 While dough is rising, heat remaining olive in a  9 inch (22.5 cm) skillet over medium heat. Add sliced onions and cook until tender. You will need to stir occasionally so onions don't burn. When cooked through, onions will be transparent. Cool slightly before placing onions on the dough. They will brown during baking. 
Lightly spray a 12 inch (30 cm) pizza pan with non-stick cooking spray. Press dough in pan, pressing so it sticks to the pan sides. Use handle of a wooden spoon on your knuckles to press dimples in the dough. Place onion slices on top and sprinkle with cheese, figs, rosemary, and course salt. The oil will fill in the dimples. 
 Cover loosely and let rise 30 minutes.  Heat oven to 425 degrees (220 Celsius) with rack in the lower third of the oven. Bake 20-25 minutes or until focaccia edges are brown and cheese is melted. Cool to room temperature and cut into wedges before serving. 

The second recipe made me weep.  It was *that* beautiful.  It also made my husband get up at midnight and eat 6 bars and drink half a gallon of milk. It was a gorgeous lemon bar that Pat called the Sunny Citrus Bar!
Pat Sinclair's Sunny Citrus Bars
 Pat described, "Here's my favorite lemon bar recipe. I use orange juice, in addition to lemon juice, to balance the sharpness of the lemon juice..." I stopped reading after that description. I ran outside. As random as that seems, we have an orange tree in my backyard full of sweet beautiful oranges that have been begging for something like this.  I think that's the first time I've had that literal reaction to a baking book. I just dropped what I was doing and ran outside for an orange! Add the lemon from a friend's tree and I was ready to run with these bars! Run and hide! Run and not share! Run...and run for 5 miles so I could burn enough calories to eat a couple more! I really loved these. Pat called for a 9 by 13 baking pan, but I did use a 10 by 10. My filling and crust are a little thicker than they would be if you used a 9 by 13...so keep that in mind. However...these bars are going to taste divine. They were a perfect balance of tart and sweet with the buttery shortbread-like crust that melts in your mouth. Pat also uses a glaze for her bars. Remarkable. 
Sunny Citrus Bars
by Pat Sinclair from Baking Basics and Beyond 
Yield 36 bars

Crust: 
2 cups (242 g) all purpose flour
1 cup (115 g) powdered sugar
3/4 cup (170 g) butter

Filling: 
1 1/2 cups (300 g) sugar
3 tablespoons (23 g) all purpose flour 
1 teaspoon (5 mL) baking powder
1/8 teaspoon (.7 mL) salt
4 eggs, beaten
1/2 cup (118 mL) freshly squeezed lemon juice (1-2 lemons)
1/4 cup (59 mL) freshly squeezed orange juice (1 orange)
1/4 cup (57 g) melted butter
1 teaspoon (5  mL) grated lemon peel
1 teaspoon (5 mL) grated orange peel 

Glaze: 1 1/2 cups (171 g) powdered sugar
           2-4 tablespoons (30-60 mL) orange juice

Heat oven to 350 degrees Fahrenheit (180 degrees Celsius) with oven rack in middle.  Lightly spray the bottom of a 13 by 9 -inch (33 X 22.5 cm) baking pan with non-stick cooking spray. 

Crust: Mix flour and powdered sugar in a medium bowl. Cut in the butter with a pastry blender until mixture resembles course crumbs with some pea-sized pieces. Press crust evenly in bottom and slightly up sides of baking pan. Bake 20-25 minutes or until edges begin to brown. Reduce heat to 325 degrees (165 Celsius).

Filling: Combine sugar, flour, baking powder, and salt in medium bowl. Beat in egss using a wire whisk. When smooth, stir in lemon juice, orange juice, butter, lemon peel and orange peel and mix well. Pour over hot crust.
Bake 20-25 minutes or until filling is set in the center and a knife comes out clean, although it will still be wet. Cool on a wire cooling rack to room temperature. 
Glaze: Combine powdered sugar and 2 tablespoon (30 mL) orange juice in a small bowl and beat with a small whisk until smooth. Spread glaze over cooled bars. Store bars in refrigerator. 
Thank you Pat Sinclair for sharing this "baking bible"! It's a masterpiece full of timeless baking wisdom, well tested recipes, and just down-right good advice. It's made understandable to not only the beginner, but the experienced baker as well. Pat is a food consultant and cooking teacher with a master's degree in foods and more than twenty-five years of professional experience. Throughout her career she has worked with high profile clients such as Land O'Lakes, General Mills, and Pillsbury.  She lives in Minneapolis...but visits Arizona often in the winter. In fact, it was on one such visit, that we had the chance to meet in person just outside the NBC studio as I was heading in for a segment! She's just a doll. That is of course, how I've come to share this book and her last book Scandinavian Classic Baking with you. Oh the kindred spirits!  I'm certain I'll use this Baking Basics and Beyond with great joy for years to come.  I highly recommend it!  

There you go! Baking Basics and Beyond  now in it's second edition.  A beautiful book by a wonderful lady!

Always My Very Best,
Your Friend Chef Tess


Tuesday, February 28, 2012

Homemade 9 grain Tortilla Mix


 Since I'm teaching a class this morning at Honeyville Farms on how to make many different kinds of tortillas, I thought I'd share this quick and easy recipe for 9 grain tortillas here on the blog! I realized that though I had the sprouted wheat tortillas, the Corn Masa Tutorialhomemade corn tortilla tutorial, and the Flour Tortilla Tutorial, I had never done a basic multi-grain tortilla here for folks to enjoy. I'm sorry about that.  I am! There's no excuse. Plus,  I live in the Southwestern USA...and we eat a lot of Mexican food. Many of  my dearest friends are here from Mexico and we share some good love, good food and good laughs! One of those dear friends named Alba taught me how to make tortillas in the traditional Mexican style. It's a little different than the way I grew up but they always turn out tender, flaky and never need extra flour on the counter top to keep them from sticking! The secret is boiling the water and having it boiling when you add it to the dry mix. That's a big secret.  It never fails however...that my life as a baker ends up with me making a lot of dough balls. How is that? 

Chef Tess 9 Grain Tortilla Mix
Mix ingredients:
3 cups Mountain Mills Whole Wheat Flour
2 cups 9 grain flour (it can be made by running 9 grain mix through a grain mill on the finest flour setting)
1 cup organic Spectrum shortening OR powdered shortening
1 T baking powder
1T real salt 

To make the mix: Combine dry ingredients. If you use the organic shortening, you need to cut it into the dry ingredients with a pastry blender or a stiff wire whisk until it's in small pea-like sized pieces. 
Yields 2 mixes, 3 cups each. Each mix will make 8, 10 inch tortillas. 

To Prepare: Bring 1 cup of water to a boil. Put tortilla mix in a heat-proof bowl and pour boiling water into dry mix. Stir with a spoon until well combined. Let dough sit 5 minutes and then knead by hand until supple (about 1 minute). You will not need flour on your counter top. Boiling the water will partially cook the starches and cause the dough to be more workable and is the most traditional method for making flour tortillas. 

Preheat a griddle while you are rolling out the tortillas, about 3 minutes. Cook the tortillas on one side and then turn over.
 Place in a covered pot or tortilla warmer to keep them moist an pliable. 
 Enjoy!


There you go! Make some homemade tortillas! 9 grain tortilla mix Printable Recipe. If you missed the class, you can get the Printable Class Notes. Love. Love. Love.

Always My Very Best,
Your Friend Chef Tess

Monday, February 27, 2012

Vegetable Fried Rice in a Jar (52 Method Continues)

Okay...It's really not fried rice. I don't fry it. It's a lot healthier that way and my family hasn't noticed a difference. However, I can say that all eight cups of cooked food looked like this before cooking: 
Vegetable Fried Rice in a Jar
If you are new... 
 my series on homemade convenience meals you will want to read the Introduction to the 52 Method It's a very fun way of preparing meals ahead of time for emergencies or everyday use.  It's a basic menu planning method for food storage based on meals that your family will eat, having all the ingredients in one-quart size jar. ONE jar...easy to find. Easy to plan.  I think it's an idea that's been a long time coming and this is yet another recipe.  You will be using a method called "vacuum pack canning". No liquid or pressure canning is necessary. If you opt to use the freeze dried meat in the recipes, please note NOTE: The repacking of Freeze Dried Meat must be done within 24-48 hours of opening the can and must be done in a dry environment. Once repacked you must use an oxygen absorber to make sure there is a vacuum oxygen free environment. Mylar bags can also be used instead of jars, but it is not recommended to use Ziploc bags as the sole source of storage if you are including meat. 


This week's recipe is one that I converted from one of my favorite food storage meals, Ham Fried Rice. Originally it was for a cooking class on how to use freeze-dried and dehydrated eggs . It's been a long-time favorite at our house without the ham because of my husband's vegetarian preferences. This one got added to the food storage meals-in-a-jar with the advent of   Soy Sauce Powder into my life. I used Chef Tess Thrive Life for the food in this post. 


In the can, they are cooked and freeze-dried pieces of scrambled egg. They are different than egg powder or egg crystals. They can only be used for meals where it calls for cooked eggs. Fried rice is a perfect fit for this!
 We enjoy them in breakfast burritos and skillet meals. 

 Chef Tess Vegetable Fried Rice In A Jar

Ingredients in the jar:
1 cup freeze dried scrambled eggs
1 cup long grain rice
1 cup freeze dried Vegetable Mix of your choice (corn, peas, carrots)
1/4 cup freeze dried onion
1/4 cup freeze dried celery
1/4 cup freeze dried bell peppers
1/4 cup freeze dried mushrooms
1T Haco vegetarian ham base or 1T chicken bullion (chicken won't have a smoky flavor)
1/8 tsp red pepper flakes
2 tsp garlic granules (or powder)
1/2 cup Soy Sauce Powder  (shake it down into the vegetables when you add them)

Put all ingredients in a jar. I use a funnel. In order to get it all in, you will need to shake the soy sauce powder into the vegetables. Top with a 300 cc oxygen absorber to make the meal shelf stable.  This is good 5-7 years. I't great for emergency food storage or to use for dinner during a busy week. 

To Prepare:
Bring 4 cups of water to a rolling boil in a gallon size pot with a tight-fitting lid. Combine contents of the jar with the boiling water. Stir. Reduce heat to very low. Cover and simmer very low 20-25 minutes until all the rice is cooked and the vegetables are tender. Serve hot. Yield 8 cups of cooked Vegetable Fried Rice.

There you go! Have fun with this one! 

Always My Very Best,
Your Friend Chef Tess


Saturday, February 25, 2012

The Sweet Cooking Session with The Church Gals!


 Today's cooking class was like three classes in one. We talked "freeze cinnamon rolls", "fruit cutting and preparation for large groups", and "cooking for large groups using food storage ingredients".


Class one. How To Make Freezer Cinnamon Rolls", was outstanding. Some gals got to play with frosting...err...frost the cinnamon rolls in a really fast and easy way.  What is it about playing with frosting that makes life so beautiful? I don't know. That's probably one of my favorite things to do.


Class two. "How To Cut Fruit Fast and Effectively for Large Groups", was beautiful. Even the little ones got involved. Peeling melon correctly as well as kiwi. We had many hands, light work, and a lot of laughs. 
  Seeing the food laid out after all the work, is always so gratifying. 
Class three. "How To Cook a Quiche Using All Food Storage Ingredients" was the final blast. This delectable savory egg, cheese, asparagus and mushroom quiche with sausage was only one of 28 quiche that we had for the event. In the end we ended up with a few extra quiche, but I'd rather have too many than not enough.  It was a delicious and educational gathering of sweet ladies. I'm so grateful I was asked to teach. 

If you were there (or not there) and missed the printable recipes, shopping list, and tutorials for planning food for a large group like this, go here

We stayed right on track with our food budget and had a fantastic turn-out. I'm so thankful to everyone who helped bake, prepare and participate. It makes me so happy to see something like this come together so smoothly and end so well. God bless you all! I don't know about the rest of you...but I had a remarkable time. 

Always My Very Best, 
Your Friend Chef Tess


Thursday, February 23, 2012

Freezer -Friendly Cinnamon Roll Mix

Isn't it nice to have a convenient mix for something as evil as cinnamon rolls? Well. I'm sorry to have to be part of this plot to make your thighs bigger  life easier. This is the basic recipe I use for a batch of Freezer-Friendly Cinnamon roll mix. It's nice to be able to control the ingredients and make something fabulous.  I also make the mix for the sugar-spice smear to go inside the rolls. Yup. I shared it earlier this week in the post for the church-ladies' cooking class. That recipe included the directions on how much to buy for 240 rolls for a large group (see that here). However, I wanted to give it its own place-o-glory here on the blog so that it would be a little easier to access in the future for those who only want to make rolls for a few people instead. 


Chef Tess' Perfect Freezer Friendly Cinnamon Roll Mix

yield 2 dozen medium rolls


Cinnamon Roll Mix :
1T tsp active dry yeast
2T sugar or granulated honey
1 ½ tsp salt

To Prepare Dough You will Add:
1 ½ cups water (cool to the touch)
6T oil


Spiced Sugar Smear Mix: 


To Prepare Smear you will add: 
 3T water to this mix and spread inside the cinnamon rolls


Directions: 

  1. Combine everything in the dough mix in  one gallon size  bowl or mixer. I like that. Knead 5 minutes by hand or 3 minutes in a mixer on medium setting. This is a less developed dough as far as gluten is concerned. 
  2. Form into a ball and place in a bowl covered with plastic or a lid for 1 hour, or until doubled in size. 
  3. Take out of the bowl and place on a floured table or counter top. On a lightly floured counter top, roll into a rectangle, 2 feet long by one foot wide. It will be about 1/2 inch thick. Make sure you lift the dough a couple times and dust underneath with more flour so it doesn't stick to the table. 
  4. Prepare the smear by adding 3T water to the smear mixture. Spread the smear over the dough in a light coating. Leave about 1 inch on the ends and sides that doesn't have butter and/or sugar mixture. It will help the rolls seal better. 
  5.  Now roll them up tightly. Pinch seam tightly. Slice the roll into 24 1 inch sliced pieces. 
  6. Place 1 inches apart. 1 dozen in an oven safe freezer 9 by13 pan (with lid) that has been OILED so the rolls don't stick. 
  7.  Now...lightly mist the tops of the rolls with oil and cover with a loose fitting piece of plastic wrap (or lid).You are going to have to raise the rolls completely, about 45 minutes to an hour. 
  8. Then instead of baking, place in freezer and freeze solid. Now you can keep these up to one month! When frozen and ready to bake you take these out of the freezer and place oven safe pan on a sheet pan (it must be supported in the oven) bake at 375 degrees 20-25 minutes.
For large rolls that are 2 inches thick, this will only make one dozen rolls. Bake those 25-30 minutes.


 Get the Printable Recipe
There you go! Make fat thighs more cinnamon rolls. 


Always My Very Best,
Your Friend Chef Tess

Wednesday, February 22, 2012

The Spices Are Ready!

So...I have to share this epic moment with my darlings here on the blog. Most of you have followed me for a while and know how many sleepless nights and long hours I spent millings spices in my kitchen 'til the wee hours of the morning to help pay the bills. Eight years have gone by since I first started milling my fresh homemade spice blends.  Now, enough people have loved them, shared them and made them part of their life that they are in real bottles...with real labels. As sweet as it was to hand write all the labels for a few years it's supremely cool to see them come off a beautiful roller full of labels already printed. The company who is bottling them is called Wayzata Bay Spice Company. They're well known for their remarkable quality and are known in culinary circles for their freshness. They bottle on demand so it's been remarkable working with them and Honeyville Farms. Yes, I am now a Honeyville Farms product. They're well known for quality and are one of the most remarkable grain companies out there. It's a tremendous honor. 

Do you want to see them?! 


I just had to share! I'm so happy with how they've turned out!

Thanks Honeyville for having these in your retail stores!

Xoxo!
Always My Very Best,
Your Friend Chef Tess

Tuesday, February 21, 2012

How to Plan Quiche and Cinnamon Rolls for 220 People ( The Upcoming Using Food Storage Class)

One of the things I really love to do is teach people how to be prepared for anything. I do mean anything. Recently a dear lady named Claudia Reed invited me to teach a large group of ladies from our church how to cook with their food storage and also prepare food for large groups.  That event is coming up on Saturday!   In my former life I did work as an assistant banquet chef. Large groups just happened. Planning a menu for food storage has been a cool project.  The result was a menu for this gathering of gals that would include the quiche and cinnamon rolls along with a fresh fruit display and some instruction on how to make quiche, cinnamon rolls and cut large amounts of fruit efficiently. This is the first of a series of posts around this event...because today was the day we got together for about an hour and put together the quiche mixes and cinnamon roll mixes. 

We made the mixes that would be given to different ladies in the congregation who had volunteered to cook or bake and then bring them to the church the day of the event. What we wanted was a way to distribute the  food in such a way that we would have something delicious and educational. 

The quiche is made out of 100% shelf stable dry ingredients, but tastes amazing. It has real cheese, asparagus, mushrooms, eggs, and  sausage and chicken flavored textured vegetable protein. Frankly, TVP has come a long way since the 70's and I have to say I love the results we achieved with this quiche. It's tasty! 

Quiche Shopping list for 220 people:
28 prepared froze pie crusts (with pans)

1 #10 can Sausage flavored TVP 
1#10 Ova Easy Egg Crystals (equals six dozen eggs!)
2 #10 cans powdered sour cream
1 lb Ultra gel or cornstarch
1 jar Chef Tess All Purpose Seasoning


Chef Tess' Food Storage Sausage Asparagus Mushroom Quiche (Printable here)
yield 2, 10 inch quiche (8 servings each) for a light brunch. 6 servings each for a heartier meal.
2 prepared pie crust, ready to bake

Quiche ingredients:
3/4 cup Sausage flavored TVP or *Freeze Dried Sausage (See safety note on FD real meats!)
Ova Easy Egg Crystals 1/3 cup plus 1T
¼ cup ultra gel (or cornstarch)
1 tsp Chef Tess All Purpose seasoning

Directions: Place all quiche ingredients in a gallon size ziploc bag (ONLY if you use TVP. *Real freeze dried meat must be in a glass jar or mylar bag with an oxygen absorber) This ziploc bag will be shelf stable 3-6 months if kept in a cool dry place. If in a half gallon glass jar with oxygen absorber it will be good 5-7 years. So, you can plan on quiche without a crust. The instructions were given out with the bag of ingredients and 2 pie crusts to 14 ladies for our event. They will each make 2 quiche. That will give us 224 slices of quiche. 


To prepare quiche. Combine ingredients with 4 cups water Allow to hydrate 10 minutes. 


Place ready pie crusts in the aluminum pans on a cookie sheet (this adds support to the pans and makes them easier to move). Pour quiche mixture into prepared pie crusts. Do not fill to top, as they will run over. .


 Bake until set, 325 degrees 50minutes. Do not over bake. May be stored in refrigerator after baking and heated for service.


We also made 10 mixes for cinnamon rolls. These included a packet of my sugar and spice-butter smear to go inside the rolls. These should give us about 240 medium sized cinnamon rolls.  Gallon size bags for the roll mix and sandwich size bags for the sugar/spice smear to go inside the rolls.

Shopping List for Cinnamon Roll ingredients:
50 lbs California's Best Bread Flour (We had some left over for other rolls later)
1 lb active dry yeast
1 lb salt
1 #10 can Whole Egg powder
5 lb sugar
1#10 can powdered butter
2 jars Chef Tess Wise Woman of the East Spice Blend (yes, those are still not available online).

 These mixes were delivered to 10 ladies who are now going to bake the 2 dozen rolls for Saturday. We also provided them with the freezer safe Glad Ovenware .  Those pans are so handy!!  Grin. How's it going ladies?!  In case you're worried or have questions, I'm posting directions here on the blog. 

 Stephanie Petersen's Perfect Freezer Friendly Cinnamon Rolls (Printable hereyield 2 dozen medium rolls
1 1/2 c water (no hotter than 110 degrees)
1T active dry yeast
2 T sugar (1T honey)
1 1/2 tsp salt
6 T oil
Directions: Combine everything in one large bowl or mixer. I like that. Knead 5 minutes by hand or 3 minutes in a mixer on medium setting. You may need a little extra flour for kneading by hand. 


 This is a less developed dough as far as gluten is concerned. Form into a ball and place in a bowl covered with plastic or a lid for 1 hour, or until doubled in size. 


Take out of the bowl and place on a floured table or counter top. On a lightly floured counter top, roll into a rectangle, 2 feet long by one foot wide. It will be about 1/2 inch thick. Make sure you lift the dough a couple times and dust underneath with more flour so it doesn't stick to the table.


 You will need 1/2 c Honeyville butter powder , ½ cup sugar , and 2 T Chef Tess Wise Woman of the East Spice Blend  (This mix was provided for you) combined with 3T warm water until smooth.Spread the butter mixture over the dough in a light coating. You will probably not need all the mixture.  Leave about 1 inch on the ends and sides that doesn't have butter and/or sugar mixture. It will help the rolls seal better. 


 Now roll them up tightly. Pinch seam tightly.


 Slice the roll into 24 1 inch sliced pieces. 


Place 1 inches apart.1 dozen in an oven safe freezer 9 by13 pan (with lid) that has been OILED so the rolls don't stick.


 Now...lightly mist the tops of the rolls with oil and cover with a loose fitting piece of plastic wrap (or lid).You are going to have to raise the rolls completely, about 45 minutes to an hour.


Then instead of baking, place in freezer and freeze solid. Now you can keep these up to one month! When frozen and ready to bake you take these out of the freezer and place oven safe pan on a sheet pan (it must be supported in the oven) bake at 375 degrees 20-25 minutes.
We will frost them at the church building so don't worry about that step. Let them cool about an hour and then cover them with the lid to the pan. 

In the future if you want to make the mix (provided):
1T active dry yeast
2T sugar or granulated honey
1 ½ tsp salt

You will add:
1 ½ cups water (cool to the touch)
6T oil

sugar and spice mix (provided):
½ cup powdered butter, ½ cup sugar and 2T Chef Tess spice blend

Add 3T water to this mix and spread inside the cinnamon rolls
Follow baking directions (above)

For large rolls that are 2 inches thick, this will only make one dozen rolls. Bake those 25-30 minutes.

So, that's what I've been up to this week so far. I'll have to let you know how things go with our big event. 

If you're one of my baking or cooking ladies for the event, you know how to get a hold of me should you have further questions (my phone number was on the mix that  came to your house). I'm so excited about Saturday!

Always My Very Best,
Your Friend Chef Tess