Thursday, May 20, 2010

Recycled Cub Scout Pant Aprons for Boys. (Part 2 of the recycled pant apron series)


Those who have been following us long enough where able to see Little Man making homemade graham crackers on our local Fox 10 :Good Morning!

This post started when we where here: Crazy Cub Fundraiser Dinner . His leader informed me that Little Man's pants where not regulation. He needed green khaki. The whole rest of the year, Little Man wore the uniform pants we got. Until finally, they where too short. He got tall on me. It was time to graduate.
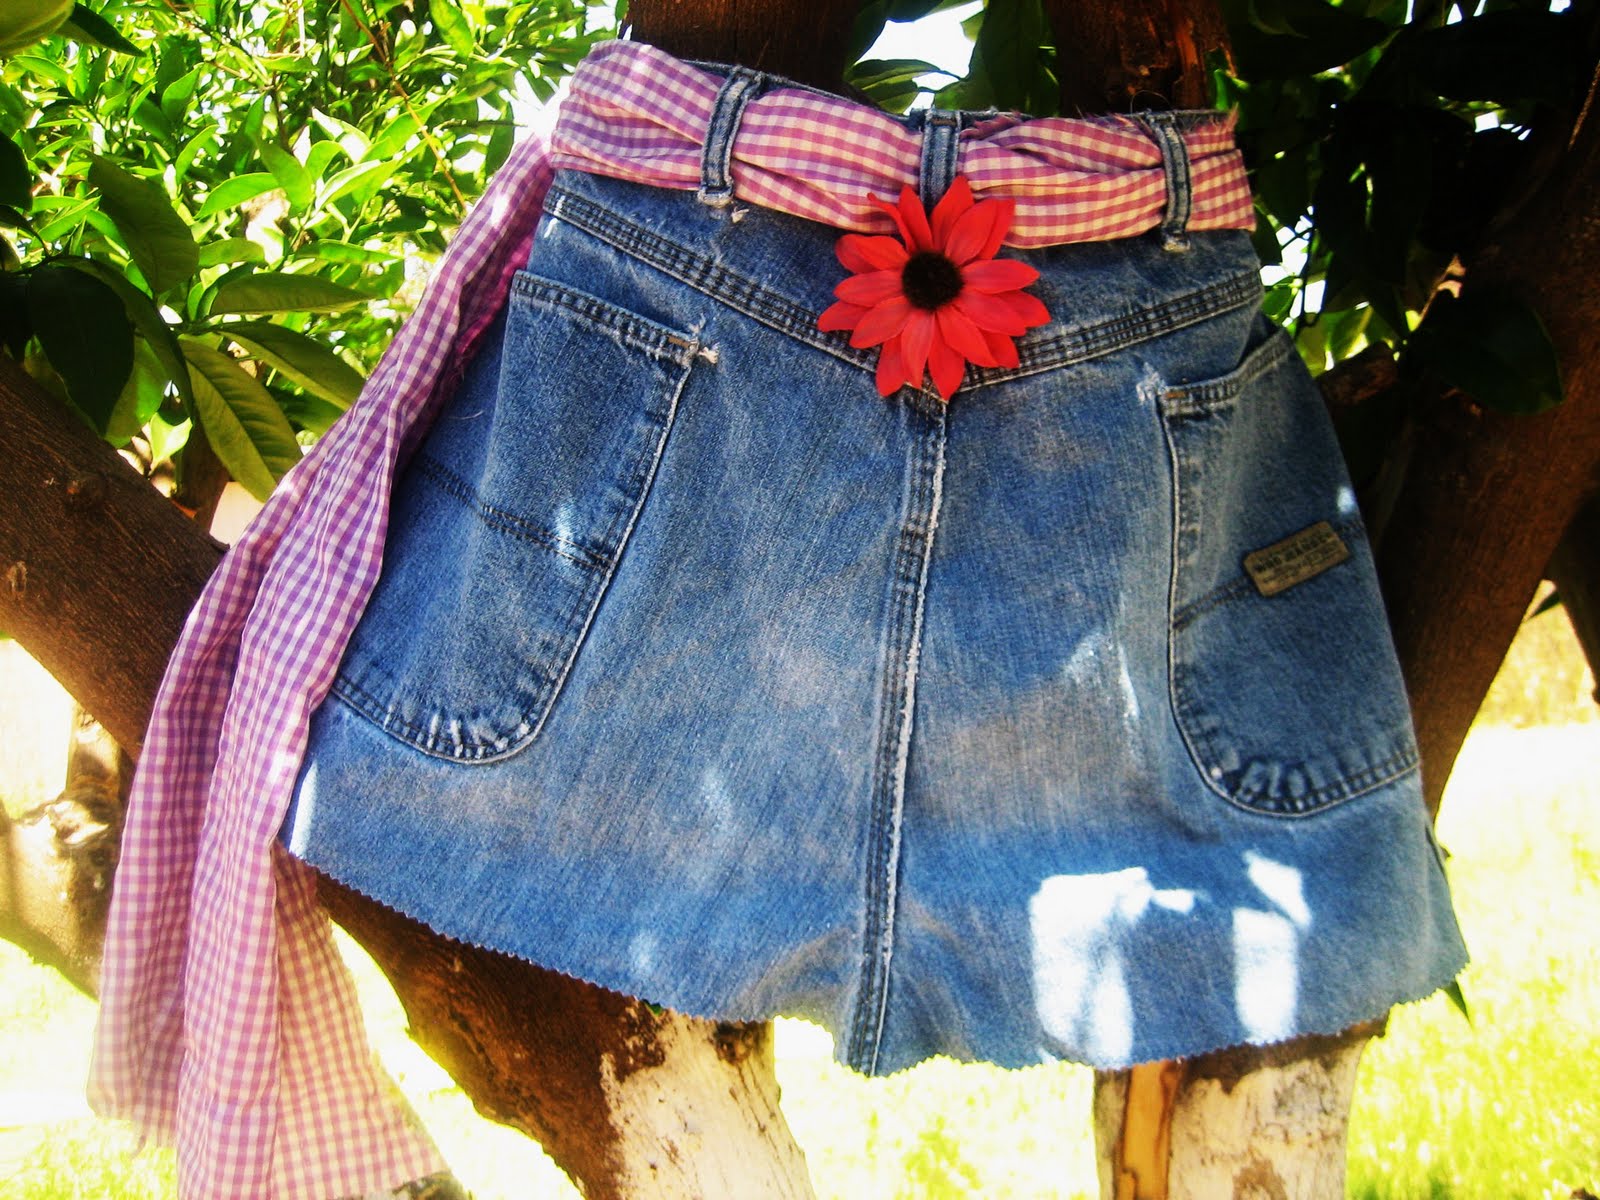
How do you make a fun pocket Army style apron like this...out of these old cub scout pants?
I think each apron I make is different depending on the style of the pants, so I'm going to show pictures and give ideas, just so you can wrap your head around how it's done. Starting with pockets on the pant leg, that I wanted to use as the pocketed bib for the apron, I left enough space to turn the seam inward, and to attach the neck strap.
At one point my son asked me to turn these pants into shorts, but the leg pocket was in a weird place, and the shorts would have been a mini skirt. Not good for a boy...or a girl. In my humble yet accurate opinion... my son will not be cross dressing.
I cut the front and back apart. This pair of pants will make two aprons. One for Little Man, age 11 (next week) and Face, age 7.
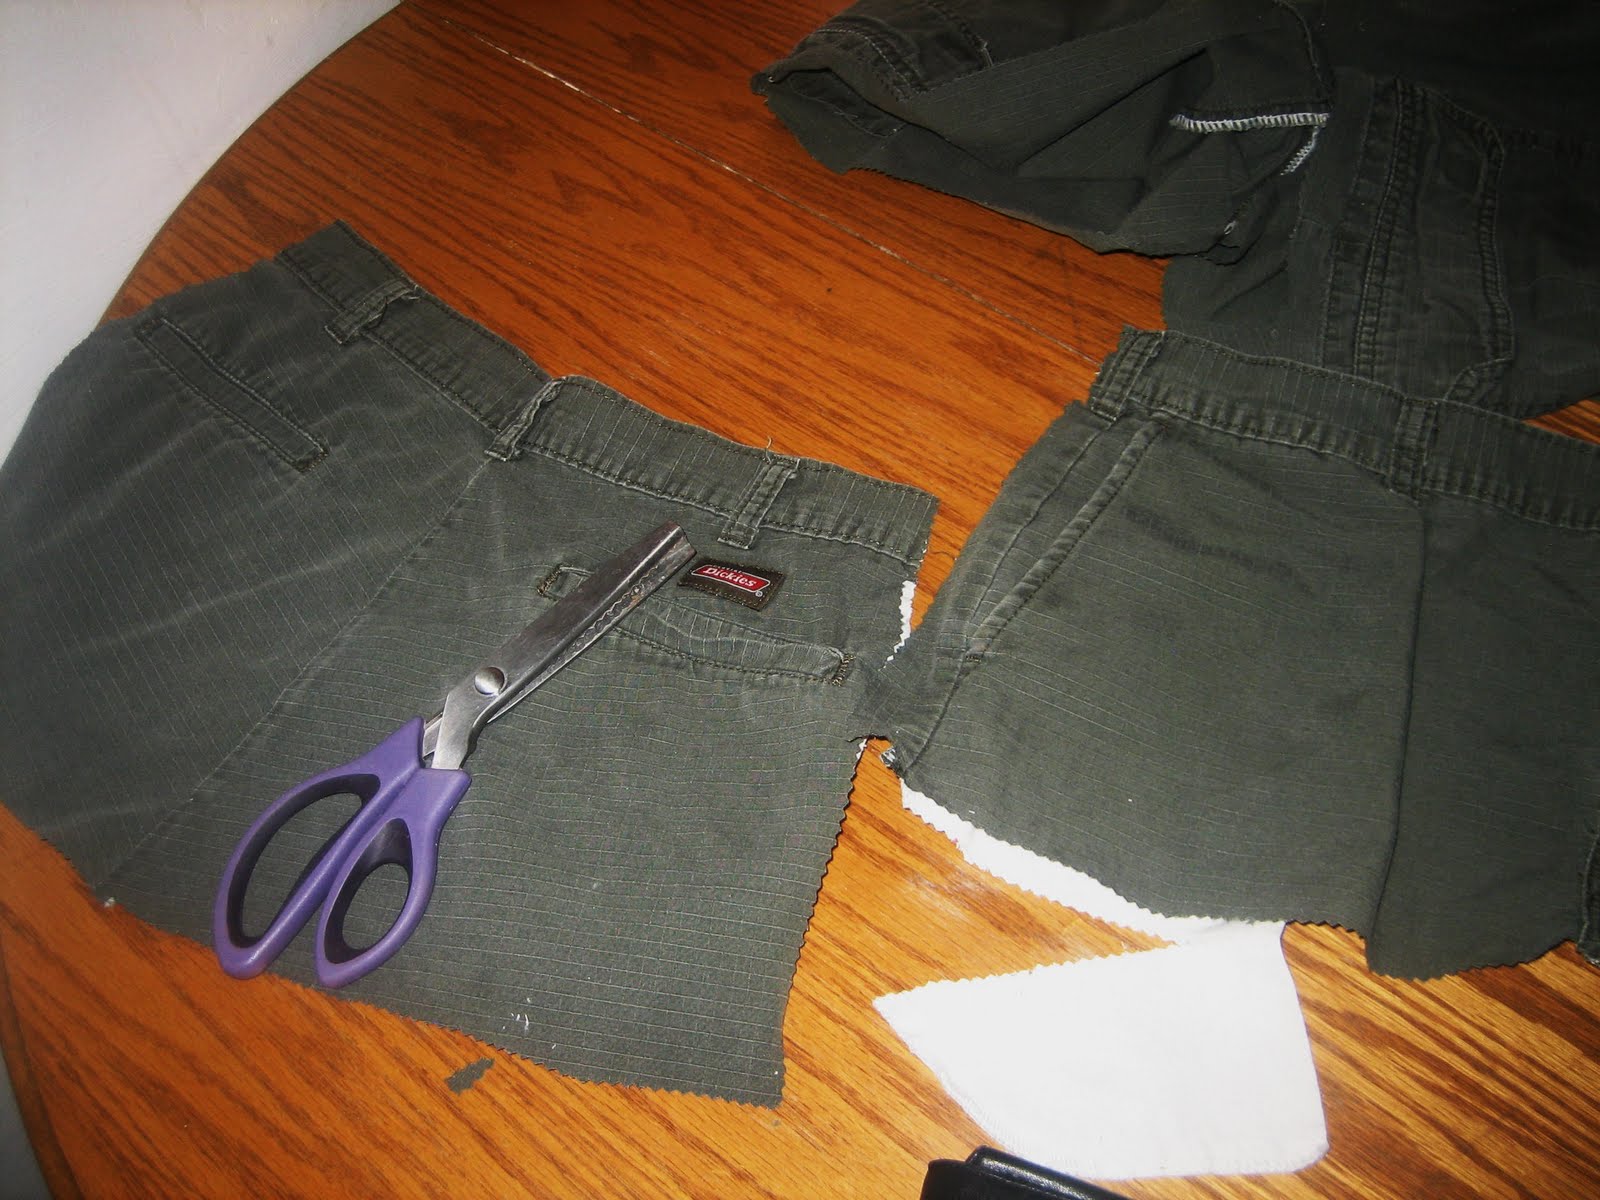
The length of the leg that had the pocket will make the bib of the apron, and the remaining part of the leg will be turned into an additional pocket.
I pin things a lot. It's a trick my mom used to tell me all the time (she has a bachelors degree in home economics education). Things look a lot more professional when you measure the seams and you pin things. Use a lot of pins.
So, I folded the top of the bib inward and the bottom of the bib inward, pinned it, and then pinned it to the bottom of the apron. Notice the addition of the additional pocket made from the bottom half of the pant leg, now in the middle of the apron covering the "fly".
Pin it with right sided together, so when you sew it, the pocket will be front facing.

I did purchase seam binding. I know it can be made at home, but for just over two dollars per apron, it was a good deal for me. Face got the army green, and Little Man got black binding, just so we could tell the aprons apart.

I sew seam binding over the open edges to give it a finished look, but you don't have to if you want more of a frayed country look to it.
I use an additional length of seam binding to make the neck strap. I measure it to fit over the head...apparently that is a good thing.

I then secure it well into the bib top of the apron, inside of the seam before I sew it.

For the waist strap, I used a strip of camouflage heavy canvas, with seams bound inward, 120 inches long. I center it in the middle of the apron through the belt straps, and then fasten it securely to the side seams.
We ended up with five sturdy pockets to hold all the cooking tools of my little chefs. Now...we just need to go through basic training. "And knowing is half the battle". Thanks G.I. Joe.

There you go.
End note. Both boys where excited beyond words at the new aprons. Little Man got a little misty eyed...he was so happy his favorite pants didn't get put in the trash. Who knew a little boy could get so attached to his pant?

Wednesday, May 19, 2010

Random Thoughts... Rice Patties with Herbed Goat Cheese

Rice Patties are a favorite fast dinner around here. They're a perfect way to use up cold rice. When I made some with brown rice that had been cooked in a tarragon and shallot infused stock, I almost couldn't stop. They where especially good cooked in garlic flavored olive oil. The real kicker...

They are blissful with herbed goat cheese. True confession, I love goat cheese, but rarely buy it. It's infrequently on sale and I can use that grocery money for other things. Saturday when I went shopping the "imported from France" high end goat cheese was on sale...big time. So I splurged. I got goat cheese that was rolled in French herbs and chives. It may have, in fact, been tenderly placed in the front compartment of my shopping cart on top of a billowy bag of fresh parsley to keep it from getting jostled during the rest of the shopping adventures. I'm pretty sure it slept quite peacefully. I did have to dodge a crazy old lady...You know how pandemonium breaks loose at the grocery store when goat cheese goes on sale, right? People throwing whole rotisserie chickens at each other under make-shift baguette fox holes. Can you see the raisins beaning through the air at breakneck speeds and knocking kids out cold. Okay...I may be exaggerating a bit. You'd have to have a mighty powerful pea shooter to get that kind of speed from a raisin. The rest of the tale is totally true. Okay, there weren't any chickens flying either. We all know that chickens can't fly.

That is just a long way of saying, "I almost forgot how much I truly adore that creamy tart cheese of glory." When it melts on the rice patties...well it's just heaven.

My seven year old son, Face, liked them too. However, he had his artfully displayed like this...


Yes my friends...that is ketchup. Should I be impressed he took the time to make it "chefy".
Should I be impressed he ate the whole thing? Should I be worried that he asked me to teach him how to make ketchup?! Is ketchup a vegetable or a fruit?! I know it's a food group. Putting it on the cheese of glory...well,that's hay nus blaspheme against the goat cheese. We can't have that. To my credit however, I bit my "big girl critic's tongue" and didn't say anything but , "hey nice color contrast on your plate kiddo." Though inside, I was secretly wishing he would scrape the ketchup off and at least give the withered remains of the cheese body to me for a proper burial...in my stomach.
That's all I have to say about that. Sigh...

Tuesday, May 18, 2010

Super Cute Recycled Jean Apron Tutorial

Who wants to make a quick apron? Well, I have a few ideas today for Tutorial Tuesday and I think this may be the first tutorial on my blog that is not about food...but rather some cheap easy aprons moms and kids can make. With summer vacation just a few weeks away here, I wanted to make some aprons that the kids and their friends can totally make and use all summer with cooking classes. I also didn't want to spend a lot of money. I used one pair of my husband's old jeans, an old purse, some silk flowers, and a little fabric that was laying around here. So, what you see is what we had. Totally free to me.

These ones today are for girls, but there's not any reason they can't be done with a manly theme as well. This first one, was made from the leg of on of my husband's old jeans that I cut in half and opened up. The crazy adorable embroidery was from one of my favorite hand bags that I just couldn't seem to throw away. I loved the design so much and when the handle broke, I wanted to use it for something. So, this first apron was born.
I cut the purse open and put it on top of the jean leg centering the middle flower on the middle seam. Folding the edge over, and pinning it, I then sewed it to jean, leaving the top of the purse open so it had a full size pocket made from the purse.

I folded edges under, but because I wanted a rustic hippy type look, I decided against finishing the edges. I want it to fray when I wash it. I measured some ties from the remaining part of the jean legs and attached it to the apron on each side, like so...


The top of the purse was thick enough that I had to hand stitch the seams together on the back.


I love how it turned out. Now I can keep using my favorite purse while I cook. I feel so smart.
That doesn't happen everyday.

The next apron doesn't require much sewing at all, maybe 3 seams. If you can handle that, I think we're in business. The back side of my husband's jeans cut off just above the legs make the perfect base for an apron. I was sure to keep the belt loops in tact. I did finish off the edges with a zig-zag, so the apron wouldn't fray too much, but you don't have to finish the seams.


I took two strips of gingham, four inches wide and 36 inches long, and sewed them end to end to make the apron strap. Then I simply thread it through the belt loops.

With a safety pin I attached a cute flower to the center of the apron. That's it. Easy right?

The front of his pants, cut off just above the legs, was made into a third apron. I did sew some red ric-rack onto the edges, but did the belt and flowers in a similar fashion to the second apron.
Look how adorable the back looks for a little girl. Why don't I have an daughters?

So, with a little creativity and not any money other than what we already had in the house, we now have three new aprons. They're not fancy, but they are a little "Daisy Duke meets Martha Stewart". What's not to love about that?
There you go.

Monday, May 17, 2010

Red, White, and Blue Forest Cake for Mr. Putt Putt


Mr. Putt Putt is my 84 year old Father in Law. It appears he is twenty again this year. He says he still feels young, it's just this "daggum' body that got old". He's also a veteran of World War two, so it seemed right to do an American Flag cake for his special day. We are so blessed to have him Puttin' around our place. He's a sweet little man. So, for his Birthday party this last weekend I thought I would add some luscious layers of fruit to the Chocolate Toffee Buttermilk Cake Mix that he already loves. I got this idea from the wonderful folks at:
Lucky Leaf Premium Pie Fillings: "American Flag Cake"
I made fresh whip cream instead of using the tub of whip topping, and added some lemon and Tahitian vanilla extract. In the middle of the double layer cake, I put 2 cups of drained home canned sour cherries into one cup of Spiced Blueberry-Amaretto Jam and spread it to the edges of the cake. Topped with a second layer of cake and frosted with whip cream. I built the edges of the cake up pretty high to hold the filling on top of the cake.
I love how much fruit comes in this pie filling. It's so refreshing. It also made it really easy to decorate the 12 inch cake. I know...it's beautiful to look at...and it tasted just as evil.

Thank you Lucky Leaf!
Happy Birthday Mr. Putt Putt! We love you!
There you go. Make a cool patriotic cake.

Saturday, May 15, 2010

My Garden Goes Vertical


I've been reading a lot about vertical gardening and wanted to implement some of the ideas into my garden. It seems with the shortness on space and the abundance of light, I can probably pull it off. Last summer at the tomato farm we did all of our plants vertical.Organic Tomato Farming was a new challenge for me and if it had not been for the excellent teaching of the ever amazing Jim T, I don't think I would have been able to pull it off. Even then, when I was roaming through the jungle of tomato vines it was amazing. I wish everyone could have been there...but I'll share a lot of what I learned, as well as a few new ventures with our cucumbers, peas, and tomatoes outside of a greenhouse this year.
I really wanted to be able to plant a lot of herbs like oregano and thyme, but knowing how they are ground covering, I didn't know how much I really would be able to do if I didn't do a lot of vertical stuff. You know, as a chef it's very important to have those fresh herbs. It's sick how much I crave the fresh stuff.

I started out with the cucumbers on a single bamboo pole, but didn't feel that it was strong or stable enough. As I didn't want to invest too much in a structure, the bamboo was economically the best choice. I also didn't want to use plastic fasteners, as it would make composting a lot more difficult when it came time to break down the plants at the end of the season.

What I came up with was tying two bamboo rods together and then tying the garden twine taunt between the poles, and attaching all it to the stable fence running up the West side of my garden. The double thickness has been just right. The cucumber vines are now about 3 feet tall, and completely off the ground. It promotes better circulation, and allows me to see the development of the veggies. Though we haven't had any yet, I think we're getting close.

Now on to the tomatoes. These are Early Girls. I like how they climb as opposed to the "bush" varieties of tomatoes.

The tomatoes are done in a similar tying manner. Once the plant is about 2 feet tall, it is tied to a set of poles that is also tied tightly with twine. I trim the bottom leaves off so it is not only easy to see the soil under the plants, but also keep one very strong vine for tomato production.

One main vine is focused in an upward climb on the pole and all other "sucker" vines are removed. I'll continue to take pictures as this adventure unfolds. I was just so excited to share our success this far. Oh...and thanks again to Hometown Seeds for the amazing Survival Seeds! Everything has not only sprouted, but grown! I am very happy with what we've seen so far with the seeds they sent us...and love that I will never have to purchase seeds again, thanks to the open pollinating seeds that will allow you to collect seeds from the plants and replant the following season. I'm new to that one, but I'm excited to get to that point. The spinach has started bolting due to the heat, so I'm going to get to try that pretty soon if all goes well. At any rate my dears, I am loving this new gardening adventure. Isn't life amazing?

That's all I have to say about that.

Friday, May 14, 2010

Hobo Dinner Freezer Meals

We've got summer vacation coming up soon...and that mean camping trips. What mom, dad or granny wouldn't love to be prepared way ahead of time for that big camping trip...or dinner tomorrow? I think this freezer meal will shock and amaze even the pickiest eaters in your house. We call it a Hobo Dinner (or Foil dinner), but it's one of those classic comfort foods that we always had as a kid when we went camping. It's basically a hamburger pot roast cooked over hot coals in the woodland setting. Or, at home it can be baked in the oven (or solar oven) They can be made fresh for dinner, or frozen for later use. However you do it, be prepared to sing a rousing ensemble with your favorite hillbilly harmonica songs. It's campfire good. Down home good. If you precook the veggies and meat, it's even fast and good. So...here we go:

Hobo Dinner's A La Chef Tess

5-6 large russet potatoes, cleaned well and cut into cubes, cooked in microwave or stove top until fork tender OR 4 lb frozen cubed hash browns
1 lb baby carrots, steamed 5 minutes (or frozen)
2 medium red onions, chopped, steamed with the carrots
2-3 T Chef Tess All Purpse seasoning blend
3 lb cooked hamburger patties, about 12
1/2 cup chopped fresh parsley (optional)
2 Cups dark brown mushroom gravy of your choice (I use homemade Gravy Mix made easy)

12 sheets of heavy duty foil (use the heavy stuff if you don't want a mess) about one foot long each.

Directions: In a large bowl, combine the carrots, onions, potatoes, and seasoning
Place one cup of vegetable mixture onto a lightly oiled sheet of foil. Place the cooked hamburger on top of the vegetable mixture and wrap tightly. I roll the ends and sides very well. Repeat until you have used all your hamburger and vegetable mixture. You can use veggie burgers if you choose instead of meat. Top the meat with a few tablespoons of the prepared gravy.

Place 4 meals in a gallon size freezer bag and remove as much air as possible. Label with baking directions:
Remove from plastic bag and place in a 400 degree oven for 35-40 minutes until heated through, or place in a solar oven Pot, cover the foil with a dark sheet pan, and close oven. Cook 45 minutes to an hour. In the woods...place on hot coals and cook 25 minutes.

Pour contents onto a plate and sprinkle with parsley if desired.
There you go. Quick and easy on the go for camping, oven baking, or solar cooking.