Friday, June 28, 2013

Top 10 Rice Recipes and Rice Cookery Class Notes


I'm teaching a rice class tomorrow and  I wanted to share some basics here for those who live far away as well as some great ideas for recipes.  Rice is such a wonderful food. It is naturally gluten-free. Not all rice is created equally and many of the rice we get actually is low on the Glycemic index, making it ideal for those with diabetes. For more information, see: 

 Here are my top 10 Rice Recipes...

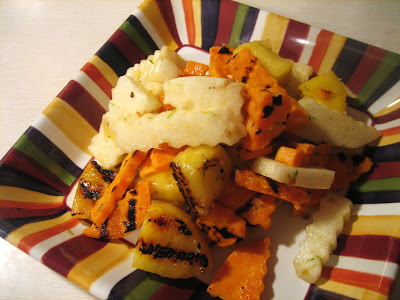
This is my favorite freezer meal recipe. I've used it more times than I can count. 

 I grew up with this comfort food. Rice patties. 
They're a great way to use up rice in the fridge. 

The all American classic comfort food. I cook mine in the solar oven now, but you can use a pressure cooker and it is done in 10 minutes on high pressure. 

Save money and make your own. It's easier than you think...and much better for you!

This is a quick dinner recipe that cooks on the stove in just a few minutes.
 We've loved it for years!

If you love the boxed mixes of chicken and wild rice, this will hit the spot!

These cookies are delightful, delicious, and easy to make with gluten free brown rice flour! Enjoy!
This is by and far one of my favorite meals in a jar. Shelf stable up to 15 years and it includes all you need for a hearty dinner. 

This freezer-meal is a great way to use squash and rice all year long. 

During the summer, this is a really refreshing drink. We have it a lot here in Arizona. 


Rice to the Occasion Class Notes
with Chef Tess
For best results, always follow the package directions of the type of rice you are using. When directions are not available, follow these directions for stove-top cooking from Riceinfo.com
1 cup  UNCOOKED RICE
COOKING LIQUID
COOKING TIME
YIELD (cooked rice)
Long-grain white, basmati, jasmine
1-3/4 cups
20 min
3 to 4 cups
Long-grain brown  (whole grain)
2-1/4 cups
40 to 45 min
3 to 4 cups
Parboiled
2 cups
25 to 30 min
3 to 4 cups
Medium-grain
1-1/2 cups
20 to 30 min
3 cups
Short-grain
1-1/4 cups
20 to 30 min
3 cups
Cooking Tips:
·         Cook extra rice at the beginning of the week to use in quick-prep dishes (use in casseroles, fried rice; with stir-fries; add to wrap sandwiches, soups).
·         Use broth, fruit juices or coconut milk in place of water for a change of flavor.
·         Measure accurately; use dry measure for rice, liquid measure for liquid.
·         Time cooking accurately; use kitchen timer.
·         Do not open lid during cooking or moisture will be lost.
·         Do not stir rice or you will disturb steam vents needed for cooking.
·         Rice will expand to 3 to 4 times its volume, so use appropriate size saucepan or casserole dish.
·         If rice is crunchy and liquid has been completely absorbed, add additional liquid, cover and cook 3 to 4 minutes longer.

Stove Top Cooking: In a heavy-bottom saucepan, combine 1 cup rice, liquid, 1 tsp salt and 1 tbsp  butter, if using. Bring to boil over high heat; reduce heat to low, cover and simmer for the time specified on chart. Test a few grains of rice for doneness (quickly replace lid). If not tender or liquid not completely absorbed, cook 2 to 4 minutes longer. Fluff with fork.


Oven:  Boiling liquid must be used to start the process. In deep casserole dish, combine 1 cup rice, boiling liquid, 1 tsp salt and 1 tbsp butter if using. Cover tightly and bake in 350°F (180°C) oven, white rice for 25 to 30 minutes, parboiled for 30 to 40 minutes and brown (whole grain) for 1 hour. Fluff with fork.

Microwave: In a deep microwavable dish, combine 1 cup rice, liquid, 1 tsp salt and 1 tbsp butter if using. Cover and cook on HIGH for 5 minutes or until liquid is boiling. Reduce to MEDIUM (50%) and cook white rice for 15 minutes, parboiled for 20 minutes and brown (whole grain) for 30 minutes. Test a few grains for doneness (quickly replace lid). If not quite tender or liquid not completely absorbed, cook 1 to 2 minutes longer. Fluff with fork.

I recently purchased a Zojirushi Rice Cooker.   Admittedly, I didn't know how much I was missing until I plugged one in for the first time. Now we use it a few times a week. It makes perfect rice!


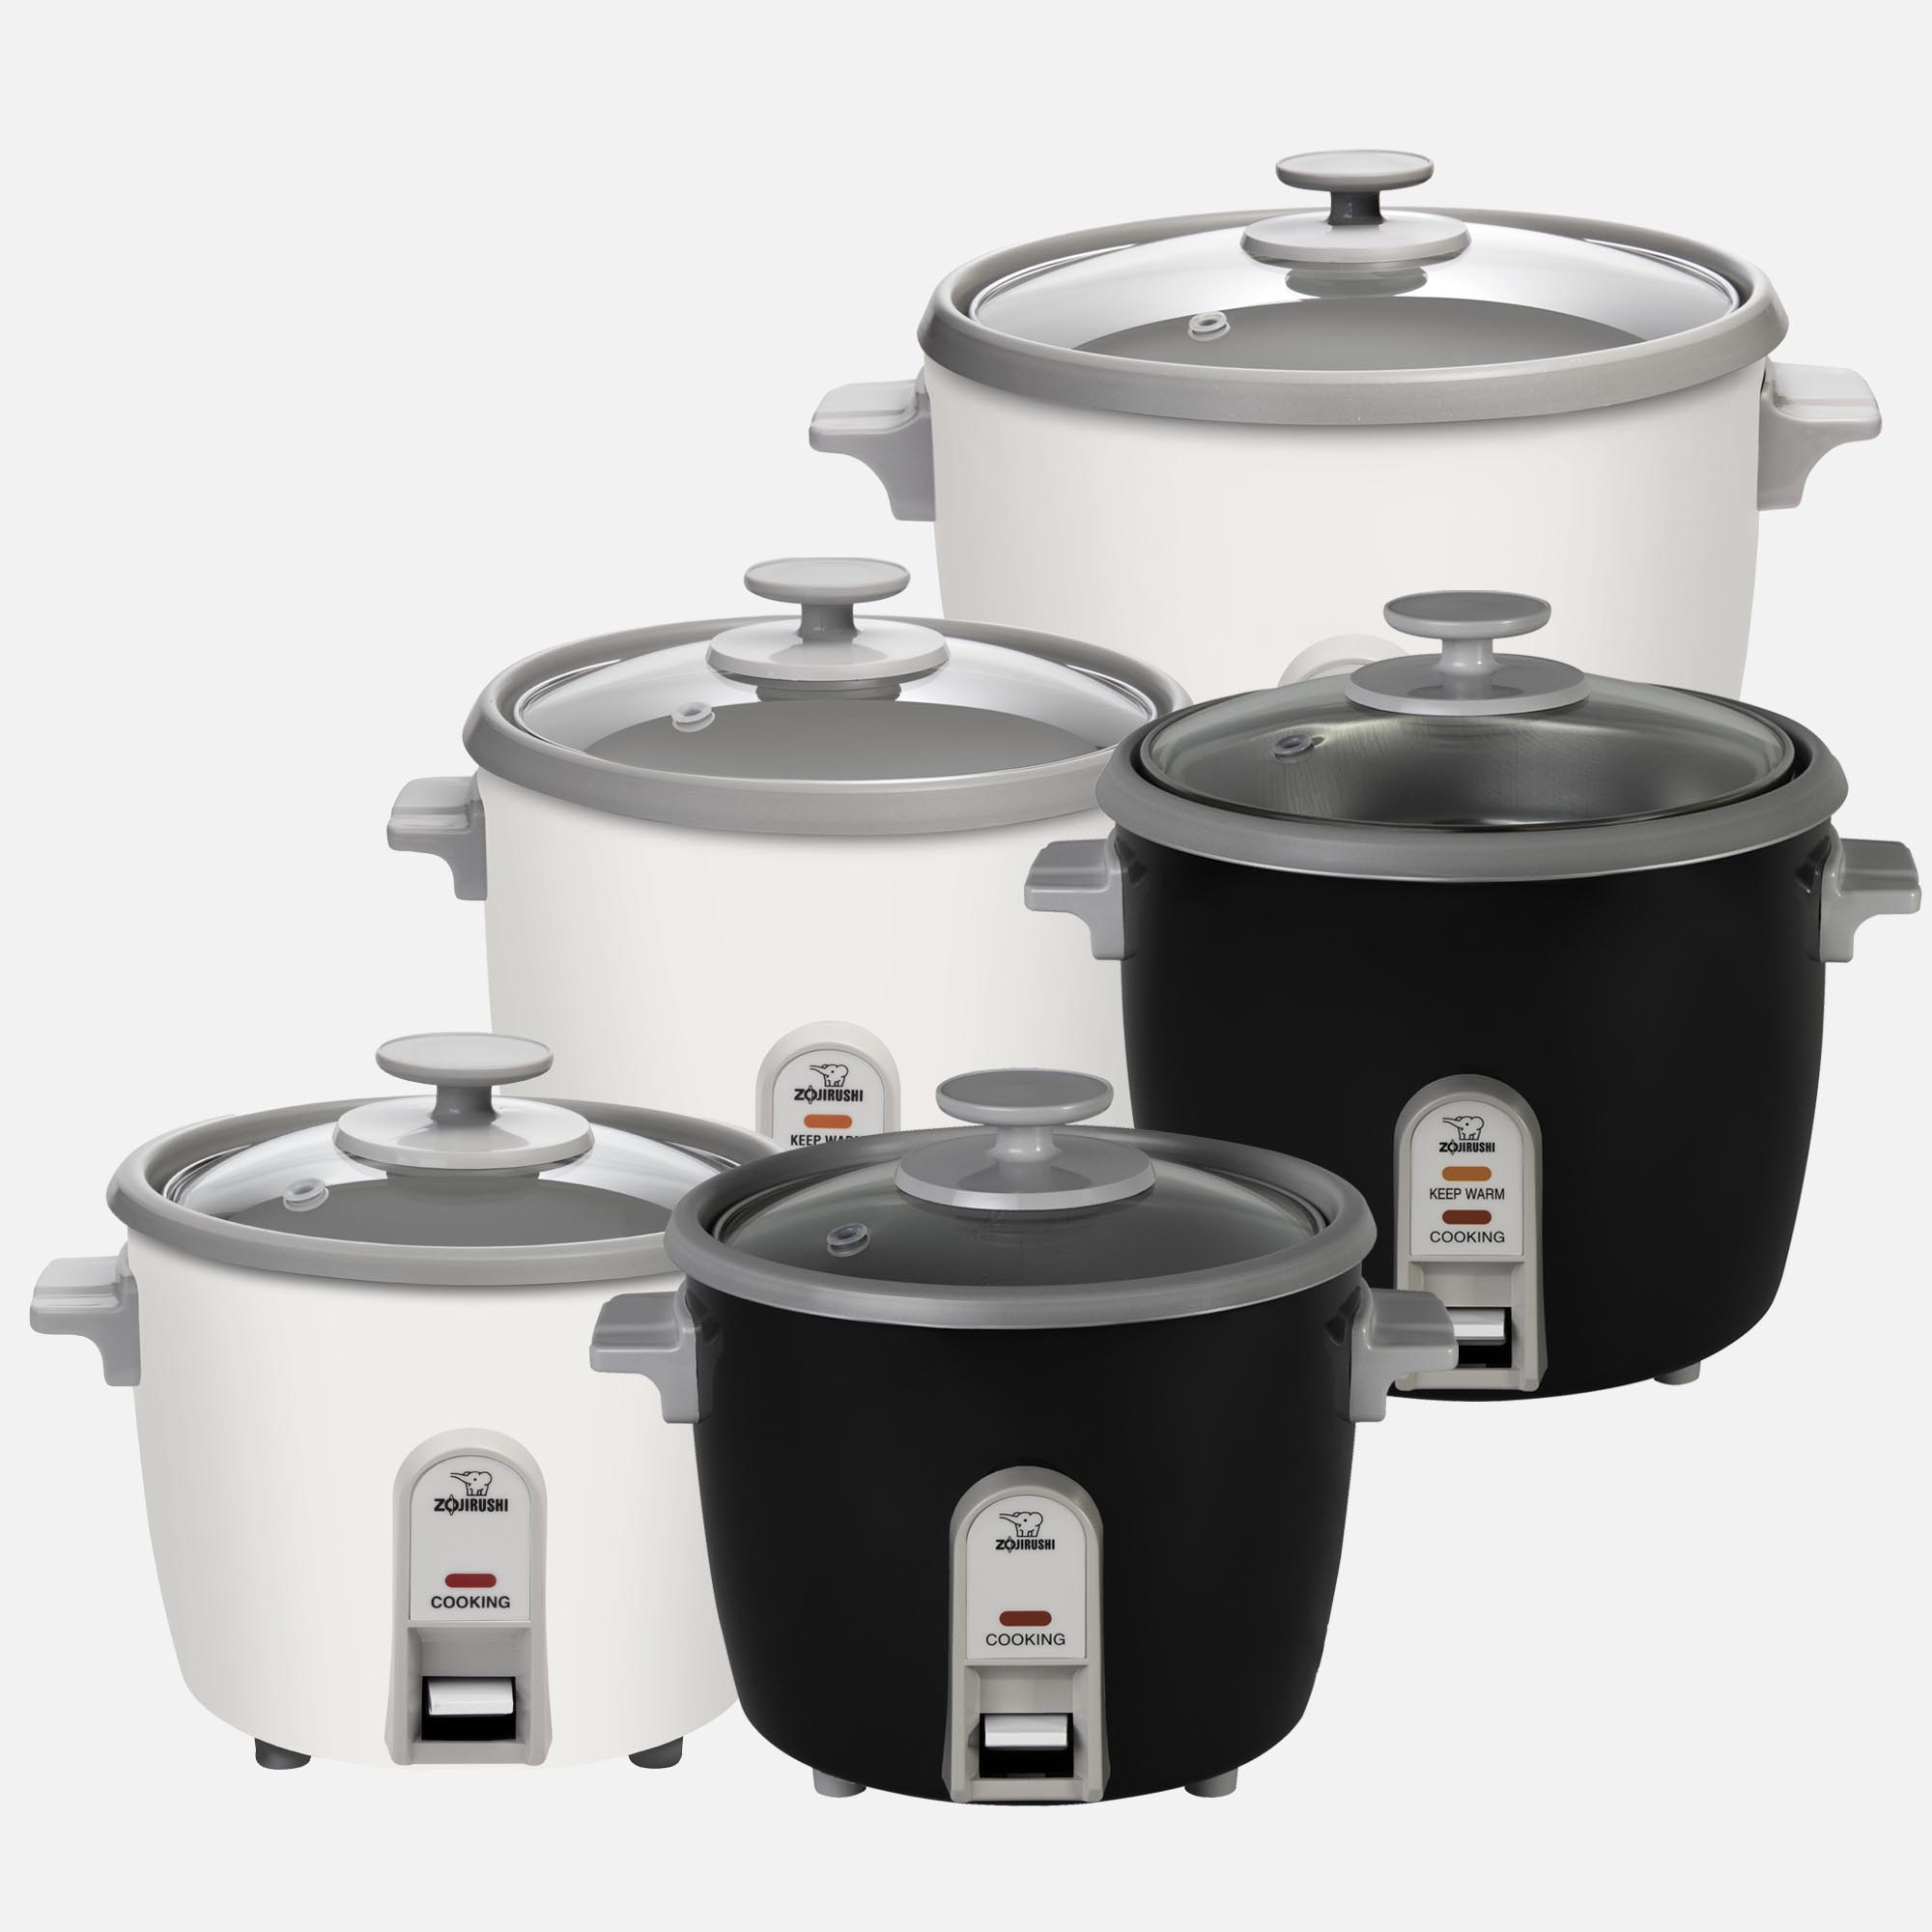
Cooking rice in your Zojirushi rice cooker is easy as 1-2-3.  Get the printable version from zojirushi.com

 No stirring, watching or worrying about your rice. No more boiling-over, burning or scorching. No more soggy, mushy rice. Just perfect rice every time. Here's how...
1 Measure your rice accurately using the measuring cup that came with the rice cooker. Fill the rice above the brim, then level off the cup. Now pour the rice in the empty inner cooking pan.
2 Rinse rice under water until the water clears. Rub the grains of rice gently between the palms of your hands and drain.
3 Add water to the water level line that corresponds to the number of cups of rice you are cooking. If you are cooking 3 cups of rice, add water to water level 3 for “White Rice.” Be sure that all the grains of rice are submerged and the surface of the rice is flat and level to ensure even cooking.
4 Wipe off any excess water from the outside of the inner cooking pan and place it in the rice cooker. Select the “cook” setting.
5 When cooking completes, allow the cooked rice to ‘rest’ for 15 minutes. If you have a Micom rice cooker, this is done automatically and you will not have to wait. Open the rice cooker and use the special nonstick rice spatula to fluff and serve your rice.


Pressure Cooking Rice
 If you're new to the blog and to pressure cooking, this is for you: 


Pressure Cooking Rice Guide
Grain Variety
Grain: Water
Cooking Times
White Rice, long grain: Basmati, Jasmine, Texmati
1 : 1 1/2
4 minutes
White Rice, short grain
1 : 1 1/2
8 minutes
White Rice, medium grain
1 : 1 1/2
7 minutes
Brown Rice, long Grain: Basmati, Texmati, Sweet Brown
1 : 2
18 minutes
Brown Rice,  Medium Grain
1 : 2
16 minutes
Brown Rice, Long Grain
1 : 2
15 minutes
Wehani Rice
1 : 2
7 minutes
Wild Rice: Manomen "Water Grass"
1 : 4
20-22 minutes.

I will be adding many more rice recipes as we progress, but I had to start with some basics my darlings.

There you go!

Always My Very Best,
Your Friend Chef Tess


Monday, June 24, 2013

Healthy Strawberry Almond Quinoa Breakfast Salad

The 90 day weight loss challenge continues.  I'm down 8 lbs and 10 inches since we started just over 30 days ago.  I know I have a long way to go, but I'm more excited about the success along the way and am so happy with how things are going so far.  When I visited my doctor this week he said, "Don't you dare quit! Keep going!" So, that was a huge motivational push. He's a great support. Are we ready to eat then?!! Let's celebrate summer!

It is stinking hot in Arizona during the summer and I never want anything warm. So, it goes without saying that during these months I keep a nice cool breakfast salad in the fridge. My friend Melissa has been going on morning walks with me and after a wonderful chatty-chat walk, there's nothing like a healthy-health breakfast!  This is by far my favorite flavorful boost in the morning for energy and for a great amount of protein. Plus, it is vegan and gluten-free! It's full of fiber and low impact carbohydrates for an even blood sugar level throughout the day. It packs a lot of nutrition into the 200 calories it gives me and keeps me going full speed.  Go for organic berries if you can.  I love how all the fruit is in season right now. I love this salad made with fresh cherries, blueberries, raspberries and blackberries as well. If you've never cooked quinoa, I have a full tutorial on Quinoa cookery  Here . Quinoa is a super-grain and one of the most nutritious things you can add to your diet.

Strawberry Almond Quinoa Breakfast Salad
1 cup cooked quinoa
1 cup fresh strawberries, sliced
2T agave nectar
1/4 cup toasted almonds (about 10 each)
2 tsp fresh orange zest
1/2 tsp Chef Tess Wise Woman of the East Spice blend
2T Fresh lemon juice

Directions: Combine all ingredients. Serve Chilled.

Yield 2 cups breakfast salad.
Nutritional information: Serving size 1 cup (2 servings per recipe). 201 calories, 5 g fat, 34 carbohydrates, 5g fiber, 8 g protein.

There you Go! Don't you dare quit! Keep going!!  Onward and upward my darlings!!

Always My Very Best,
Your Friend Chef Tess

Tuesday, June 18, 2013

Vegetarian Quinoa Black Bean Burgers and The Health Benefits of Quinoa


The 30 day mark is approaching for the 90 Day Weight Loss Challenge!  I'm down a few more pounds and feeling much better about my energy levels.  It is a work in progress darlings!  My family has been getting really excited about quinoa! Even Ace, who doesn't really like to try new things has been fully converted to this lovely grain.  Today I taught a gluten free class on cooking with quinoa and amaranth and this new recipes has become a much requested meal around here. We first talked about cooking this amazing grain on the blog with the full Quinoa Cookery 101 Post

Great  Health Benefits of Quinoa
 adapted from the  Article by Julie Wilcox, Forbes
  • Complete Protein! Quinoa  is a complete protein containing all nine essential amino acids.
  • Fiber! Quinoa contains almost twice as much fiber as most other grains. 
  •  Contains Iron. Iron helps keep our red blood cells healthy and is the basis of hemoglobin formation. 
  • Contains lysine. Lysine is mainly essential for tissue growth and repair.

  • Rich in magnesium. Magnesium helps to relax blood vessels, may reduce type 2 diabetes because it promotes good blood sugar levels. Benefits of magnesium include transmission of nerve impulses, body temperature regulation, detoxification, energy production, and the formation of healthy bones and teeth.
  •  High in Riboflavin (B2). B2 improves energy metabolism within brain and muscle cells and is known to help create proper energy production in cells.
  •  High content of manganese. Manganese is an antioxidant, which helps to prevent damage of mitochondria during energy production as well as to protect red blood cells and other cells from injury by free radicals.
Normally we just use quinoa instead of rice and boost our fiber and protein as well as getting a really cool different texture.  I think it might be one of my all-time favo-rageous  friends.  

The quinoa black bean burgers have a really beefy texture and are full of flavor. My husband asks for them often and we especially love them drizzled with hot sauce, barbecue sauce, or homemade ketchup.  The use of the quick cook blackbeans makes them come together fast. I cook the quinoa and the black beans together on the stove and they are both ready to make into patties in as little as 20 minutes.  You can easily double or triple the recipe and make the patties ahead of time for keeping on-hand in the freezer for fast and easy meals as well. 

Tess Quinoa Black Bean Burgers 
¼ cup  organic quinoa, pre-rinsed*
1 3/4 cup water
½ cup gluten free breadcrumbs
¼ cup minced bell peppers
2T minced onion
1 clove garlic, minced

Directions:
Bring the quinoa, beans and water to a boil in a saucepan. Reduce heat to medium-low, cover, and simmer until the quinoa is tender and the water has been absorbed, about 15 to 20 minutes. Roughly mash the black beans with a fork leaving some whole black beans in a paste-like mixture. Add all remaining ingredients and mash well with your hands. Form the black bean mixture into 5 patties. Heat a large non-stick skillet. Cook the patties until heated through, 2 to 3 minutes per side.

Nutritional Information: 
Recipe yields 5 patties. Serving size one patty. 
132 calories, 5 g fiber, 19 carbohydrate, 3 g fat, 7 g protein

*Note: Quinoa needs to be pre-rinsed to remove the natural saponin on the grain.
** If you don't have egg crystals, whole egg may be added, but reduce water by 1/4 cup. 


Serve with any side dish you love. May I suggest Cuban Grilled Sweet Potato Salad with Pineapple and Jicama


There you go my darlings! Happy and healthy ideas for a wonderful summer dish. Keep going with the weight loss challenge and eating well. Xoxo!

Always My Very Best,
Your Friend Chef Tess


Monday, June 10, 2013

Weight-loss Stuffed Cabbage Soup in a Jar ( The 52 method continues)

 Monday I usually share something new and gourmet for food storage convenience meal making! Today is no exception! Thanks to all of you The Gourmet Food Storage Handbook is already in its second printing! Waaawhoooo!!  My second book, The Meal in a Jar Handbook: Gourmet Food Storage Made Easy  went to the publisher last week. Pending some edits and the actual printing, it should be available by November...

That being said, the jar recipes will still continue here. We'll always be exploring new ideas and making delicious meals. Always. That's how we roll! 

The  90 day weight loss challenge continues!  How is everyone doing?  Summer is upon us here in the valley-of-the-sun and that's not something I normally associate with a warm soup.  However...Rachael Ray makes this really delicious stuffed cabbage soup that I could eat all year round.  I love it so much that I wanted to convert it to a shelf stable meal in a jar that I could have and make anytime and also make it a little more healthy and low fat.These will be shelf-stable up to 15 years!    I made 24 meals in 30 minutes (eat your heart out Rachael).  I also wanted it to be full of low-impact carbohydrates from vegetables instead of white rice. 

This is low-fat, grain-free, gluten-free, and simpleSummer is not usually the time I think of making soup. Cabbage soup however is another story.  I heat it up just a bit on the stove and I'm good to go!  I eat it a lot when I want to be healthy and lose weight. Make up a full jar, it will make 12 cups of soup. One 2 1/2 cup serving is packed with flavor and will really satisfy you. Not to mention, it is right at 202 calories! 

Weight Loss Stuffed Cabbage Soup in a Jar

1 cup freeze dried ground beef
1/4 cup Tomato powder
1 tsp dehydrated minced garlic
2T parsley flakes
 1 1/2 tsp Chef Tess Big Dill Seasoning
1/4 teaspoon allspice
1  teaspoon ground coriander
1 teaspoons smoked paprika
2 tsp beef bouillon (optional)
1 bay leaf

To prepare jars: 
If this is your first visit to my blog and the 52 method jar packing, you'll need to read:
Layer ingredients in a quart sized jar. When all jars are filled, top with an Oxygen absorber.  Screw the lids on tightly, being sure that no part of the oxygen absorber is overlapping the lid.  You can also use these jar packing methods:
To prepare Soup: Remove oxygen absorber and discard.  Pour jar contents into a gallon sized pot.  Add 10 cups water and simmer medium high 7-10 minutes until vegetables are hydrated and tender. Yields 12 cups soup. 

Nutritional information for 2 1/2 cups prepared soup:
202 calories, 1 g fat, 34 g carbohydrate, 5 g fiber, 13 g protein
Each quart sized jar will yield 5 servings prepared soup.

There you go my darlings! Easy and delicious soup that will help you lose weight and keep you feeling full! Win!!

Always My Very Best,
Your Friend Chef Tess


Saturday, June 8, 2013

Painted Whole Grain Bread for Momma

 I had the chance to visit Jan D' Atri and Momma (Momma's name is Livia) at their book signing on Saturday and decided to take Momma some bread since it was her birtday this week! What do you think?
 I especially love this new spin-wheel design I came up with. I think it's totally retro!
There you go. Just a little "had to share".

Tuesday, June 4, 2013

The Meal in a Jar Handbook Update!

If I haven't been posting as much this last week as I normally do, there is a reason.  I've been working non-stop on a really amazing project!!

Yesterday the manuscript for 
 The Meal in a Jar Handbook: Gourmet Food Storage Made Easy 
went to the publisher. It is scheduled to go to print the first part of August and will be released for sale sometime in November.  Needless to say...we've had a lot of this...
And this...


I'll keep you posted on the final release dates and when it will be available. I'm soooo stinkin' excited (and a tiny bit sleepy)!!


Always My Very Best,
Your Friend Chef Tess

Sunday, June 2, 2013

Joy in the Journey


Sunday is the day I share a little of my soul. I call it the Bread of Life section. Enjoy. 

Those how follow me here regularly know that we recently had a deep and personal loss with the death of my dear friend and father in law (we called him Mr. Putt Putt).  It has been an interesting couple of weeks as we've been trying to get "back to normal"...only beginning to realize that normal has changed forever.  I miss dad a lot.   In spite of that sadness, we've been surrounding with the love and support of family and dear friends.  I read this article and gained a lot of spiritual strength.  It was a reminder to me that I am not alone on my journey and when I'm dealing with trials that my God and Friend grieves with me. 

I received 3 messages this week that have helped me tremendously.

Message number 1:
"Heavenly Father’s interest in you does not depend on how rich or beautiful or healthy or smart you are. He sees you not as the world sees you; He sees who you really are. He looks on your heart. And He loves you because you are His child... seek Him earnestly, and you will find Him. I promise you, you are not alone."1

I've taken some time to look around me and see the people I love most. They have held me up. 

Love continues. Love is the universal language and the most powerful language in the world.  I've seen it overcome emotional, spiritual, and physical walls!
Message number 2:
"The love of Christ is not a pretend love. It is not a greeting-card love. It is not the kind of love that is praised in popular music and movies. This love brings about real change of character. It can penetrate hatred and dissolve envy. It can heal resentment and quench the fires of bitterness. It can work miracles... when your primary thoughts and behaviors are focused on serving God and others—when you truly desire to bless and lift up those around you—then the power of the pure love of Christ can work in your heart and life."2


The third message: “Be of good cheer.”

My darling Tara showed up at my house with my favorite flowers this week.  It was a tender mercy moment. They are my favorite flower...ever...in the history of ever. I first fell in love  with these flowers as a child. They are just pure sunshine to my heart.   Every long road trip I go on, I can see them along the side of the road here in Arizona and they always remind me to find joy in the journey.  So,thank you Tara. Seriously. Thank you!


"With this in mind, I invite you to walk confidently and joyfully. Yes, the road has bumps and detours and even some hazards. But don’t focus on them. Look for the happiness your Father in Heaven has prepared for you in every step of your journey. Happiness is the destination, but it’s also the path. “Peace in this world, and eternal life in the world to come” is what He promises."3


There it is.  Have a wonderful new week my darlings...and look for joy in the journey.


Always My Very Best,
Your Friend Tess.